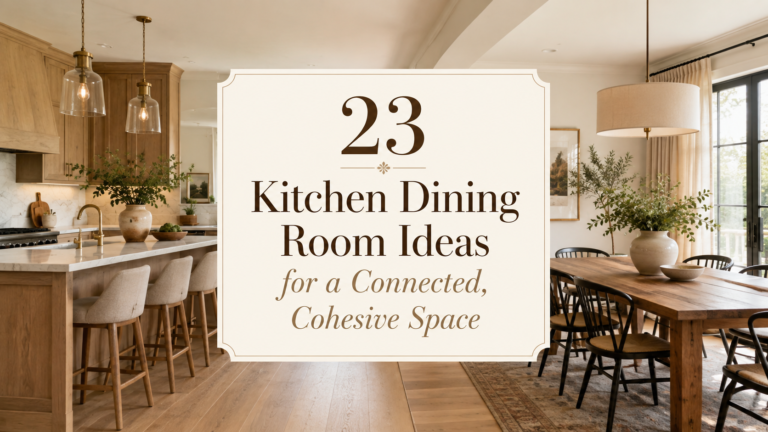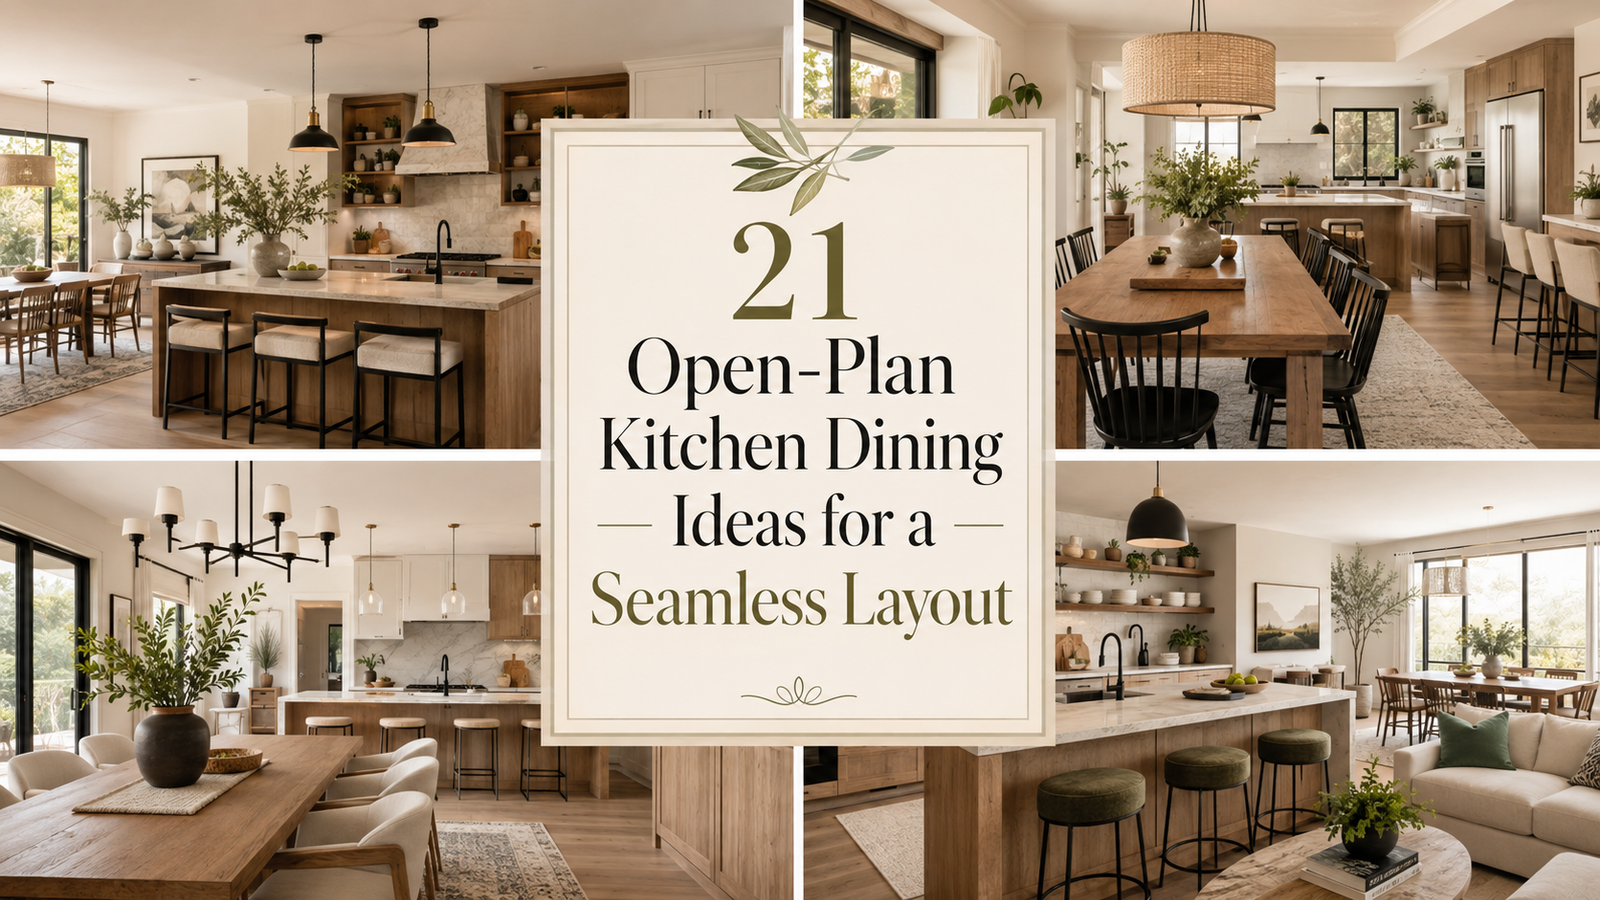
21 Open-Plan Kitchen Dining Ideas for a Seamless Layout
Open-plan rooms can look spacious in photos and still feel awkward in real life. The kitchen spills into the dining area, chairs end up in walkways, lighting feels disconnected, and the whole space can look like two rooms that happen to share the same floor.
The best open-plan kitchen dining ideas are less about filling the room and more about giving each part a clear job while keeping everything visually connected. Small choices like the direction of a table, the placement of an island, or repeating one material can make the layout feel much more settled.
You do not need matching furniture or a major remodel either. In many rooms, the biggest improvement comes from fixing flow first, then using color, lighting, and furniture placement to make the kitchen and dining area feel intentional.
These ideas focus on practical changes that make the space easier to move through, easier to use, and much calmer to look at.
1. Use a Kitchen Island to Create a Natural Divide
A kitchen island can separate cooking from dining without making the room feel closed off.
The key is to treat it like a boundary, not another piece of furniture floating in the middle. Keep the working side facing the kitchen, then let the outer edge act as the transition into the dining zone.
A good setup usually means:
- stools stay tucked toward the dining side
- prep clutter stays on the kitchen side
- the main walking route stays clear
- the dining table does not compete with the island for space
If the room already feels busy, keep the island shape simple. A clean rectangular island often creates enough structure on its own.
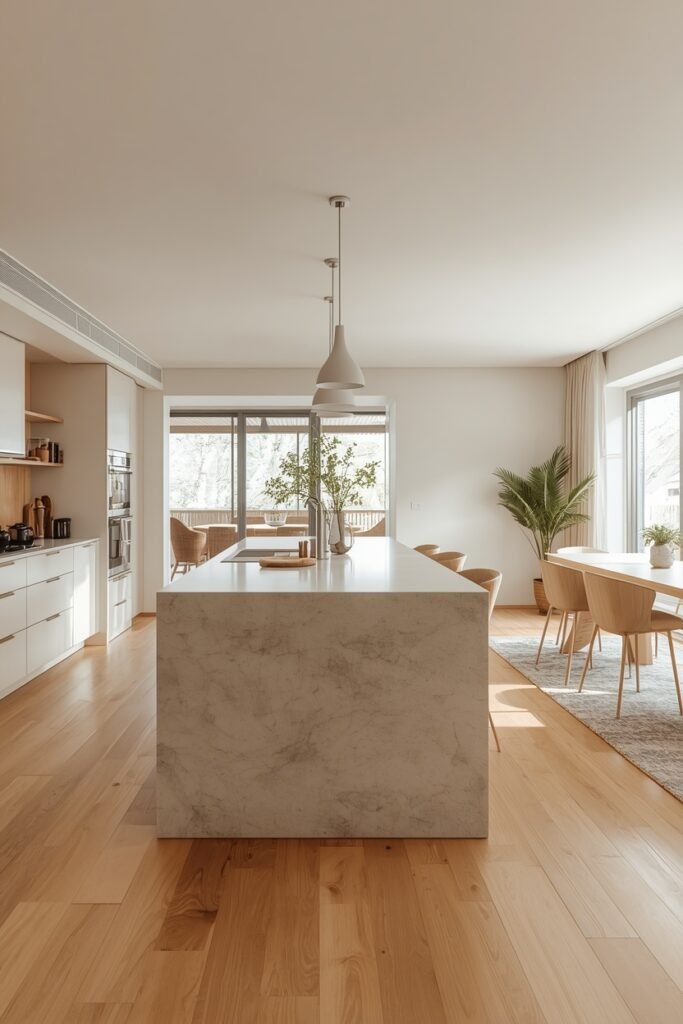
The kitchen and dining area blend together with no clear boundary, so furniture placement feels random and walkways are harder to read.
A well-placed island creates a clear cooking zone while keeping the dining area open, connected, and easy to reach.
2. Place the Dining Table in Line With the Island
A dining table that follows the same direction as the island can make an open room feel much more orderly.
It creates one strong visual line instead of making the furniture look scattered. This works especially well in long rectangular rooms where the kitchen sits at one end and dining fills the other.
Before settling on the position, check three things:
- Line the long edge of the table up with the island.
- Pull the chairs out fully and make sure they do not block the main route.
- Stand at the kitchen entrance and check whether the room still feels open.
The alignment does not need to be exact to the inch. It just needs to look deliberate.
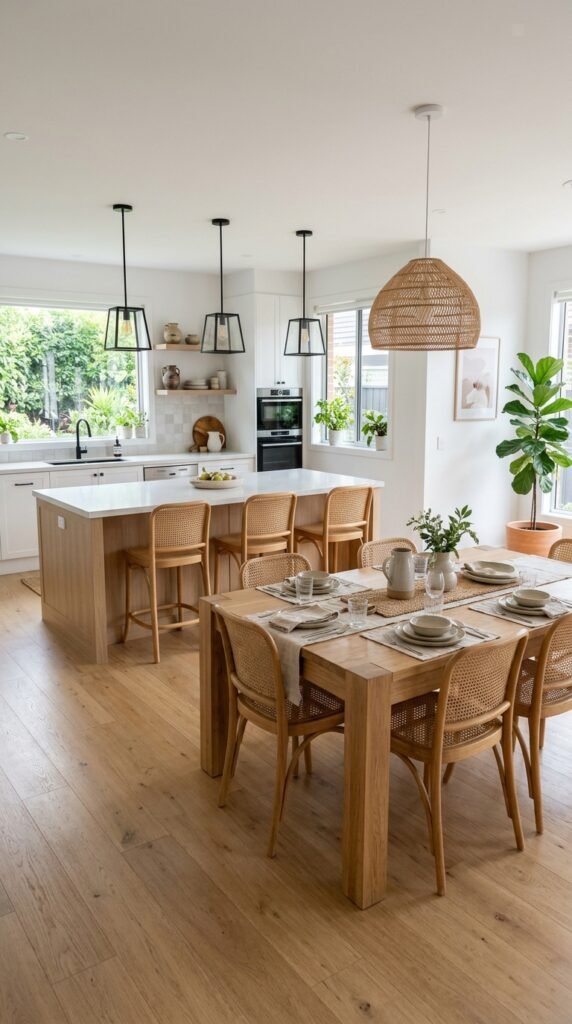
Turn the table so its longest edge follows the direction of the kitchen island.
Check that dining chairs can slide out without entering the kitchen work path.
Step back and check that the island and table read as one clean sequence rather than two separate blocks.
3. Repeat One Material Across Both Zones
You do not need the kitchen and dining area to match. Repeating just one material is often enough to tie them together.
Wood is one of the easiest choices. A warm oak dining table can echo wooden stools, open shelving, or a small detail on the island. Black metal works the same way through chair legs, pendant fittings, or cabinet hardware.
Keep the repeat subtle:
- timber in two or three places
- brass in small fixtures
- black metal in thin accents
- stone tones repeated through ceramics or tabletop pieces
Too many repeated finishes can make the room feel staged. One clear connection usually looks more natural.
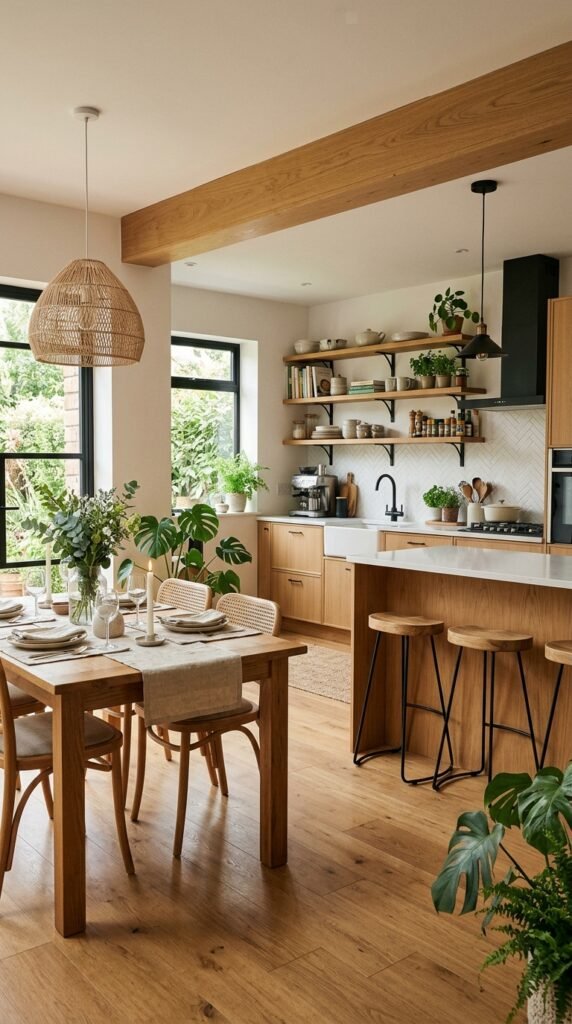
4. Hang a Pendant Light Directly Over the Dining Table
Lighting is one of the cleanest ways to tell the eye, “this is the dining area.”
A pendant centered over the table creates a visual anchor without adding another piece of furniture or changing the floor. It works especially well when the kitchen already has recessed lights or island pendants.
Keep the light related to the kitchen, but not identical. For example, black kitchen pendants can pair with a softer black or smoked-glass dining fixture.
The main thing to avoid: hanging the light according to the room instead of the table. If the table moves, the pendant should still feel centered over the dining setup.
💡 Quick Tip
Center the pendant over the dining table, not the entire dining half of the room. The light should visually belong to the furniture beneath it.
5. Choose a Round Table for a Tight Open Layout
Corners are often what make a small open-plan room feel cramped.
A round table removes those sharp edges and gives people more room to move between the kitchen, chairs, and nearby walls. It can be especially useful beside an island where a rectangular table would leave one corner sticking into the main walkway.
Round tables also make sense when the dining area is more square than long.
Look for:
- a single pedestal base if legroom is tight
- a diameter that still leaves space to pull chairs out
- visually light chairs rather than bulky upholstered ones
It is a small shape change, but in a compact room it can noticeably improve circulation.
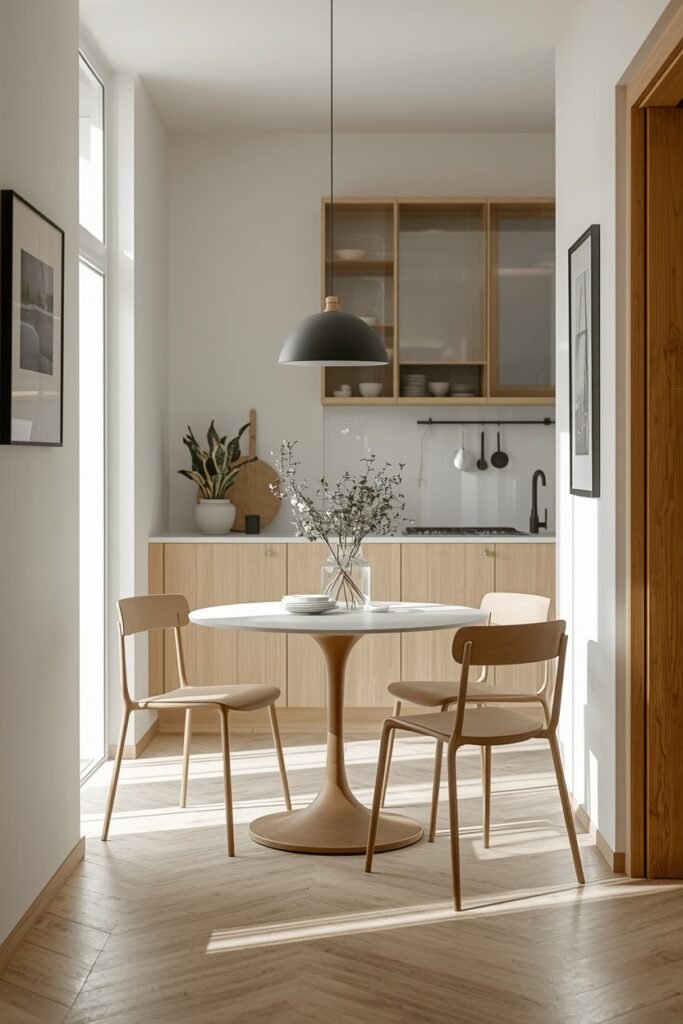
6. Let One Flooring Material Run Through the Whole Space
Changing flooring right where the kitchen ends can make an open-plan room feel chopped into smaller pieces.
A continuous floor gives the eye one uninterrupted surface to follow, which can make the kitchen and dining area feel calmer and more connected. This is especially useful in smaller layouts where every visual break is noticeable.
A few practical choices:
- use the same wood or wood-look floor throughout
- continue large-format tile into the dining area
- keep grout or plank direction consistent
- add softness later with a dining rug if needed
If different flooring is already installed, do not rush to replace it. A coordinated rug, furniture tone, and repeated material can still soften the transition.
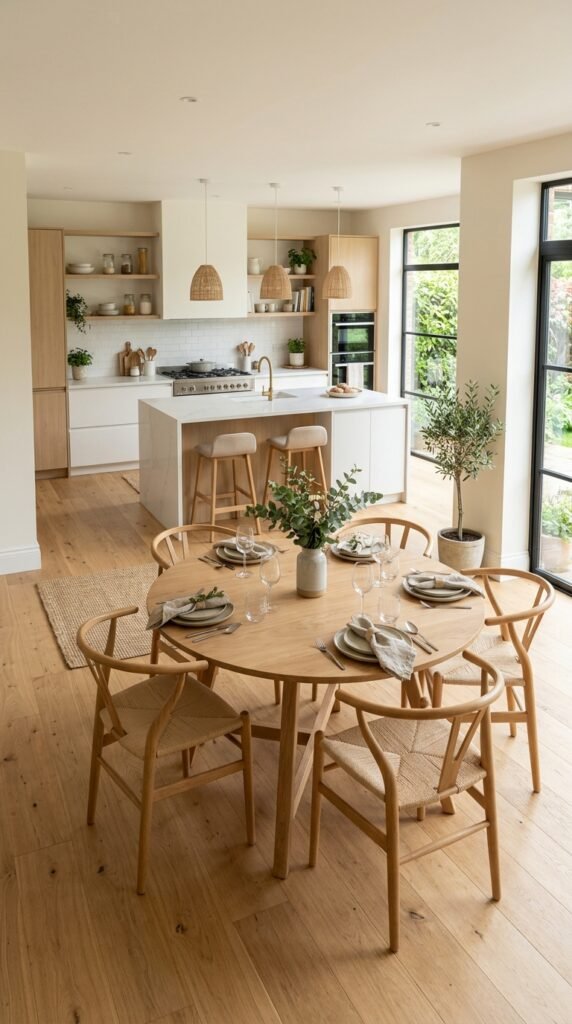
| Continuous Flooring | Split Flooring |
|---|---|
| Makes both zones read as one larger room. | Creates a stronger visual boundary between kitchen and dining. |
| Keeps sightlines cleaner in compact layouts. | Can work when each area needs a clearly different practical surface. |
| Easy to layer with a rug around the table. | Needs careful color and material coordination to avoid a patchwork look. |
7. Use a Rug to Define Dining Without Closing It Off
A dining rug gives the table its own visual territory while keeping the room physically open.
This works well when the kitchen and dining area share the same flooring and the dining furniture seems to disappear into the larger space. The rug acts almost like an invisible boundary.
The common mistake is choosing one that only fits beneath the table.
A better setup lets the chairs stay on the rug even when someone pulls them back. That keeps chair legs from catching the edge and makes the dining area look properly grounded.
For busy kitchens, choose a low-pile rug that is easier to clean and does not create a thick step in the main walking path.
Choose a rug wide enough for chairs to stay on it when pulled out.
Use a flatter weave in areas where food, crumbs, and chair movement are common.
Avoid a rug that barely reaches past the table edge.
Skip very thick piles where dining chairs need to move every day.
8. Keep Kitchen and Dining Colors in the Same Family
The two zones do not need identical colors, but they should feel like they belong in the same conversation.
If the kitchen has warm cream cabinets, for example, the dining area might pick up that warmth through beige upholstery, natural timber, or muted terracotta rather than introducing a completely unrelated cool grey scheme.
Start with the largest fixed finishes first.
Then check:
- cabinet color
- countertops or backsplash
- wall paint
- table finish
- chair upholstery
- rug and curtains
You can still add contrast. Just repeat one or two undertones so the shift between kitchen and dining feels gradual instead of abrupt.
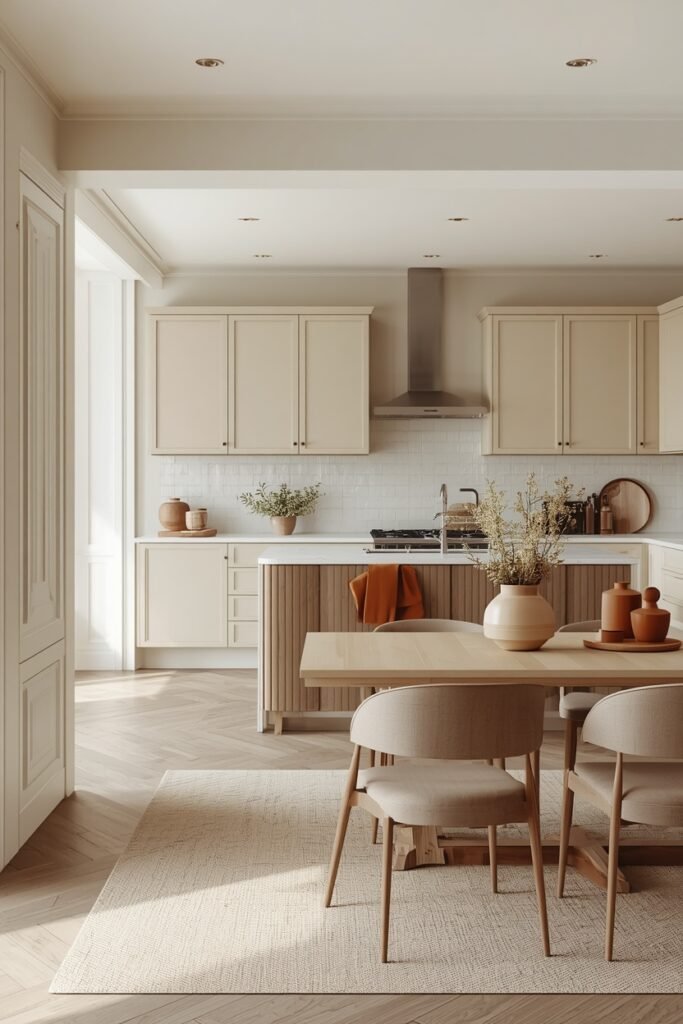
Color connection checklist
9. Turn the Back of the Island Into Dining Storage
The dining side of a kitchen island is easy to overlook, especially when it faces the table rather than the main work zone.
That surface can hold shallow cabinets for things you actually use at meals, such as serving dishes, placemats, candles, spare glasses, or the bowls that otherwise crowd a kitchen cupboard.
Keep the storage shallow if chairs or stools sit nearby.
Closed fronts usually work best because the dining area already has plenty to look at. Flat doors painted to match the island can almost disappear when closed.
This is particularly useful in smaller open-plan homes where adding a separate sideboard would narrow the walkway.
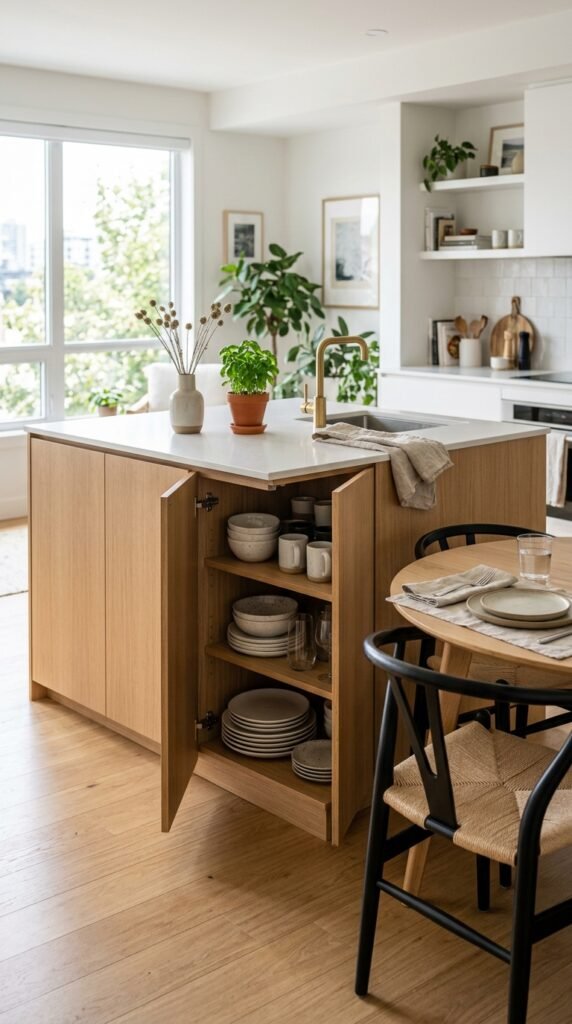
The dining side of the island is a blank panel while serving pieces and table linens compete for space elsewhere.
Shallow closed cabinets keep dining essentials near the table without taking up floor space with another storage unit.
10. Use a Bench Where Dining Chairs Would Block the Walkway
Sometimes the table fits, but the chairs do not.
A bench can solve that problem along the side closest to a wall, window, or tight passage because it usually tucks farther under the table than individual chairs. There are also fewer chair backs interrupting the sightline from the kitchen.
It works particularly well for:
- narrow dining areas
- tables pushed slightly toward one wall
- family seating
- layouts with a busy route behind one side of the table
Keep chairs on the more accessible side for everyday convenience.
A bench is less useful if everyone needs to get up frequently, so think about how the table is actually used, not just how it looks in a photo.
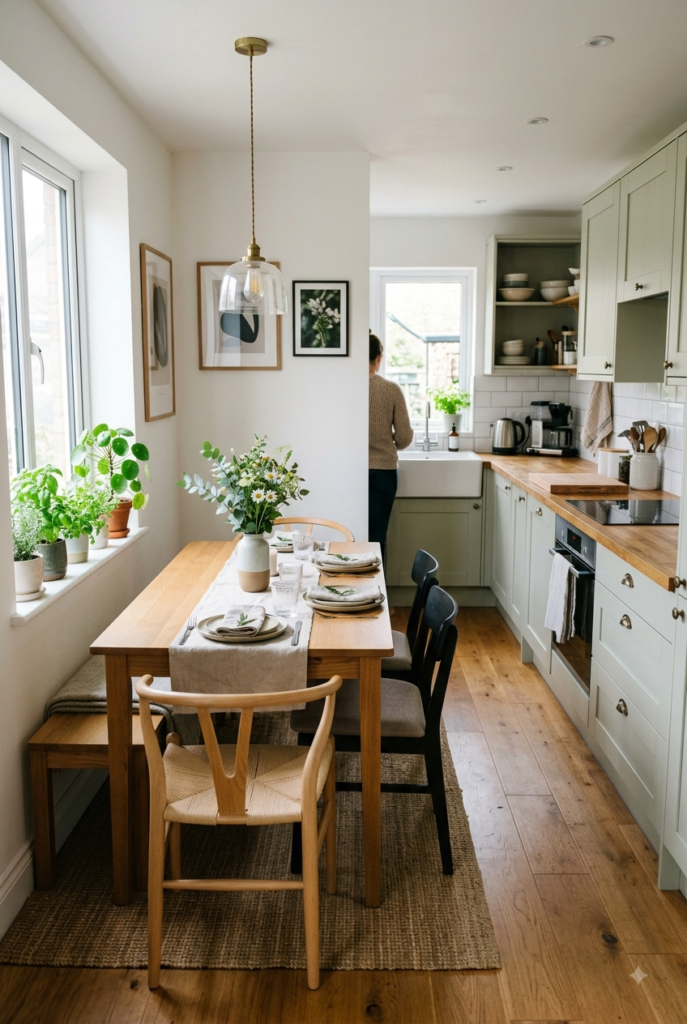
📌 Good To Know
Put the bench on the tighter side of the table and keep individual chairs where people need easier access. This saves space without making every seat less convenient.
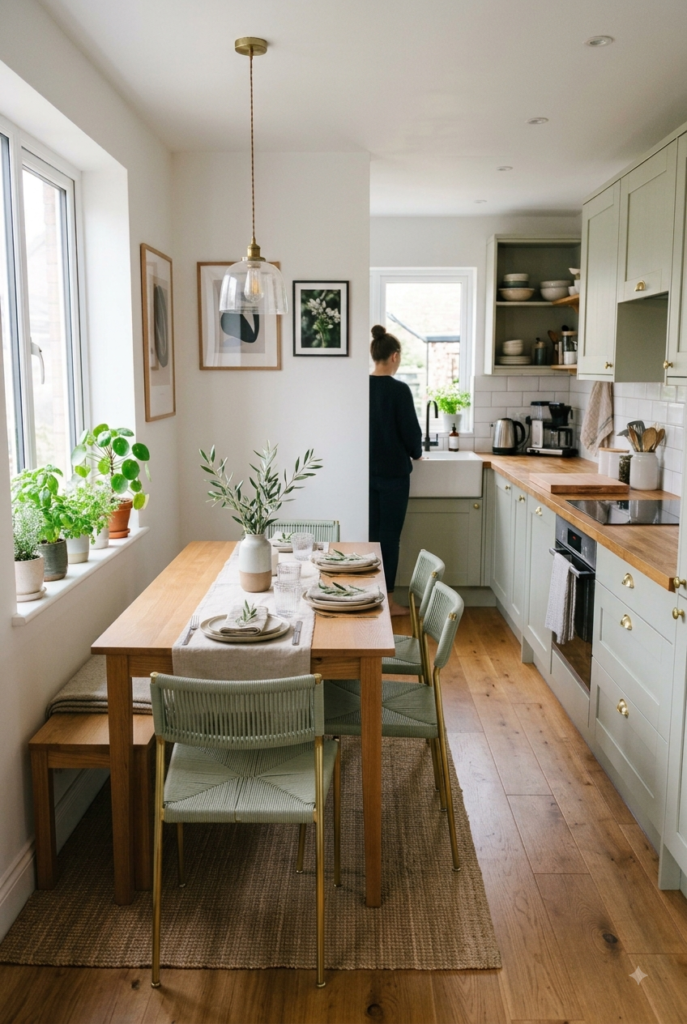
11. Match Dining Chairs to a Small Detail in the Kitchen
The dining chairs do not need to match the cabinets or island. In fact, an exact match can make the room feel too coordinated.
A better approach is to borrow one small detail from the kitchen.
That could be:
- black chair legs that echo cabinet hardware
- warm wood that picks up open shelving
- beige upholstery that relates to the countertop
- brass details that repeat a pendant finish
The connection should be noticeable without feeling obvious.
This works especially well when the kitchen and dining furniture are different styles. One repeated finish gives the eye a reason to read them as part of the same room.
12. Leave a Clear Walking Route Between Both Zones
A beautiful dining setup becomes annoying fast if people have to squeeze behind chairs every time they cross the room.
The main walking route should be easy to spot even when the table is in use.
Start by looking at where people naturally move between the kitchen, dining area, doors, and living space. Then position the table around that route instead of forcing traffic around the furniture.
A simple test helps:
- Pull every dining chair out as if people are seated.
- Walk the route you use most often.
- Shift the table or remove a chair if the path feels cramped.
Daily movement matters more than perfect symmetry.
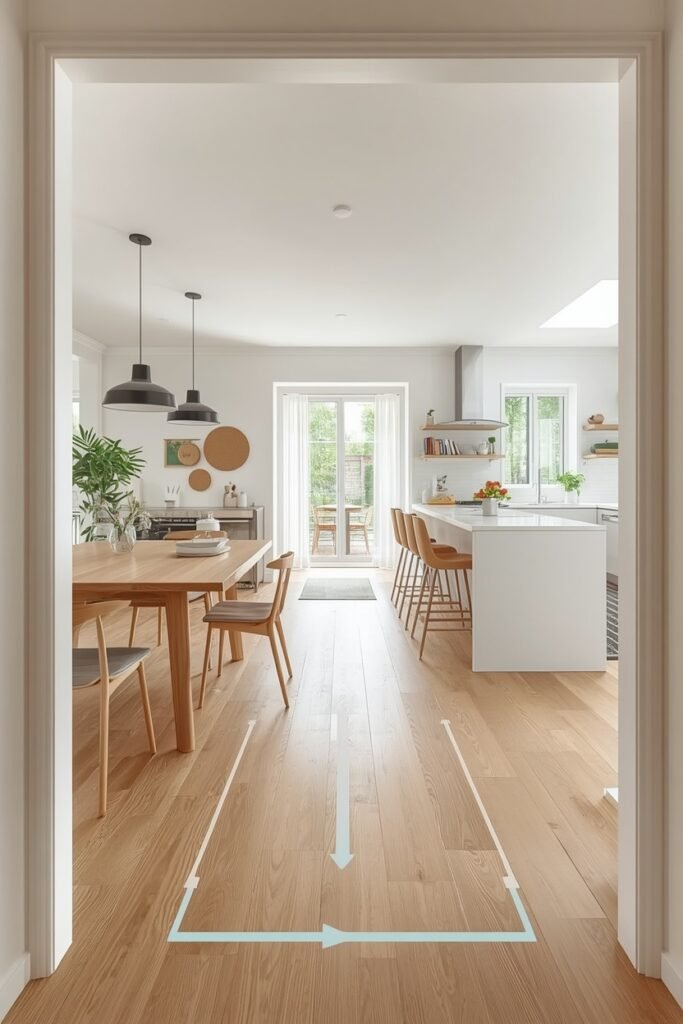
Pull the chairs into their real in-use position rather than judging the room while everything is tucked away.
Walk between the kitchen, table, doorway, and adjoining living area.
Move the table slightly off-center if that creates a cleaner everyday route.
13. Choose a Dining Table Shape That Follows the Room
Table shape can either support the room or fight against it.
A long open-plan space usually handles a rectangular or oval table well because the furniture follows the room’s direction. A compact square dining zone may feel easier with a round table.
Oval tables sit somewhere in between. They give you the length of a rectangular table without hard corners pushing into circulation space.
Think about the room before the table:
- long room, rectangular or oval
- compact square zone, round
- tight walkway, oval or round
- larger family dining area, rectangular
The best shape is usually the one that leaves the least awkward leftover space around it.
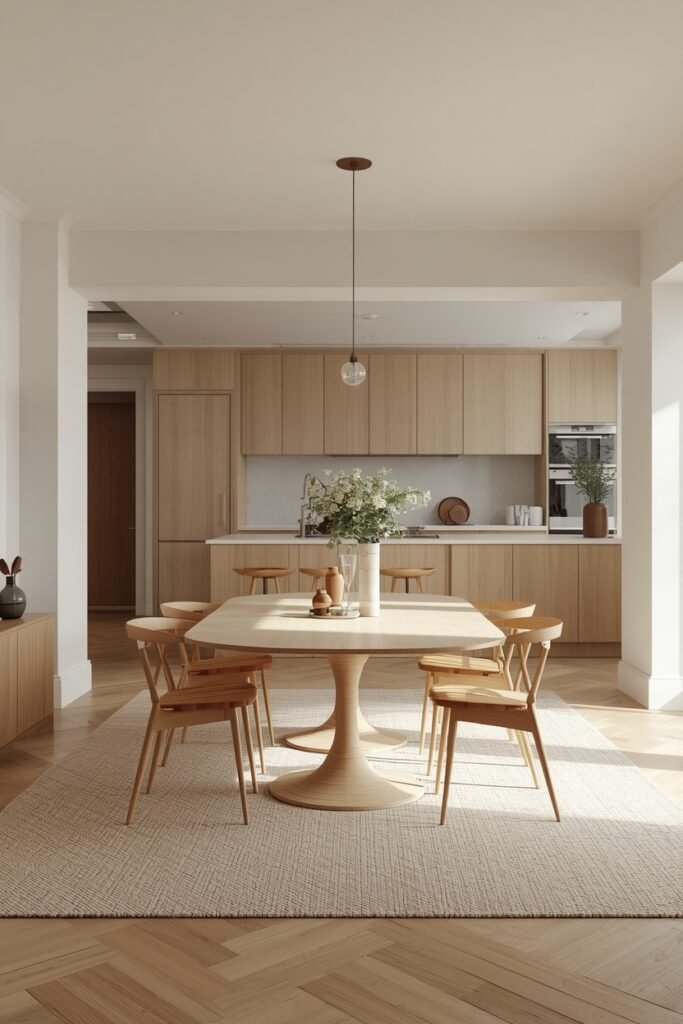
14. Use Open Shelving to Visually Connect Kitchen and Dining
Open shelving can bridge the gap between a practical kitchen and a softer dining space.
The trick is not to fill it like a storage cupboard.
Use a few pieces that make sense in both zones, such as serving bowls, glasses, cookbooks, a small plant, or ceramics you actually reach for. The shelf then feels like part kitchen storage and part dining display.
Keep the palette restrained so the shelves do not become the busiest feature in the room.
Good items to repeat include:
- everyday glassware
- serving boards
- neutral ceramics
- one or two cookbooks
- a small trailing plant
- a simple bowl or vase
Leave some empty space between groups. That is what keeps open shelving from looking cluttered.
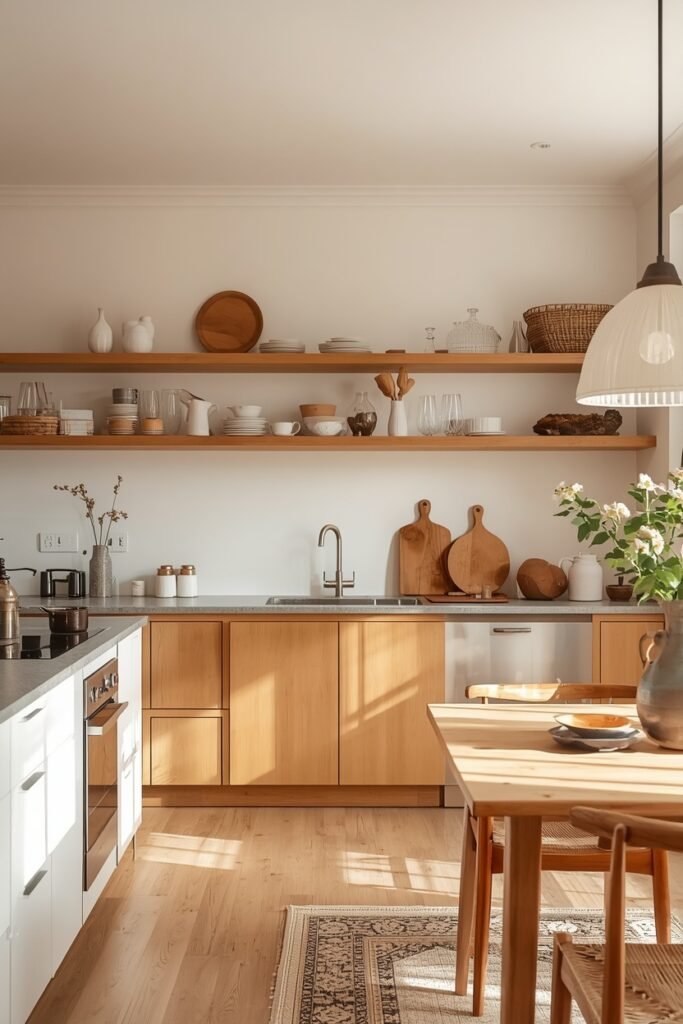
- ▸Keep useful serving pieces within reach of the dining table.
- ▸Repeat one material already used in the kitchen or dining furniture.
- ▸Mix practical objects with only a few decorative pieces.
- ▸Leave visible gaps so the shelf reads as intentional rather than overfilled.
15. Create One Shared Focal Point Instead of Two Competing Ones
Open-plan rooms can get visually noisy when the kitchen has a bold backsplash, the dining wall has oversized art, and several pendant lights are all trying to be the main feature.
Pick one element to lead.
That might be the island, a statement dining light, a stone backsplash, or a large piece of art visible from both zones.
Then let the rest support it.
For example, if the dining pendant is sculptural, keep nearby kitchen lighting simpler. If the kitchen already has dramatic veined stone, the dining area may only need a quiet wall and a warm timber table.
One clear focal point gives the eye somewhere to land and lets the whole room breathe.
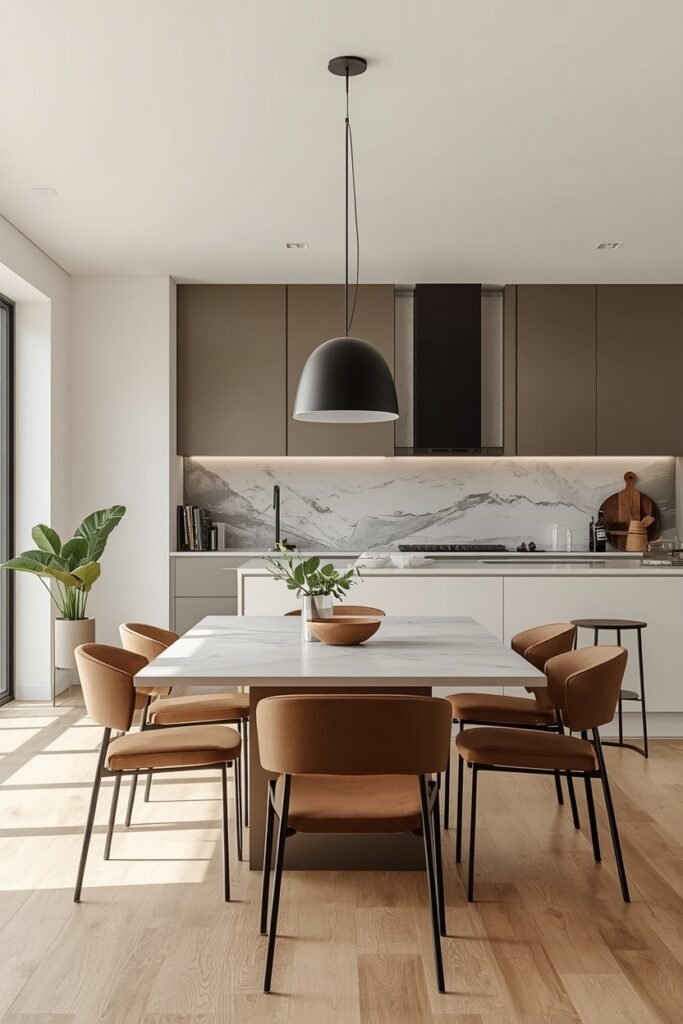
Let one feature lead the room. The kitchen and dining area will usually feel more connected when every surface is not competing for attention.
16. Add a Slim Console Behind the Dining Area
A full sideboard can feel too bulky in an open-plan room, but a slim console can add useful storage without eating into the walkway.
Place it behind the dining table or along a nearby wall and keep the depth narrow enough that chairs can still move freely.
It works well for things that do not need to live in the kitchen:
- napkins and placemats
- serving bowls
- candles
- baskets
- spare glasses
- a small lamp
The top should stay fairly clear. One lamp, a bowl, and a small stack of books will usually look calmer than a row of tiny accessories.
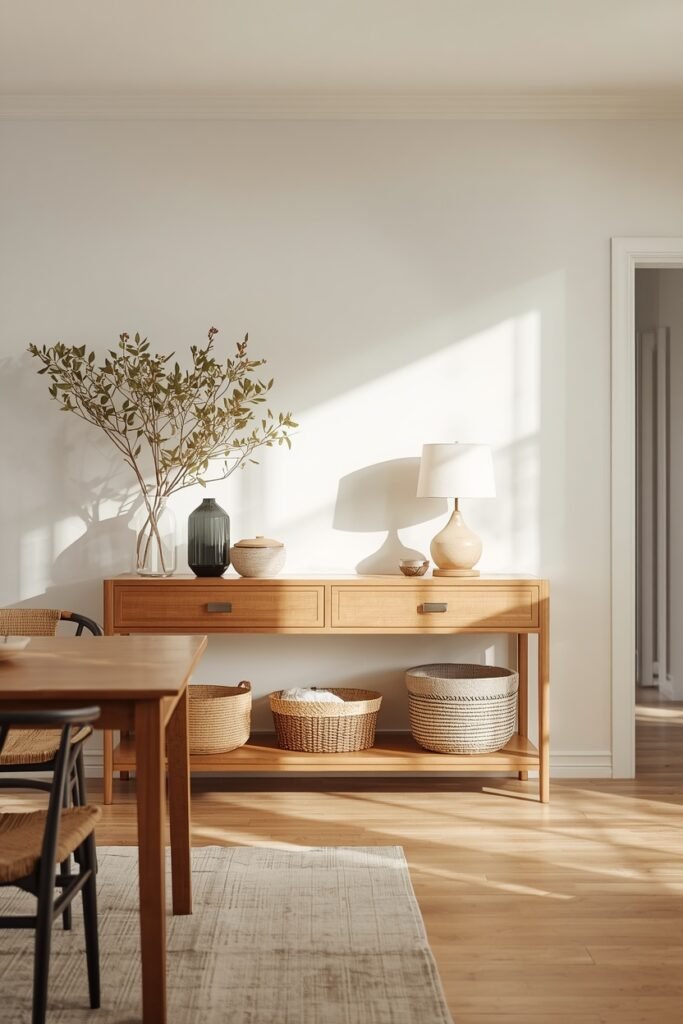
What works well on a slim console
17. Keep Tall Kitchen Cabinets Away From the Dining Sightline
Tall cabinets are practical, but placing a solid wall of them directly beside the dining area can make the room feel boxed in.
If the layout allows it, group tall pantry units and appliance cabinets toward one end of the kitchen. Keep the side facing the dining area lighter with lower cabinets, open wall space, or a shorter run of storage.
That creates a cleaner view when you are sitting at the table.
A useful rule is simple:
Put the visual weight where the room can handle it.
The dining side usually benefits from fewer tall vertical blocks, especially in smaller open-plan layouts where the kitchen is already the dominant feature.
Group tall storage toward one end of the kitchen.
Keep the dining-facing side lower and visually lighter where possible.
A full-height cabinet wall directly beside the table can make the dining area feel compressed.
Avoid adding more tall storage just because an empty wall is available.
18. Use the Ceiling to Quietly Separate the Two Zones
You do not always need furniture or flooring to show where the kitchen ends and dining begins.
The ceiling can do that work in a softer way.
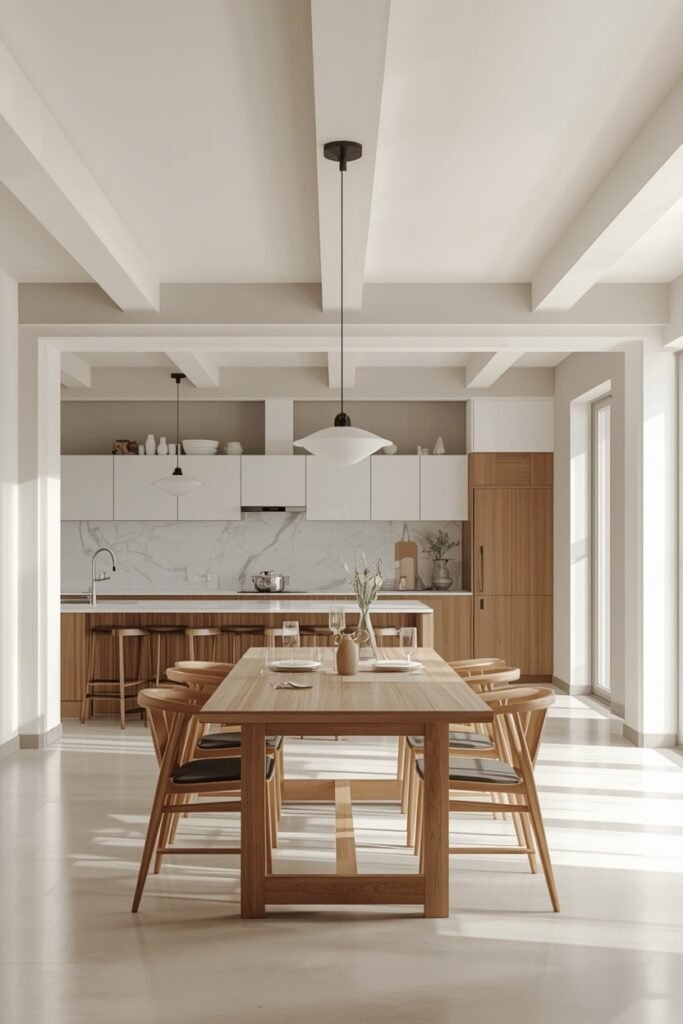
A dining pendant creates the simplest boundary, but there are other options too. Exposed beams, a subtle ceiling paint change, or a different lighting arrangement can give each zone its own identity without interrupting the floor plan.
The key is restraint.
If the kitchen ceiling already has a lot happening, the dining area may only need one well-placed fixture. If the architecture is plain, a small ceiling detail can add structure without making the room feel divided.
| Ceiling Move | Best Use |
|---|---|
| Pendant or chandelier | Simple dining zone definition. |
| Exposed beam | Rooms that already have architectural character. |
| Subtle ceiling color shift | Soft zoning without adding more furniture. |
| Different light grouping | Separating task lighting from dining lighting. |
19. Build a Breakfast Nook Into an Awkward Open-Plan Corner
That corner where nothing quite fits can sometimes become the best dining spot in the room.
A compact breakfast nook works particularly well beside a window, at the end of a cabinet run, or in a corner where a standard table would leave too much unused space.
Built-in or wall-hugging seating is the main advantage.
It lets you push the table closer to the edge of the room while keeping the center more open.
Pair the bench with:
- a small round or oval table
- one or two movable chairs
- washable seat cushions
- a pendant or wall light
This can turn leftover floor area into a proper everyday dining zone without competing with the main kitchen.
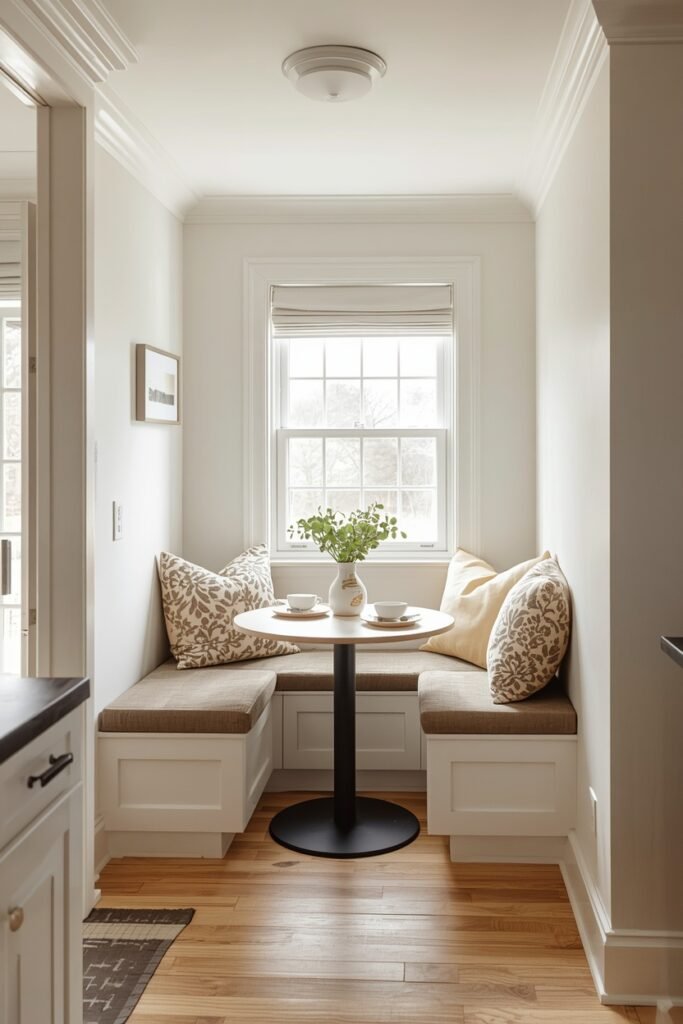
An awkward corner holds no real function and leaves the dining furniture floating closer to the middle of the room.
A wall-hugging bench and compact table turn the corner into a useful dining nook while opening up the main circulation path.
20. Use One Long Sightline to Make a Small Layout Feel Bigger
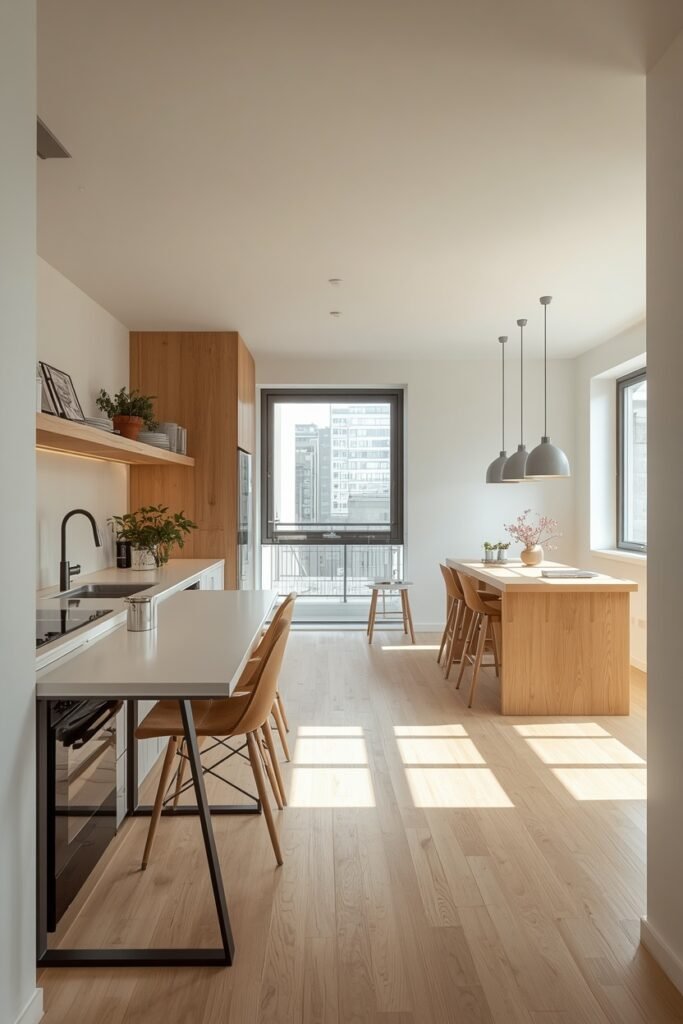
Small open-plan rooms often feel more spacious when the eye can travel from one end to the other without hitting too many tall or bulky objects.
Look at the room from its main entrance.
If the view is blocked by high-backed chairs, a large light fixture, tall shelving, or a bulky island end, see what can be lowered or simplified.
A cleaner sightline might mean:
- low dining chairs
- an open-base table
- slim pendant lights
- fewer objects on the island
- keeping tall storage against the outer walls
You are not trying to make the room empty. You are protecting one clear visual path through it.
💡 Quick Tip
Stand at the main entrance to the room and identify the longest uninterrupted view. Keep that line visually light with lower furniture and fewer tall objects.
21. Repeat Small Details So the Kitchen and Dining Area Feel Intentional
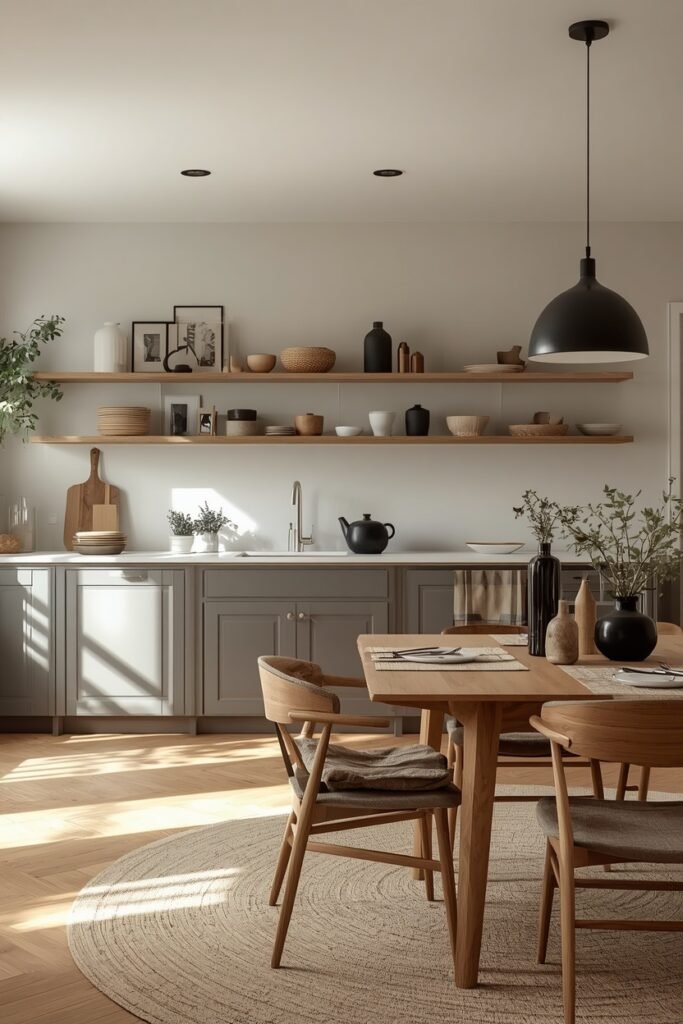
The final layer is usually not a big furniture change. It is the small repeated details that make the whole room feel connected.
You might use the same warm wood tone in a serving board and dining chairs, repeat black metal through cabinet handles and a light fixture, or carry one ceramic color from the kitchen shelves onto the table.
Keep the repeats light.
Good details to connect include:
- hardware finishes
- wood tones
- ceramics
- table linens
- light fixtures
- small decorative objects
The goal is not to match everything. A few repeated notes are enough to make the kitchen and dining area feel like one considered space rather than two separate zones.
Conclusion
A good open-plan kitchen and dining area should feel connected without losing the purpose of each zone. The biggest improvements usually come from simple layout choices, like keeping walkways clear, aligning furniture, repeating finishes, and using lighting or rugs to give the dining area its own place.
You do not need every detail to match. A few thoughtful links between the kitchen and dining space are usually enough to make the whole room feel calmer and more intentional.
Use these open-plan kitchen dining ideas as a starting point, then adjust them around the way your room is actually used each day.
Save this list to Pinterest for the next time you want to rethink your kitchen and dining layout.