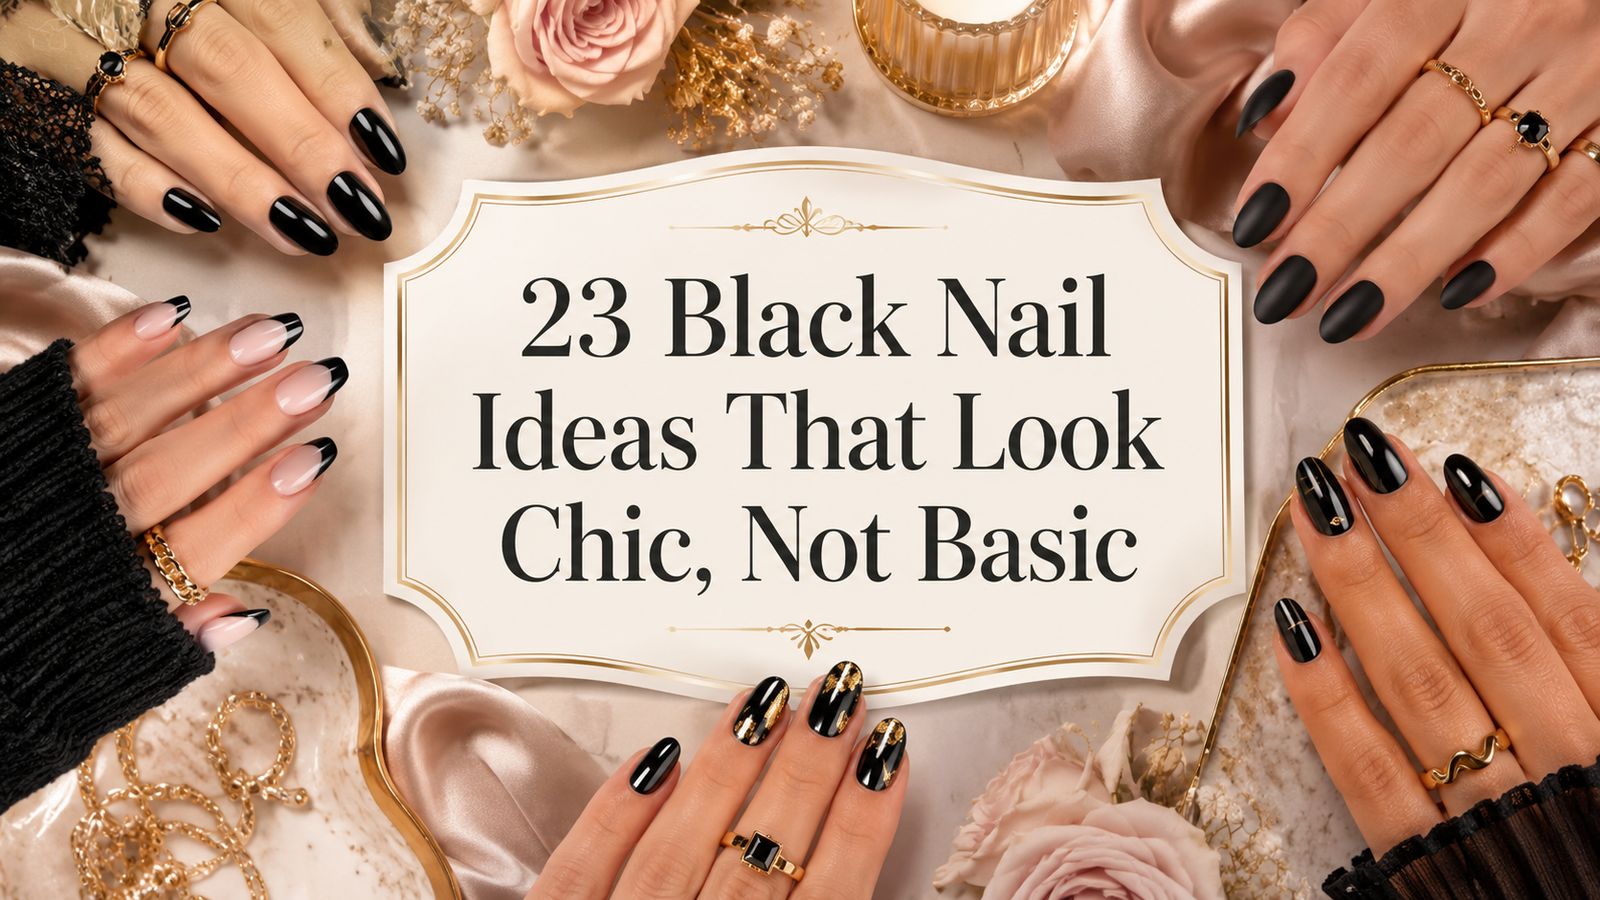
23 Black Nail Ideas That Look Chic, Not Basic
Black nails can look incredibly polished, but the difference between sleek and flat often comes down to the finish, shape, and small details.
That is what makes 23 Black Nail Ideas That Look Chic, Not Basic worth exploring beyond a simple coat of dark polish. Black works with short natural nails, long almond shapes, barely-there French tips, chrome finishes, soft gradients, and tiny accents that completely change the mood. The color itself is simple. The styling is where it gets interesting.
A high-shine black manicure can feel clean and classic, while matte black looks softer and more modern. Add metallic powder, a nude base, or a magnetic finish, and the same shade suddenly has depth.
The ideas below move through subtle, wearable options and more noticeable designs without making every manicure feel heavy. If you usually save black nails for colder months, a few of these may change that.
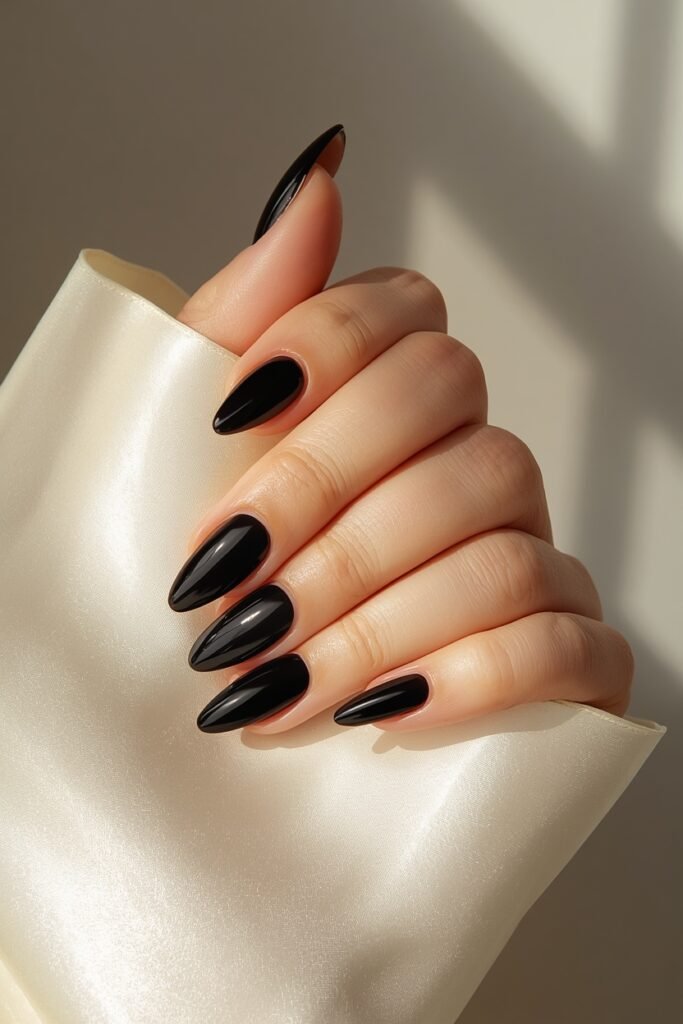
1. Glossy Jet Black Nails With a Glass-Like Finish
A solid black manicure works best when the finish looks deliberate. With jet black polish, every edge, cuticle line, and patch of uneven shine becomes easier to see, so neat prep matters.
Keep the shape simple and let the shine do the work.
A few details make this look especially clean:
- File every nail to a similar length.
- Use thin coats instead of one thick layer.
- Finish with a high-gloss top coat that reflects light clearly.
Short oval, almond, and soft square nails all suit this style. It is one of those manicures that looks understated from a distance but much sharper up close.
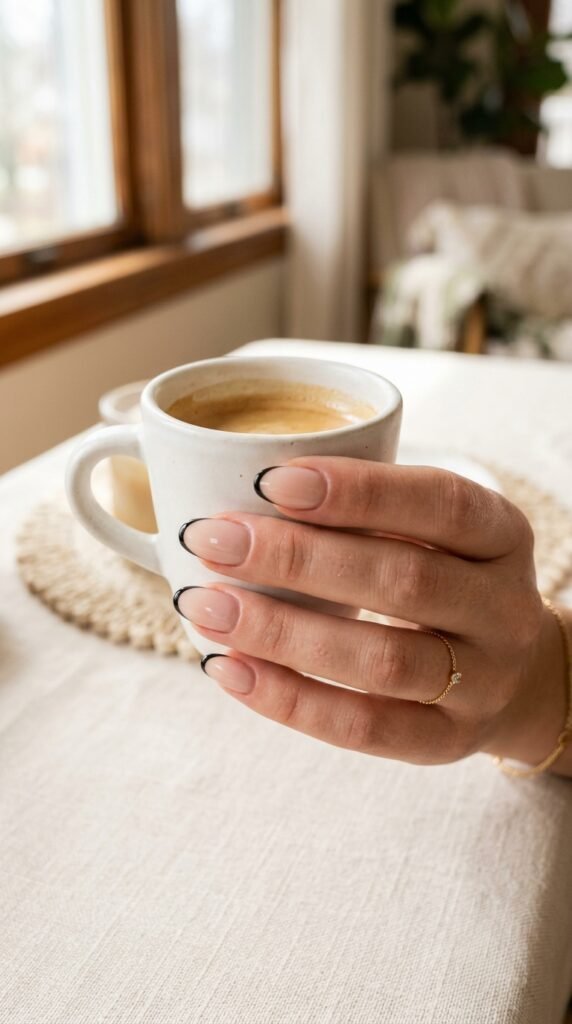
2. Micro Black French Tips for a Barely-There Manicure
Black French tips do not need a thick band of color to stand out. A very fine black line along the edge of a sheer pink or nude nail feels lighter and more refined.
The trick is keeping the tip narrow.
On shorter nails, follow the natural free edge instead of creating an exaggerated curve. On almond nails, a slightly tapered line can make the shape look even longer.
For the cleanest result:
- Start with a translucent base.
- Paint the black edge as thinly as possible.
- Seal everything with a glossy top coat.
It gives you the contrast of black polish without covering the whole nail.
💡 Quick Tip
Keep the black tip close to the natural edge of the nail. A thinner line leaves more of the nude base visible and keeps the manicure crisp.
3. Black Chrome Nails With a Liquid Metal Shine
Chrome changes black polish more than almost any other finish. Instead of reading as flat black, the surface catches silver, charcoal, and mirror-like highlights as your hands move.
A smooth base is important here because chrome powder can make little bumps easier to notice.
For a cleaner metallic effect:
- Start with an opaque black base.
- Make sure the surface is fully smooth.
- Apply chrome evenly rather than heavily.
Long almond nails make the reflective finish dramatic, while short rounded nails keep it more wearable. Under soft indoor light, the manicure looks deep and smoky. In brighter light, the metallic sheen becomes much more noticeable.
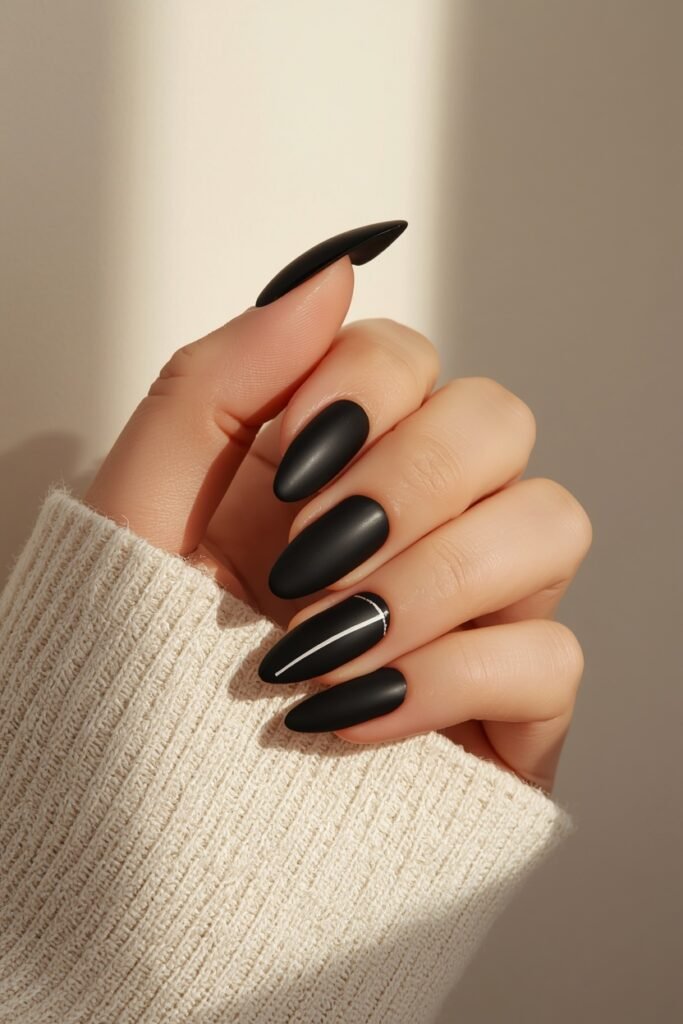
4. Soft Matte Black Nails With One Glossy Accent Detail
Matte black has a softer look than high-shine polish, but covering every nail in the same flat finish can sometimes feel a little heavy.
A small glossy detail breaks it up without adding another color.
You could use:
- a shiny French tip
- one thin curved line
- a glossy half moon near the cuticle
The contrast only appears when light hits the nail, which keeps the design subtle.
Matte finishes also show oils and small marks more quickly than glossy ones, so this style tends to look best when the surface stays clean and smooth. If you want something minimal but not completely plain, this is an easy middle ground.
| Matte Black | Glossy Black |
|---|---|
| Soft, velvety surface | Sharp light reflection |
| Feels modern and muted | Feels classic and polished |
| Works well as the main finish | Works well for tiny accent details |
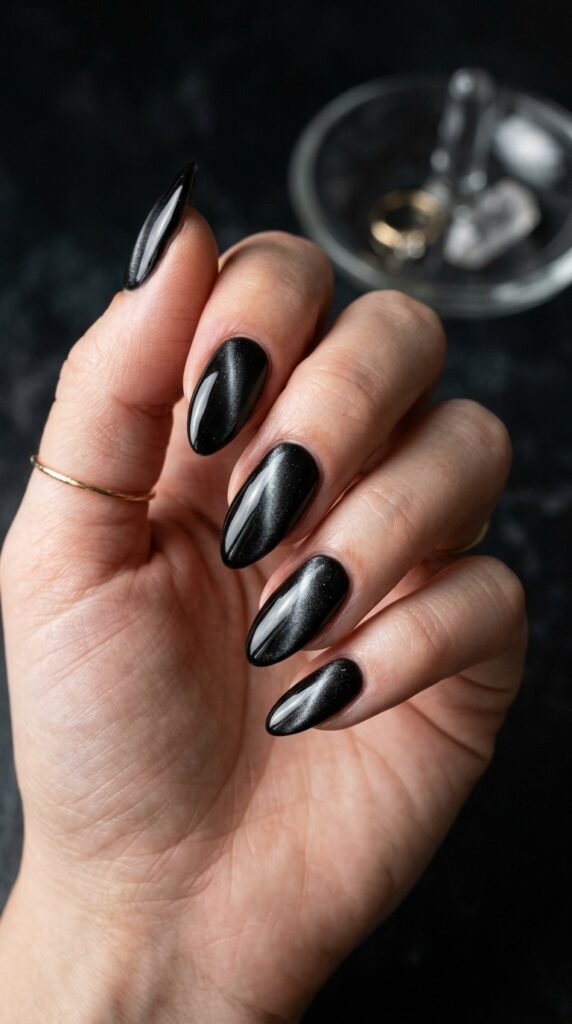
5. Black Cat Eye Nails With a Smoky Magnetic Glow
Cat eye polish gives black nails depth without needing detailed nail art. The magnetic shimmer sits inside the dark base, so the light seems to move across the nail instead of simply reflecting from the surface.
That moving glow is what keeps the manicure from looking flat.
For a smoky effect, keep the magnetic line soft rather than pulling it into one very sharp stripe. A diffused glow through the center can resemble charcoal, velvet, or dark glass depending on the light.
This finish works especially well on almond and oval nails because the curved shape helps the shimmer move naturally. Even one accent nail can give a plain black manicure more dimension.
Opaque black gives you a clean, solid surface with little change as the light moves.
Magnetic shimmer creates a smoky ribbon of light that shifts across the dark base as the nail moves.
6. Milky Nude Nails With Fine Black Line Art
A sheer milky base gives black nail art room to breathe. Instead of covering the whole nail, use thin black lines to create small shapes that feel light and intentional.
Good motifs include:
- tiny curved waves
- simple leaf outlines
- abstract face lines
- small bows or stars
Keep the artwork slightly different on each nail so the set feels collected rather than copied. One nail might have a single curve, while another carries two tiny details near the tip.
The easiest mistake is adding too much. Leave plenty of bare space around each line so the soft base stays visible.
Line art ideas to save
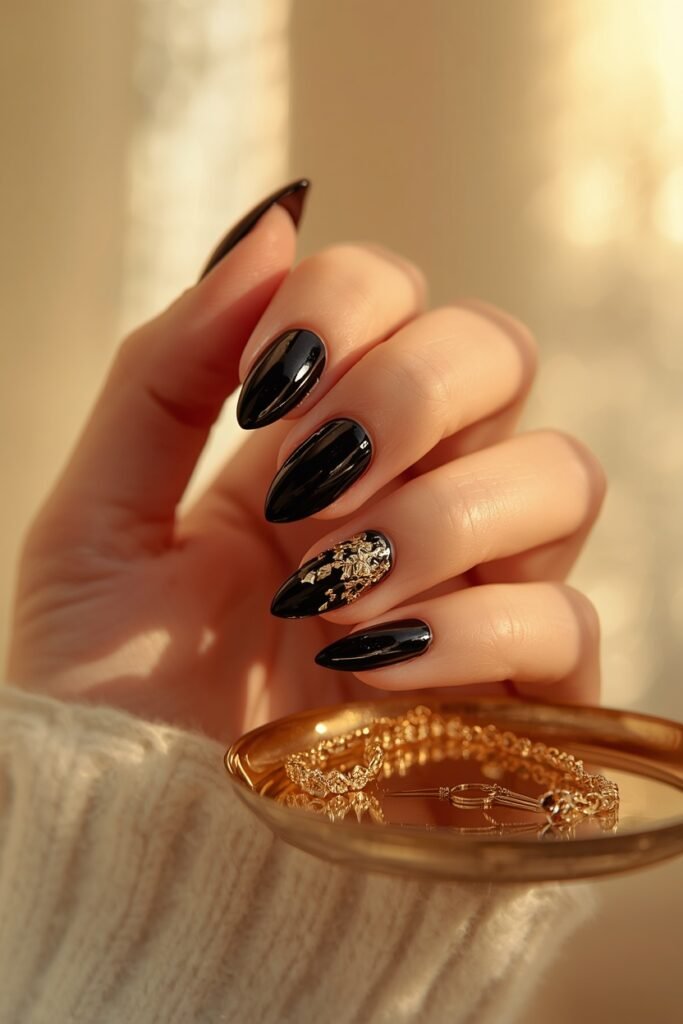
7. Black Almond Nails With Tiny Gold Foil Details
Black and gold can look heavy very quickly, so the prettiest version usually uses less foil than you expect.
Start with a smooth black base, then place a few irregular gold flakes instead of covering entire nails. Almond shapes work especially well because the longer surface gives the foil room without making it feel crowded.
Three placements tend to look polished:
- clustered near the cuticle
- scattered lightly through the center
- concentrated on one or two accent nails
Keep the pieces uneven. Perfectly symmetrical foil can start to look stamped on, while small irregular fragments feel softer and more natural.
8. Reverse Black French Nails With a Bare Cuticle Curve
A reverse French manicure moves the dark detail from the tip to the base of the nail. The result feels graphic, but still leaves most of the nail soft and sheer.
The cleanest version uses a nude or pale pink base with a slim black crescent following the cuticle line.
Build it in three simple steps:
- Apply a sheer base and let it level out.
- Paint a fine curved line just above the cuticle.
- Keep the curve similar in width across every nail.
Do not take the black too far up the sides. A narrow crescent makes the design feel lighter and keeps the nail looking longer.
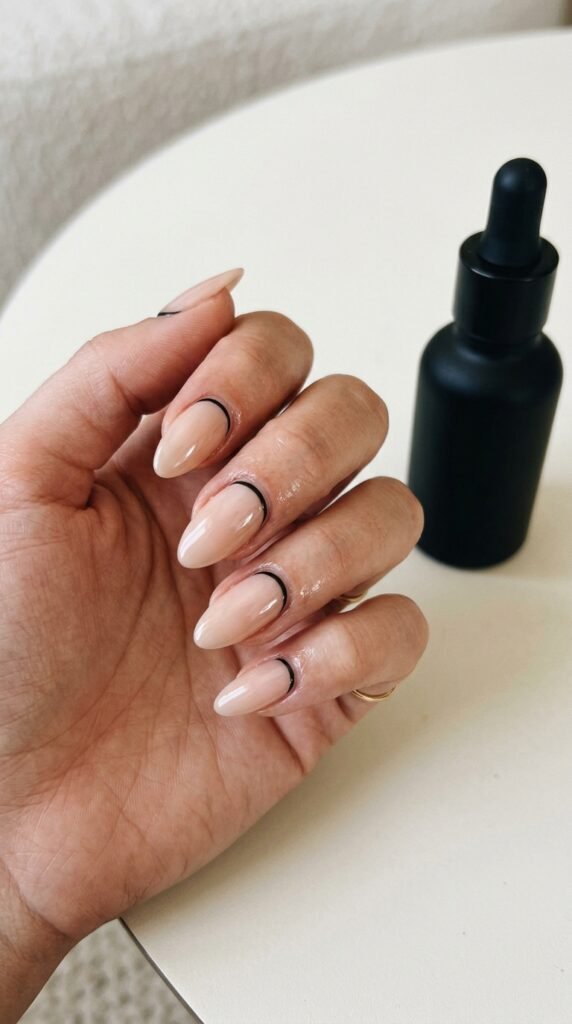
Start with a sheer nude or pale pink base.
Trace a thin black crescent just above the cuticle.
Seal with gloss and keep the side edges clean.
9. Black Aura Nails With a Soft Smoky Center
Aura nails look best when the color seems to blur into the base rather than sitting on top like a hard circle.
For a black version, start with a sheer nude, smoky grey, or translucent pink base. Then build the darkest color through the center and let it fade gently toward the edges.
A small sponge or airbrush-style technique can help soften the transition.
The center does not need to be completely black. Charcoal fading into a darker core often looks more dimensional and less harsh.
Keep the outer edge soft enough that you cannot clearly see where the black begins. That blur is what gives the design its smoky finish.
A black aura should fade outward with no obvious border. Keep the darkest point near the center and soften everything around it.
10. Short Square Black Nails With Ultra-Clean Edges
Short black nails can look just as striking as long ones, especially when the shape is neat and the corners stay consistent.
A soft square shape gives the color a clean, practical look without making the manicure feel too severe.
Pay attention to three areas:
- the sidewalls should look straight
- the free edge should be even
- the polish should stop neatly around the cuticle
Black makes tiny shaping differences easier to notice, so filing matters more here than extra nail art.
If you use your hands a lot or prefer low-maintenance lengths, this is one of the easiest black manicures to wear day to day.
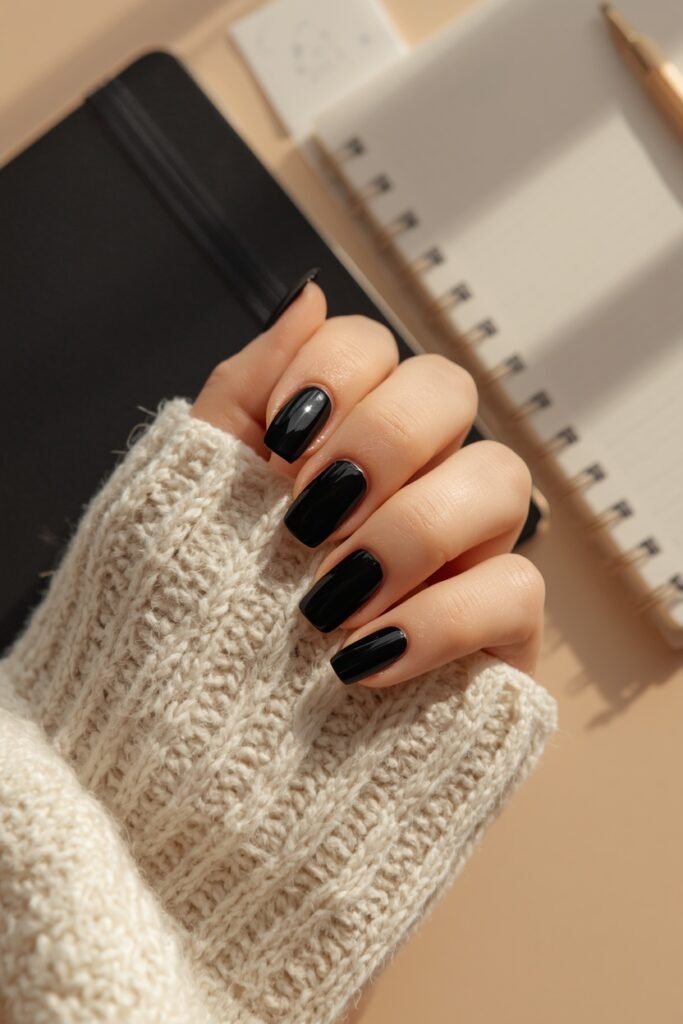
📌 Good To Know
With solid black polish, shape matters as much as color. Check the nails from the front and side before polishing so uneven corners do not stand out later.
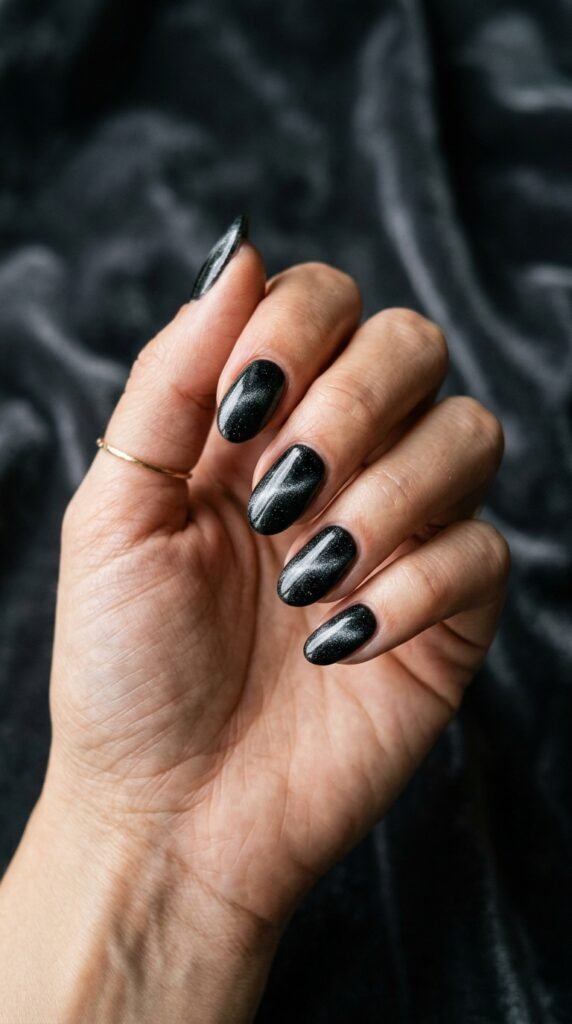
11. Black Velvet Nails With a Soft Light-Reflective Finish
Velvet black nails sit somewhere between cat eye and shimmer polish. The surface stays dark, but fine reflective particles create a soft glow that moves as the hand turns.
It works best when the shimmer feels diffused rather than sparkly.
To keep the finish smooth:
- choose a deep black base
- use a fine magnetic or velvet-effect polish
- avoid chunky glitter that breaks up the surface
Rounded and almond nails show the shifting light especially well because there are fewer sharp edges interrupting the reflection.
This is a good choice if solid black feels too flat but full chrome feels too bold.
12. Black French Tips With Delicate White Outline Details
A thin white outline can make black French tips feel more graphic without turning them into a busy design.
Start with the black tip first, then add the white line just underneath or along one side of the curve. Keep it finer than the black section so the contrast stays controlled.
Two versions work especially well:
- a full white outline following the black tip
- a partial line that stops before reaching both sides
The second option feels more minimal.
Use a sheer pink or nude base so the black and white details stay crisp. This style looks especially clean on almond and medium square nails.
| Plain Black French | Outlined Black French |
|---|---|
| Simple, high-contrast tip | Adds a fine graphic detail |
| Best for a minimal look | Best when you want more definition |
| Faster to create | Needs a finer detail brush |
13. Black Jelly Nails for a Sheer, Glossy Look
Jelly black is much softer than opaque black because a little light can still pass through the color.
Think of smoked glass rather than solid polish.
The effect works especially well on shorter nails or medium almond shapes, where several thin coats can build depth without becoming fully opaque.
For the best result:
- Start with one sheer layer.
- Add a second only if you want more depth.
- Finish with a very glossy top coat.
You should still be able to sense a little translucency around the edges.
It is a useful option if you like dark nails but want something lighter than a full jet black manicure.
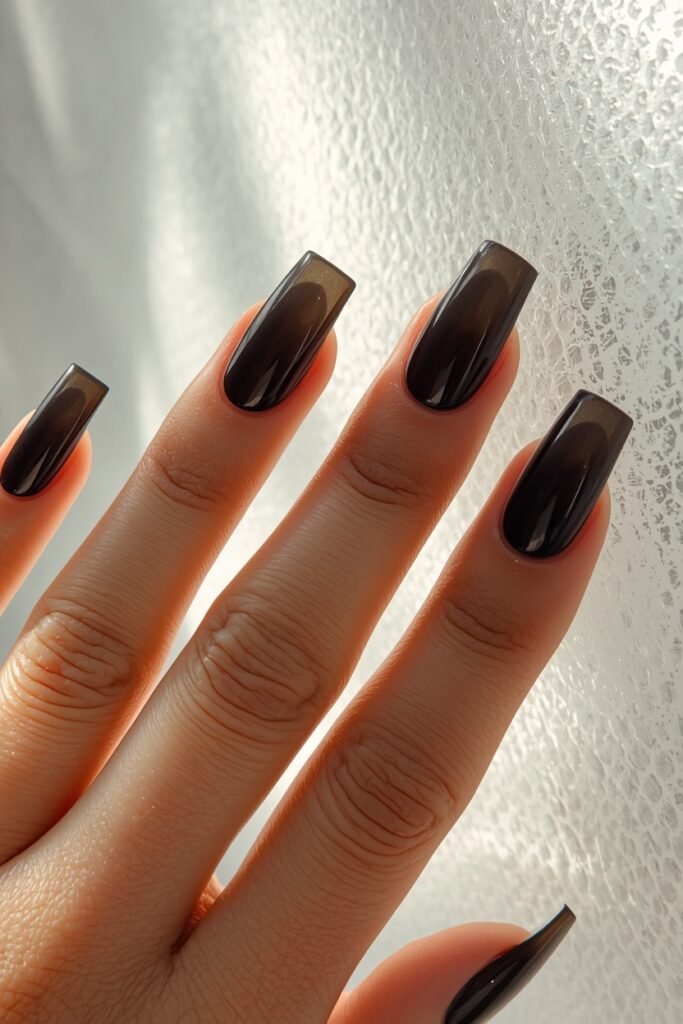
Dense coverage blocks the natural nail completely and creates a strong solid finish.
Sheer layers keep a smoked-glass effect, with slightly lighter edges and more visible depth.
14. Tiny Black Hearts Over a Sheer Nude Base
Black hearts can feel playful without looking overly sweet when they stay very small and are spaced carefully.
A sheer nude or pale pink base keeps the design light.
Instead of placing a heart in the center of every nail, vary the position. Try one near a tip, another close to the cuticle, and leave a few nails almost bare.
A balanced set might include:
- one tiny heart on two nails
- a pair of mini hearts on one accent nail
- plain glossy nude on the remaining nails
The empty space matters as much as the art. It keeps the manicure grown up and stops the pattern from feeling crowded.
Keep the heart design balanced
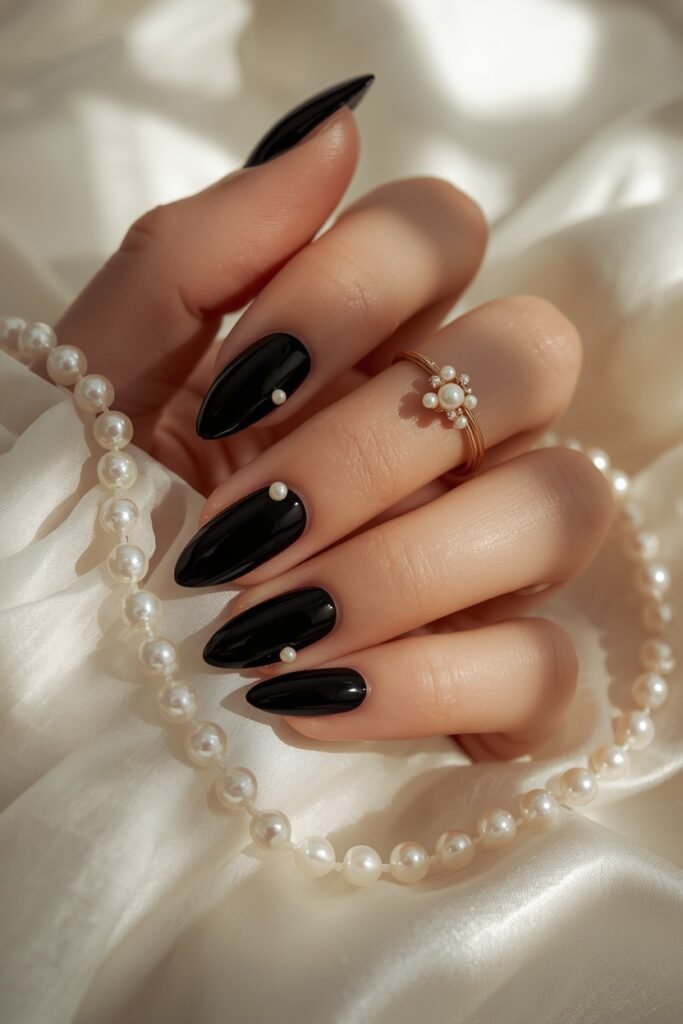
15. Black Nails With Pearl Accent Details
Pearls soften black polish in a way metallic accents do not. The contrast is noticeable, but the creamy finish keeps the manicure elegant rather than sharp.
You do not need many.
One small pearl near the cuticle can be enough, especially on short or medium nails. For something more decorative, use a tiny cluster on one accent nail while leaving the rest glossy black.
Three placements worth trying:
- one pearl centered at the cuticle
- two or three pearls along one side
- a small cluster on the ring finger only
Keep the embellishments low-profile where possible. Large raised pearls can catch on hair and fabric during everyday wear.
16. Black Swirl Nails Over a Soft Pink Base
Black swirls look best when they feel loose and uneven rather than perfectly matched from nail to nail.
A sheer pink base keeps the manicure soft while the black curves add movement.
Vary the line work across the set:
- one thin wave on a short nail
- a wider curve on an accent nail
- two crossing lines on one or two fingers
Avoid filling every nail with the same pattern. A few quieter nails give the design space to breathe.
This style works especially well on almond and oval shapes because the curves can follow the natural direction of the nail.
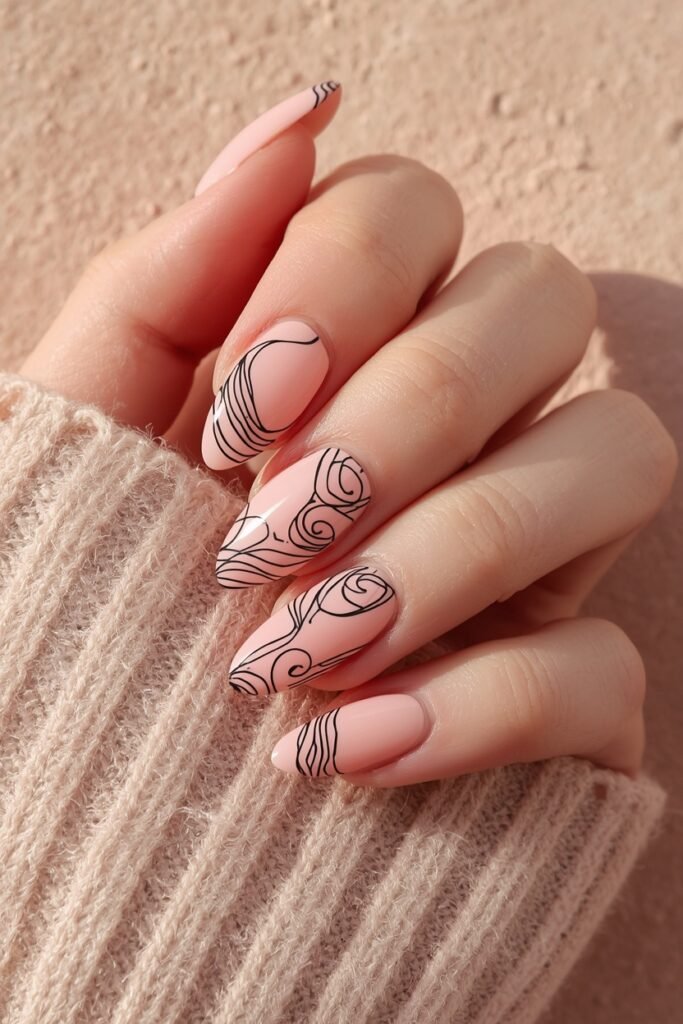
- ▸Use one thin swirl on simpler nails.
- ▸Add a thicker curve to one accent nail for contrast.
- ▸Leave some open pink space around every line.
17. Black Tortoiseshell Nails With Warm Amber Details
Black tortoiseshell feels richer when the dark areas are broken up with warm amber and caramel tones.
The trick is building the pattern in soft layers.
Start with a translucent amber base, add irregular brown patches, then place smaller black marks over the top. The black should sharpen the pattern without covering it.
For a more balanced set:
- keep some patches light and transparent
- make the black shapes uneven
- vary the pattern across each nail
If every mark is the same size, the design can start to look printed. The nicest tortoiseshell has a slightly random, layered feel.
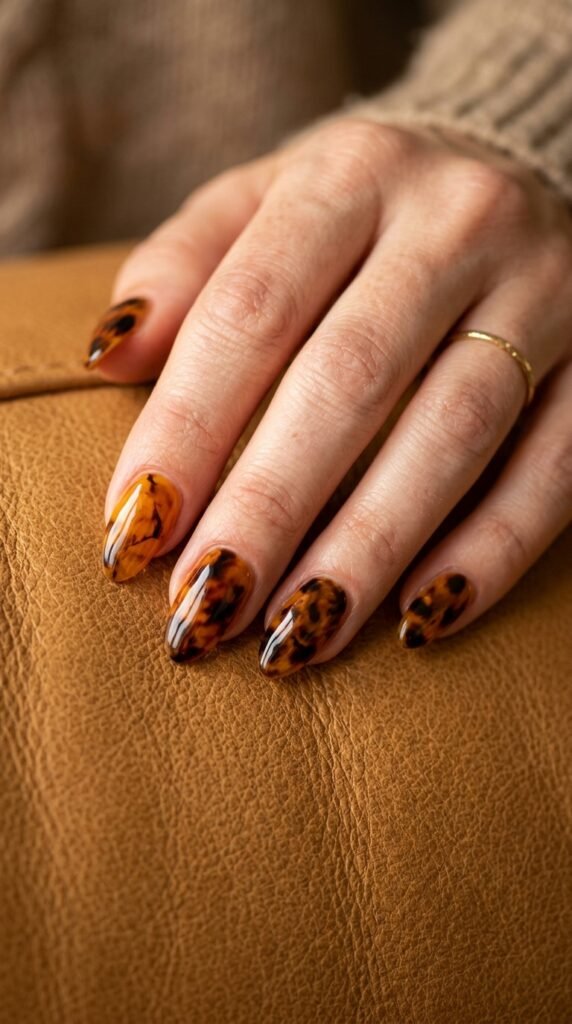
Build the amber and brown tones in transparent layers.
Add smaller black patches after the lighter colors.
Do not make every patch the same size or shape.
Do not let the black cover all the warm tones underneath.
18. Half Black, Half Nude Nails With a Crisp Split Design
A clean split between nude and black gives the manicure a sharp graphic look without needing complicated art.
The dividing line can run straight down the center, diagonally across the nail, or slightly off-center.
For the cleanest result:
- Paint the nude base first.
- Mark the split before adding black.
- Use a detail brush to sharpen the edge.
- Finish with a smooth top coat.
Keep the same direction across the whole hand for a more polished result.
This idea works especially well on medium square and almond nails because there is enough surface area to show both colors clearly.
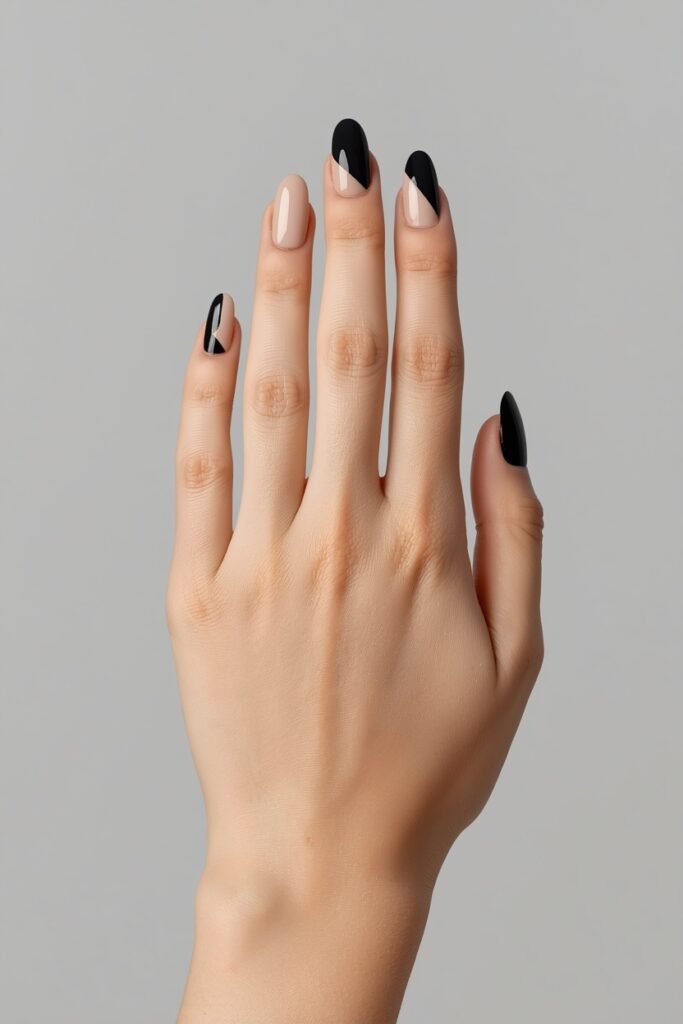
Apply a sheer nude base and let it dry smoothly.
Choose one split direction and repeat it across the set.
Fill one side with black and tidy the dividing edge before sealing.
19. Black Nails With Fine Silver Star Details
Silver stars can make black nails feel celestial without turning the set into a full themed manicure.
The key is restraint.
Use tiny stars, dots, or fine sparkles rather than large silver shapes on every nail. One detailed accent nail can carry the main pattern, while the rest use only one or two small marks.
Placement matters more than quantity.
A star near the cuticle, one tiny sparkle off to the side, and a mostly bare black nail often look better than a completely covered surface.
Keep the silver bright and fine so it reads clearly against the black.
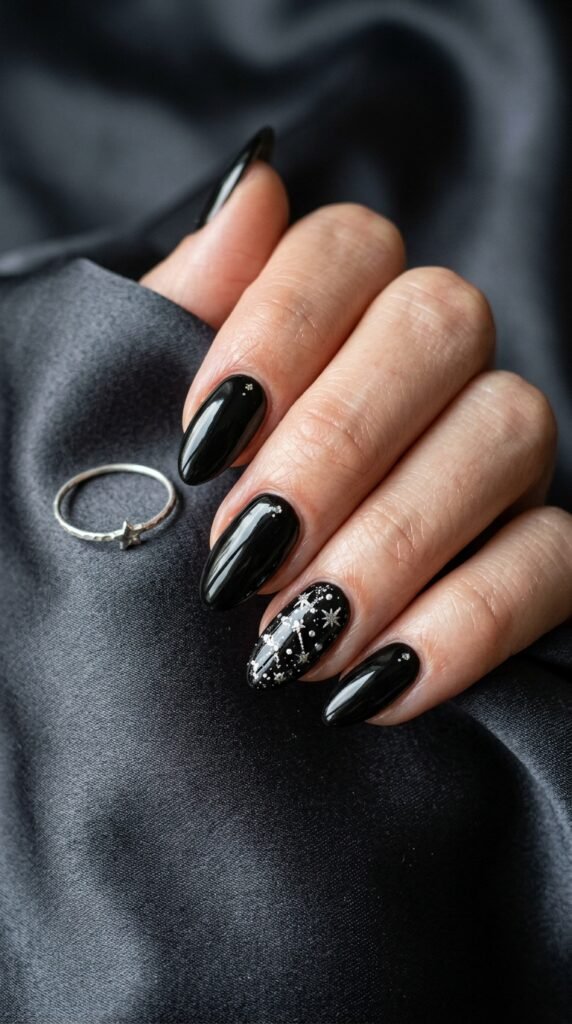
Treat the silver stars like tiny accents, not a full pattern. A few well-placed details keep the black base looking polished.
20. Black Ombre Nails Fading Into Soft Nude
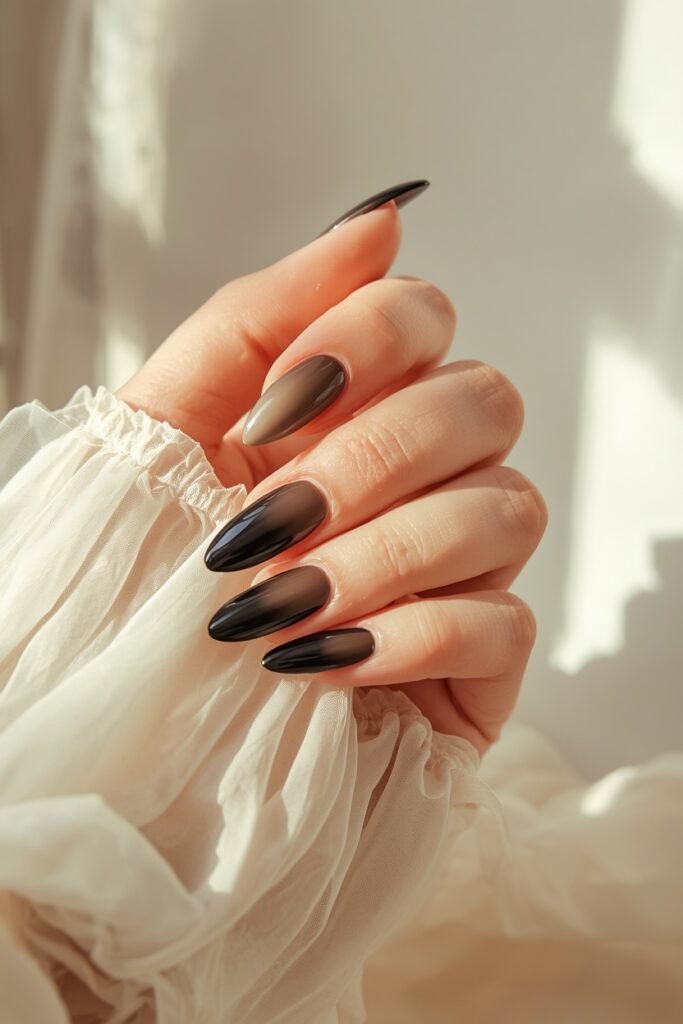
Black ombre can look surprisingly soft when the darkest color stays near the tip and fades gradually into a sheer nude base.
The transition should feel smoky, not striped.
Start with the nude base, then blend a small amount of black from the free edge upward. Build the darkness slowly instead of trying to create the full gradient in one layer.
Almond and coffin shapes give you more room for the fade, but shorter nails can still work if the dark section stays narrow.
Keep the cuticle area light. That extra nude space prevents the manicure from feeling too heavy.
💡 Quick Tip
Start the darkest black at the tip and soften it upward in thin layers. Keeping the cuticle area mostly nude makes the fade look cleaner and more delicate.
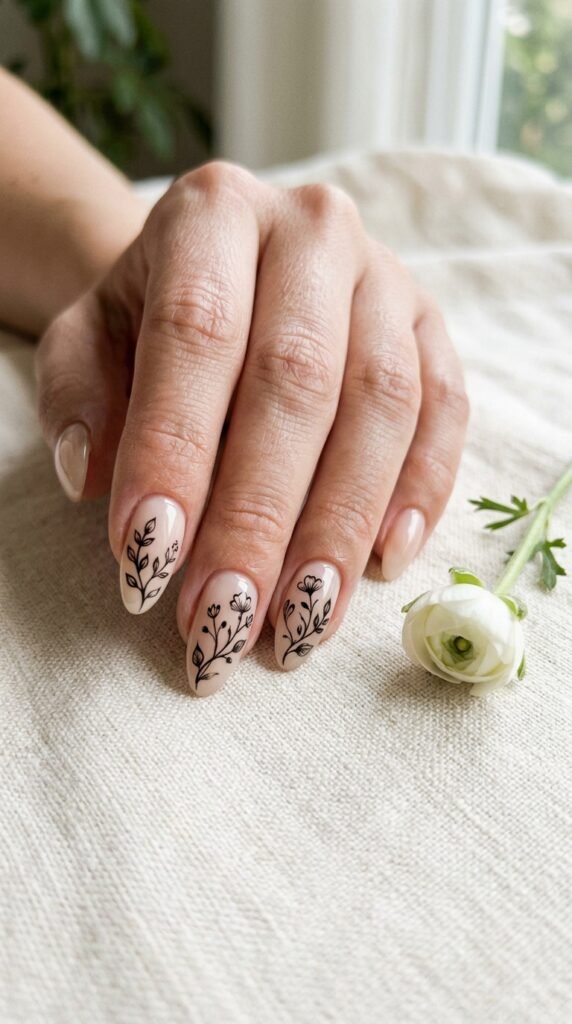
21. Black Floral Nails With Fine Hand-Painted Petals
Black floral nail art can feel delicate when the petals stay thin and the base remains light.
Instead of filling every nail, use one or two floral accents over sheer nude, blush, or milky polish. Fine stems and small petals usually look more polished than oversized blooms.
A balanced set might include:
- one detailed flower on the ring finger
- a few tiny petals on another nail
- plain glossy nails in between
The design works especially well on almond and oval shapes because the longer surface gives the flowers room to stretch without looking crowded.
22. Black Marble Nails With Fine White Veining
Marble nails look more realistic when the white lines are uneven, broken, and slightly faded in places.
Start with a glossy black base, then add very thin white veins instead of thick stripes. Let some lines branch off and disappear before reaching the other side of the nail.
For a cleaner marble effect:
- vary the thickness of each vein
- keep some nails simpler than others
- soften a few lines with a tiny amount of grey
Do not mirror the same pattern across every finger. Real marble has irregular movement, and that slight randomness is what makes the design convincing.
For a more natural marble effect
23. Black Glazed Nails With a Soft Pearly Topcoat
A pearly glaze can soften solid black without hiding the dark base underneath.
Apply black polish first, then use a very fine pearl or chrome powder in a light layer. The goal is a translucent sheen, not a full silver mirror finish.
The surface should still read as black from most angles, with a soft grey or pearly reflection appearing as the light moves.
For the cleanest result, keep the glaze even and thin. Too much powder can turn the manicure metallic and lose the depth of the black underneath.
This finish works well on almost any shape, from short rounded nails to longer almonds.
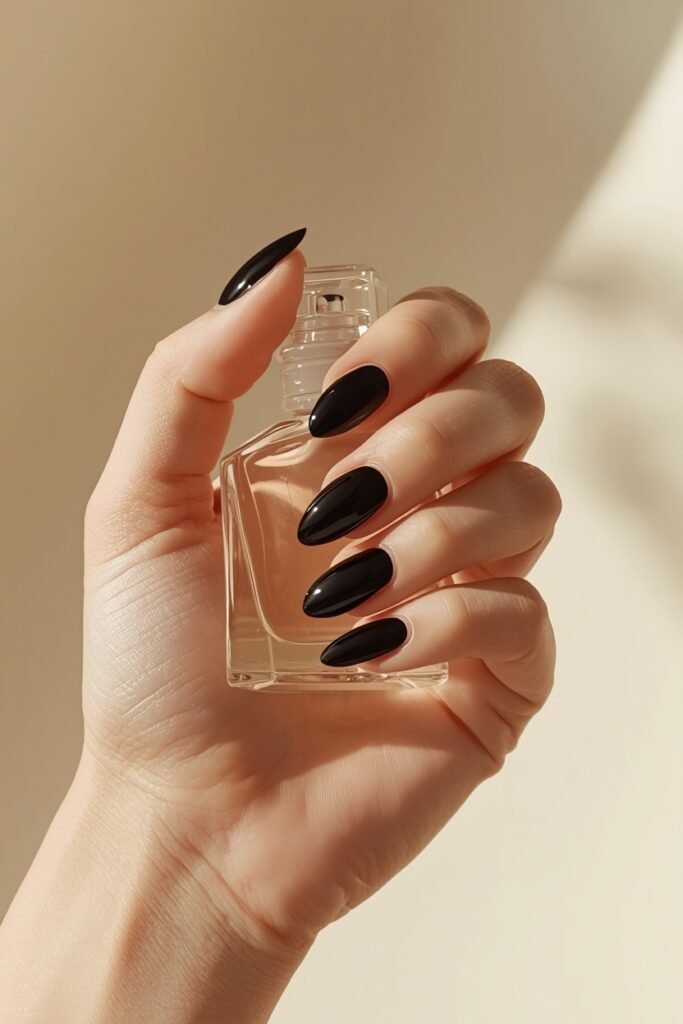
Use a very light layer of pearl powder.
Let the black base stay clearly visible underneath.
Avoid thick chrome layers that cover the black completely.
Do not mix chunky glitter into the glaze if you want a smooth finish.
Final Thoughts
Black nails do not have to feel heavy or predictable. The right finish or small detail can completely change how the color looks, whether you prefer barely-there French tips, smoky cat eye polish, glossy black, delicate florals, or a soft pearly glaze.
These black nail ideas give you plenty of ways to wear the shade while keeping your manicure polished, modern, and personal. Start with the design that fits your usual nail length and style, then adjust the details to make it your own.
Save this list on Pinterest so you have fresh black manicure inspiration ready for your next nail appointment.