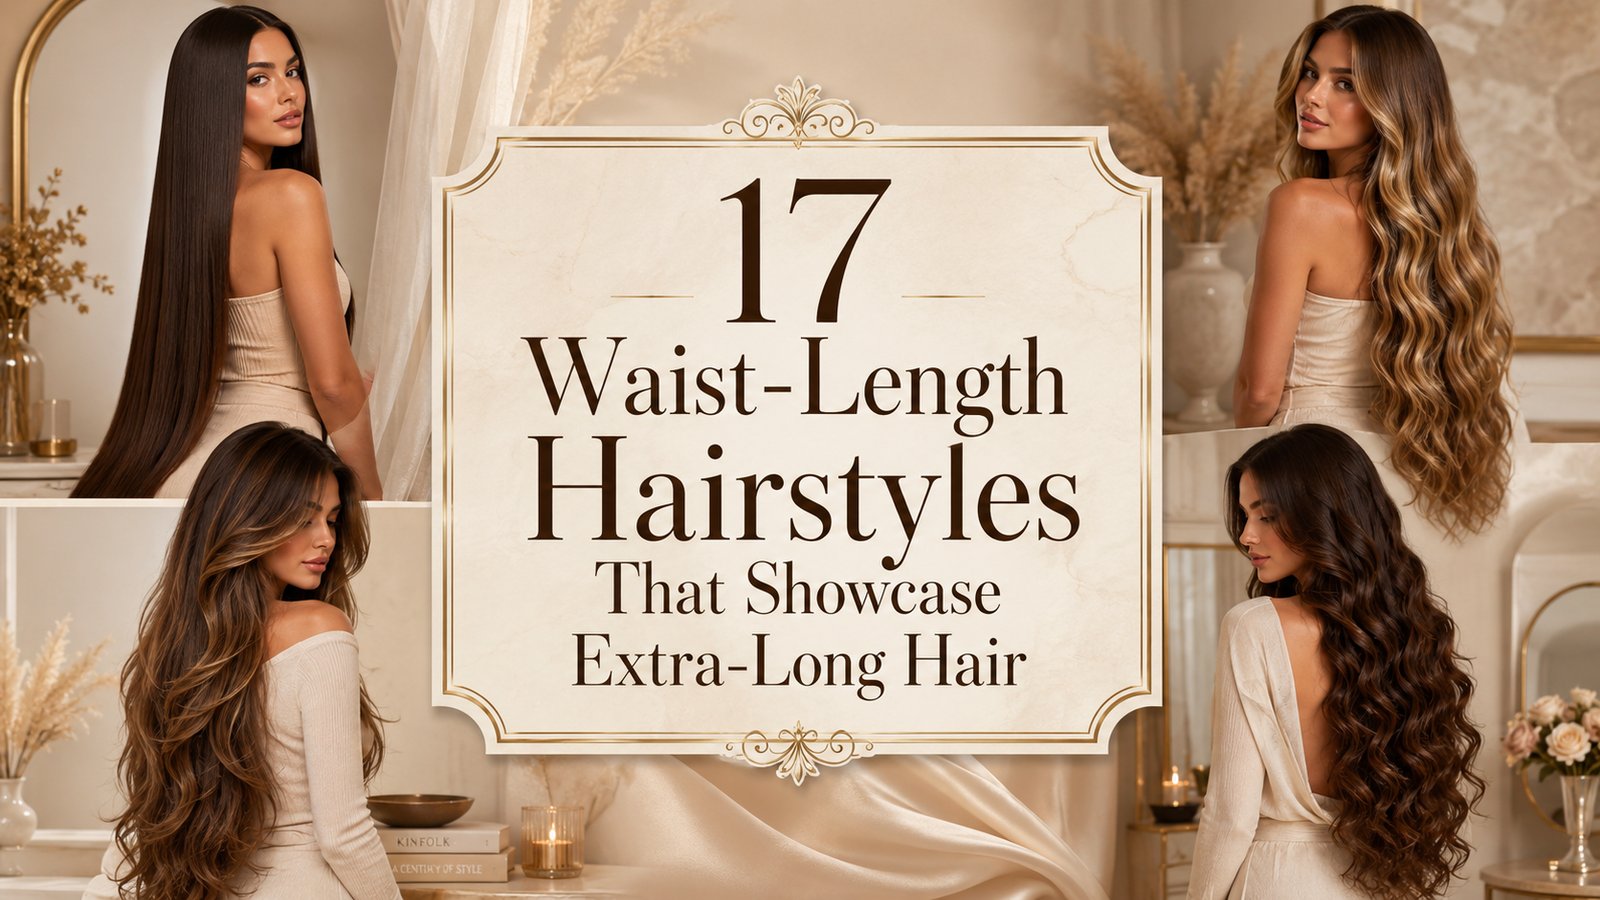
17 Waist-Length Hairstyles That Showcase Extra-Long Hair
There is a point where long hair stops behaving like regular long hair. Once it reaches your waist, the weight can pull volume from the roots, curls can stretch out faster, and some styles hide more of the length than they show.
That is why the best waist-length hairstyles work with all that extra hair instead of trying to control every inch of it. A good style might add movement through the ends, lift the hair away from the scalp, or use a braid or ponytail that makes the length itself part of the look.
You also do not need complicated styling every morning. A different part, a few face-framing pieces, or the placement of a ponytail can change how extra-long hair sits.
The ideas below include loose waves, sleek styles, braids, curls, ponytails, and easy pinned looks. Some are polished, some are relaxed, but every one gives waist-length hair room to actually look long.
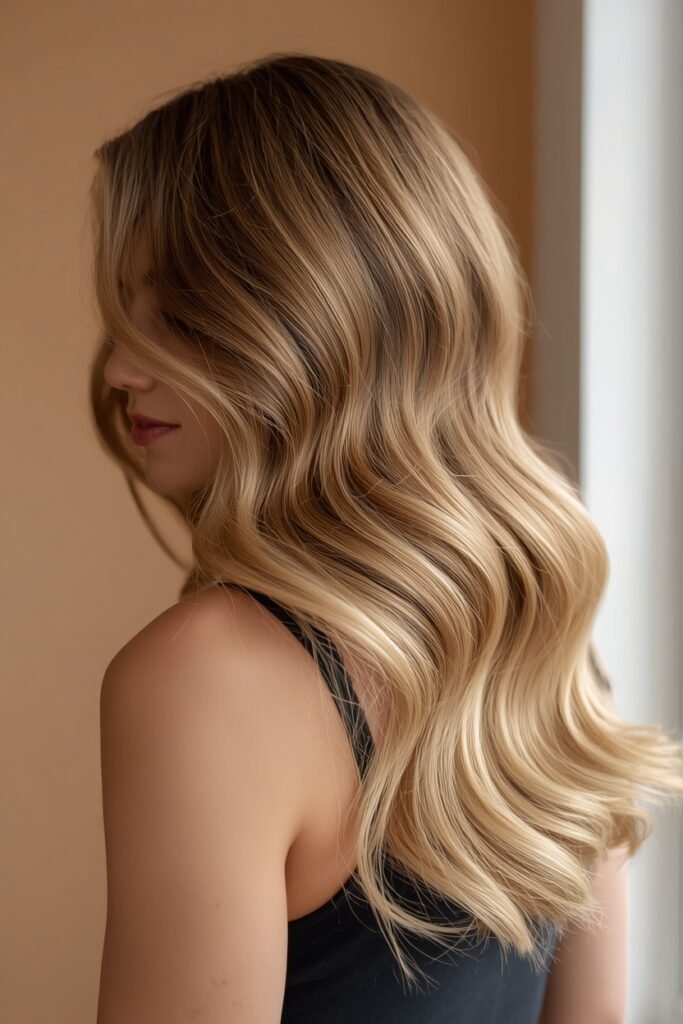
1. Wear Waist-Length Hair in Soft, Brushed-Out Waves
Soft waves keep very long hair from hanging in one heavy sheet. The trick is making the bends broad enough that they move through the length rather than turning into lots of small curls.
Start the wave below the cheekbone and leave the last inch or two softer. Brush through the finished curls once they cool so separate ringlets blend into a fuller shape.
For especially dense hair, work in sections instead of grabbing thick pieces. The underneath layers are easy to miss when the hair reaches your waist.
A little separation through the ends keeps the result relaxed while still showing exactly how long the hair is.
2. Pull the Top Half Into a High Half-Up Ponytail
A high half-up ponytail solves a common extra-long hair problem: you want it away from your face without losing the drama of having all that length.
Take the section from around the temples upward rather than pulling half your hair into the elastic. A smaller section gives the crown lift while leaving plenty of hair loose down the back.
Keep these three details in mind:
- Place the ponytail near the crown, not directly on top.
- Loosen the roots slightly after securing it.
- Wrap a thin strand around the elastic for a cleaner finish.
The loose lower section can stay straight or carry a soft bend through the ends.
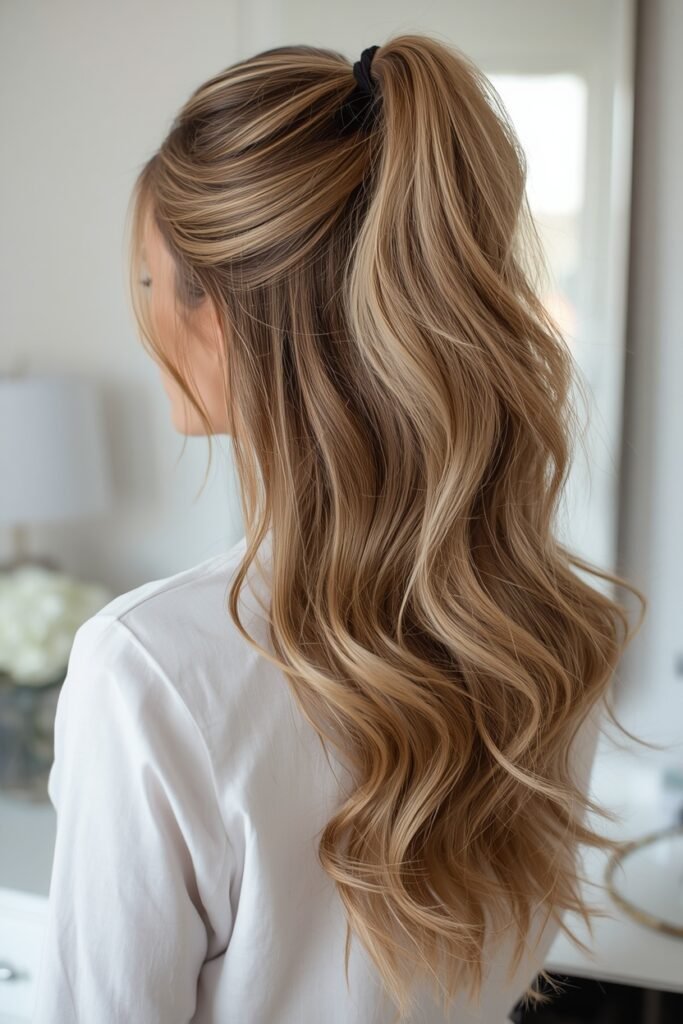
Section the hair from the temples toward the crown, leaving most of the length loose.
Secure the section high at the crown without pulling the front completely flat.
Gently loosen the crown and smooth the loose lengths so the style still feels polished.
3. Create a Long Bubble Ponytail Down the Back
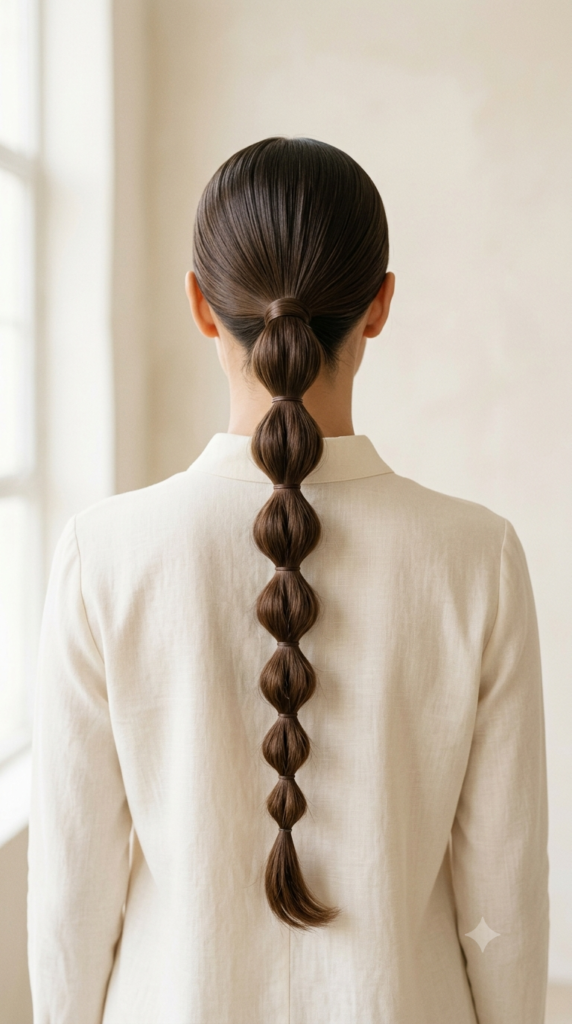
A bubble ponytail makes use of the distance between your shoulders and waist instead of folding all that hair into a bun.
Start with a firm ponytail, then place small elastics down the length at roughly even intervals. Once they are secure, gently pull each section outward. You want rounded sections, not huge balloons.
Straight or lightly textured hair works especially well because the shape stays easy to see.
One small detail matters here: adjust each bubble separately. Pulling randomly can leave the top sections oversized while the thinner ends barely puff out. Make the bubbles gradually smaller as the ponytail narrows toward the bottom.
4. Sweep Extra-Long Hair Into a Deep Side Part
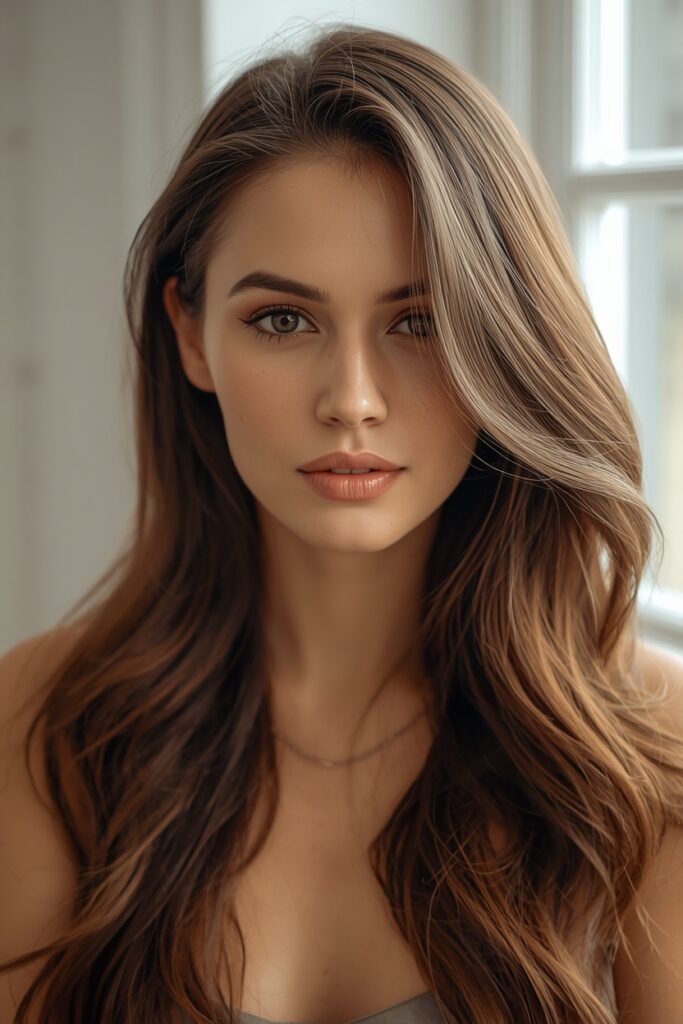
Sometimes the smallest change does more than another complicated hairstyle. Moving your part well to one side shifts a large amount of waist-length hair across the head, which can create natural height around the roots.
Use the arch of your eyebrow as a rough starting point for the part. Sweep the heavier side across and tuck the lighter side behind your ear if you want a cleaner shape.
For straight hair, keep the lengths smooth and let the uneven distribution create the interest. With waves, direct the front pieces away from the face.
This is especially handy when a center part has started making your roots look flatter than the rest of your hair.
💡 Quick Tip
Change the part before adding more styling product. Waist-length hair can flatten the roots through sheer weight, and shifting the part may give you enough lift on its own.
5. Braid the Full Length Into One Loose Statement Braid
One long braid can show the scale of waist-length hair better than a complicated updo. Instead of hiding the length, it turns it into the main feature.
Begin the braid around the nape so the top stays smooth and comfortable. Work downward with even tension, then secure the end before loosening anything.
After that:
- Gently widen the outer edges of each braid section.
- Keep the top slightly tighter so it does not sag.
- Pull less near the ends where the hair naturally becomes thinner.
A very tight braid can look narrower than expected on long hair. Softening the finished shape gives it more presence without making it messy.
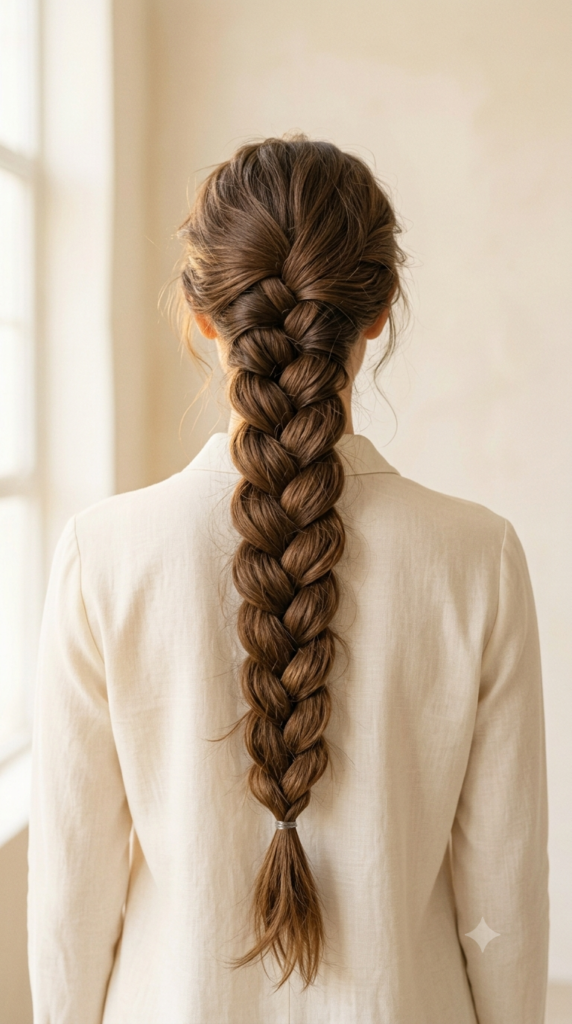
A tightly pulled braid can look narrow and make thick, extra-long hair seem smaller than it really is.
Loosening the outer edges creates a broader braid while keeping the full waist-length shape easy to see.
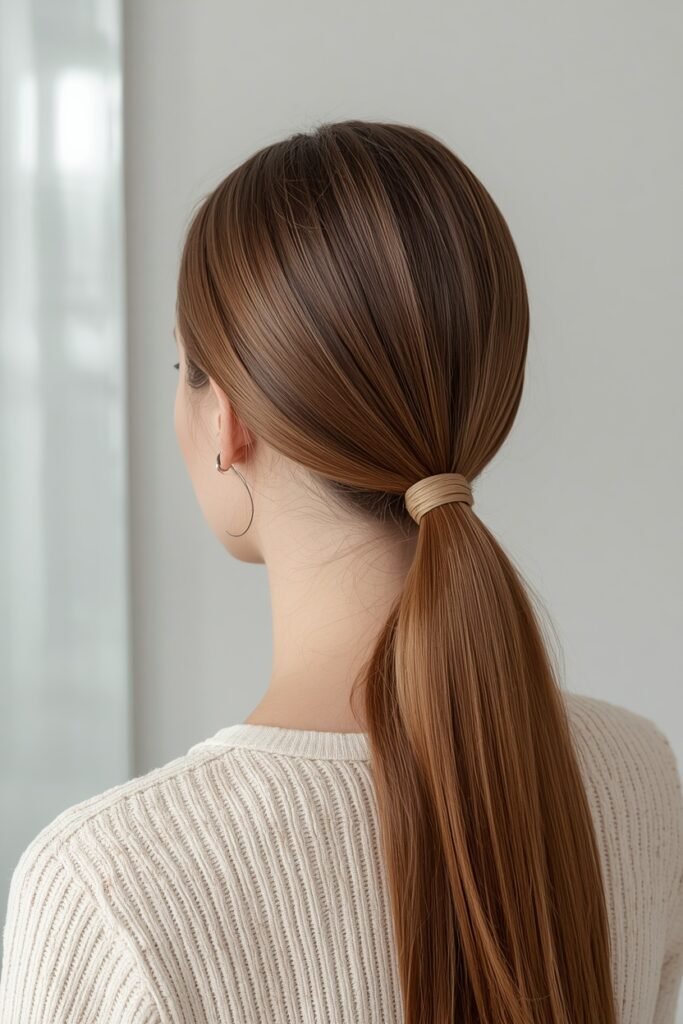
6. Try a Sleek Low Ponytail With the Length Left Straight
A low ponytail is one of the easiest ways to make waist-length hair look polished without hiding its length.
Brush the hair toward the nape and secure it with a strong elastic. Keep the crown smooth, but do not pull every strand completely flat. A little softness at the roots keeps the style from looking too severe.
For a cleaner finish, take a narrow section from underneath the ponytail and wrap it around the elastic. Pin the end underneath where it cannot be seen.
Keep the ponytail itself straight and smooth. This works especially well when the ends are freshly trimmed because the long line of hair becomes the main feature.
What to use
7. Add Face-Framing Pieces to Long Layered Hair
Extra-long hair can feel heavy around the front, even when the rest of the haircut has plenty of movement.
A few longer face-framing pieces can break up that weight without making the overall haircut look much shorter. Keep the shortest pieces around the chin or below so they still blend naturally into the waist-length sections.
Style them with a soft outward bend rather than curling them tightly toward the face.
The main thing is restraint. Too many short layers around the front can make the lower half look thinner, especially when the hair is already very long. A small amount of shape near the face usually does more.

Keep the shortest pieces long enough to blend into the rest of the haircut.
Use a soft bend away from the face for gentle movement.
Avoid cutting lots of short pieces around the front.
Do not remove too much weight from the lower lengths just to create shape.
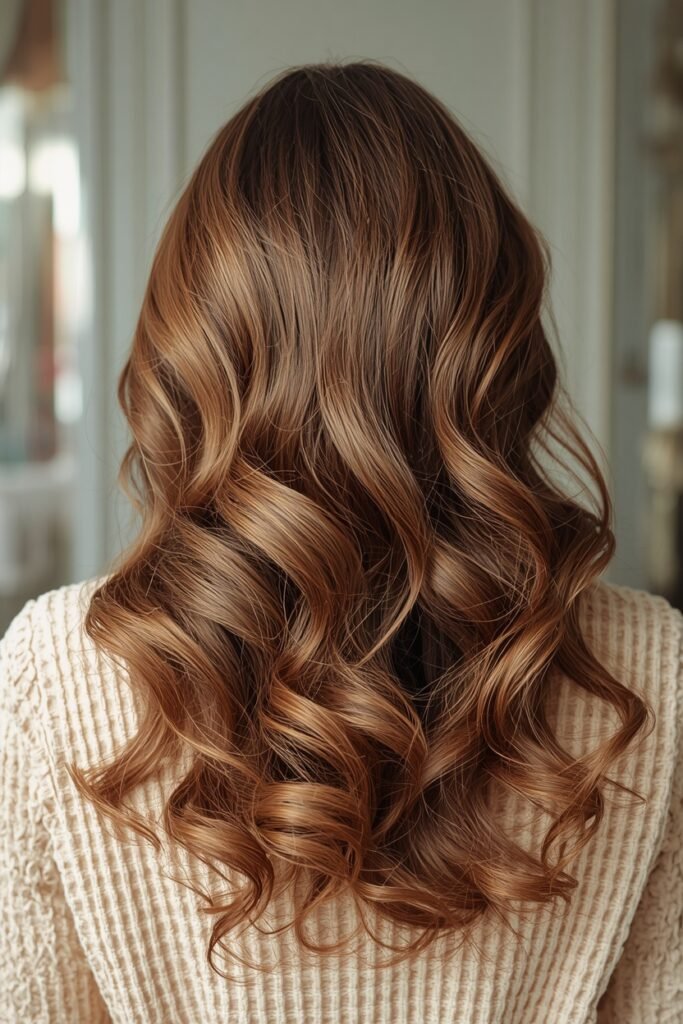
8. Style Waist-Length Hair With Big Loose Curls
Large curls give waist-length hair shape without making it look much shorter.
Start the curl below the upper cheek or around jaw level rather than curling right from the roots. Larger sections create broader bends, which suit extra-long hair better when the goal is movement instead of tight definition.
Let each section cool before you separate it. Once the hair has cooled, use your fingers or a wide brush to soften the curls together.
There are two very different results you can get from curled long hair. Loose curls keep the length visually stretched out, while tighter curls create more volume and a shorter overall silhouette.
| Loose Curls | Tighter Curls |
|---|---|
| Keeps more of the visible length. | Creates a shorter, fuller shape. |
| Gives soft movement through the middle and ends. | Shows more individual curl definition. |
| Works well with larger sections. | Usually needs smaller sections. |
9. Make a Half-Up Twisted Crown With Flowing Lengths
A twisted crown gives the top of very long hair some shape while leaving most of the length loose down the back.
Take a small section from each side near the temples and twist both pieces backward. Bring them together at the center and secure them with pins or a small elastic.
Do not take too much hair into the twists. The loose section underneath should still look full.
You can keep the lower lengths straight for a simple finish, or add soft waves through the bottom half. Loosening the twists slightly with your fingertips keeps them from looking too tight against the head.
The style works best when the detail stays small and the long hair remains the focus.
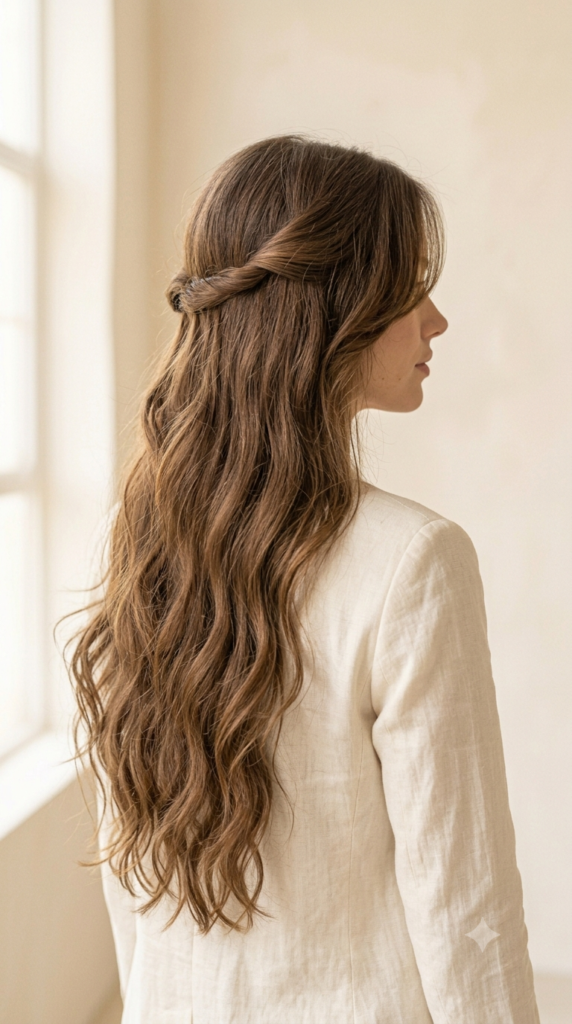
Keep the twisted sections small so the loose waist-length hair remains the main part of the style.
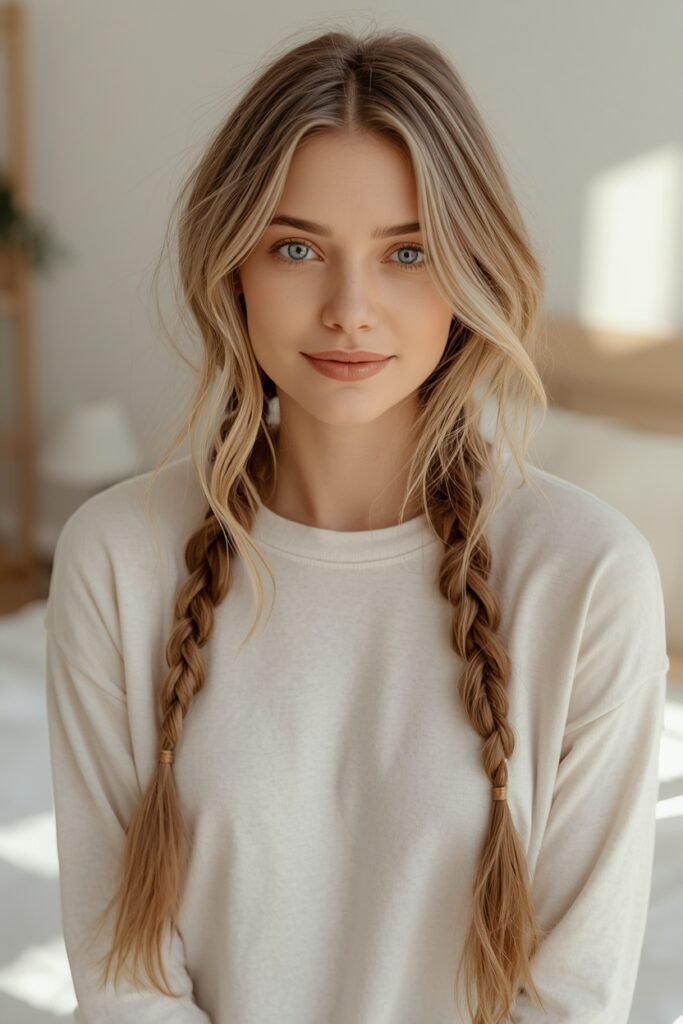
10. Wear Two Long Braids for a Relaxed Everyday Style
Two braids make very long hair easier to manage while still showing how much length you have.
Split the hair into two even sections and begin each braid low enough that the top does not feel tight. A clean center part gives the style a neater look, while a slightly softer part makes it feel more casual.
Once both braids are secure, gently loosen the outer edges with your fingers.
A few small details help keep the style relaxed:
- Leave one or two longer pieces loose near the face.
- Keep the braids slightly wider through the middle.
- Pull less near the ends where the hair naturally becomes thinner.
The finished result should look soft and practical rather than overly tight or structured.
📌 Good To Know
Loosen each braid gradually from the middle downward. Pulling too much near the tapered ends can make the bottom of the braid look thin and uneven.
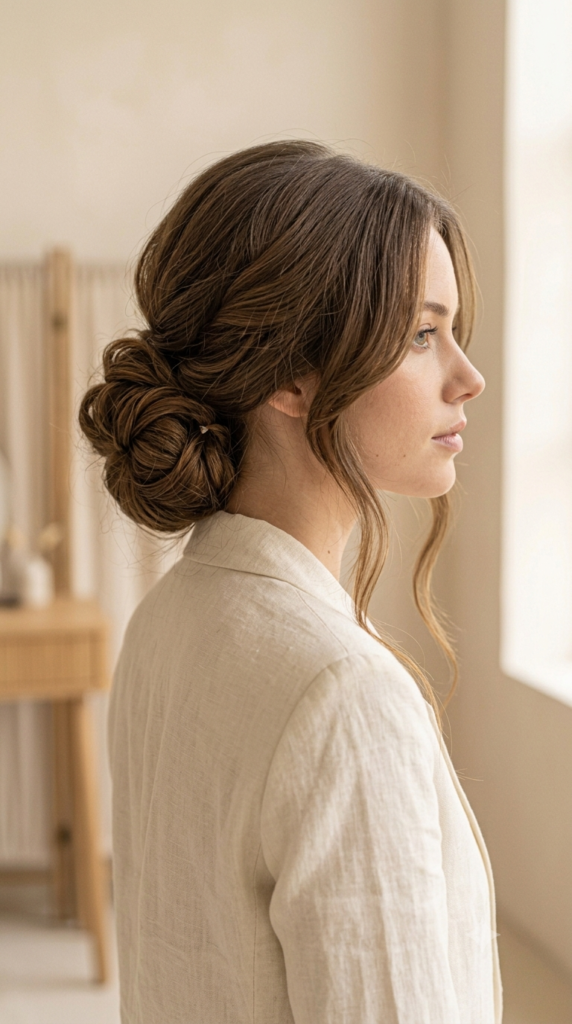
11. Gather Long Hair Into a Loose Low Bun With Lengthy Face Pieces
A low bun gives waist-length hair somewhere to go without piling all that weight high on the head.
Gather the hair near the nape and twist it loosely before wrapping it into a bun. Secure the shape with pins rather than tightening it repeatedly with an elastic. The bun does not need to look completely smooth. A little softness around the crown suits this style.
Before pinning everything back, leave two longer sections around the face. They should blend with the haircut rather than look like tiny strands pulled out afterward.
Keep those front pieces softly curved. The contrast between the loose front and gathered back is what stops a large bun from feeling too formal.
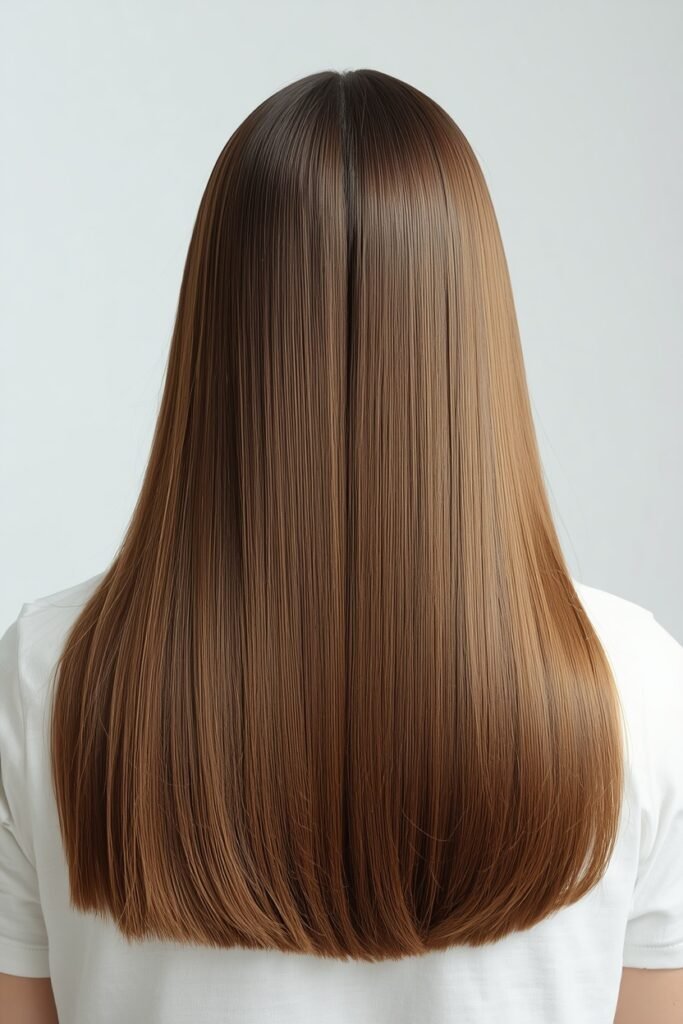
12. Show Off Straight Waist-Length Hair With a Clean Middle Part
Straight hair does not need extra detail to look interesting when the length itself is the feature.
Create a clean middle part and focus on making the hair fall evenly on both sides. Instead of flattening everything from root to end, keep a little natural lift near the scalp. This prevents the weight of waist-length hair from making the top look overly flat.
Pay extra attention to the middle and ends, where tangles and uneven texture tend to be more noticeable on long, straight hair.
A smooth finish also makes the outline of the haircut easier to see. If the ends are blunt or softly shaped, leaving them straight puts that detail on display.
📌 Good To Know
Concentrate smoothing on the middle and ends rather than loading the roots with product. The top will keep more natural movement while the long lengths still look neat.
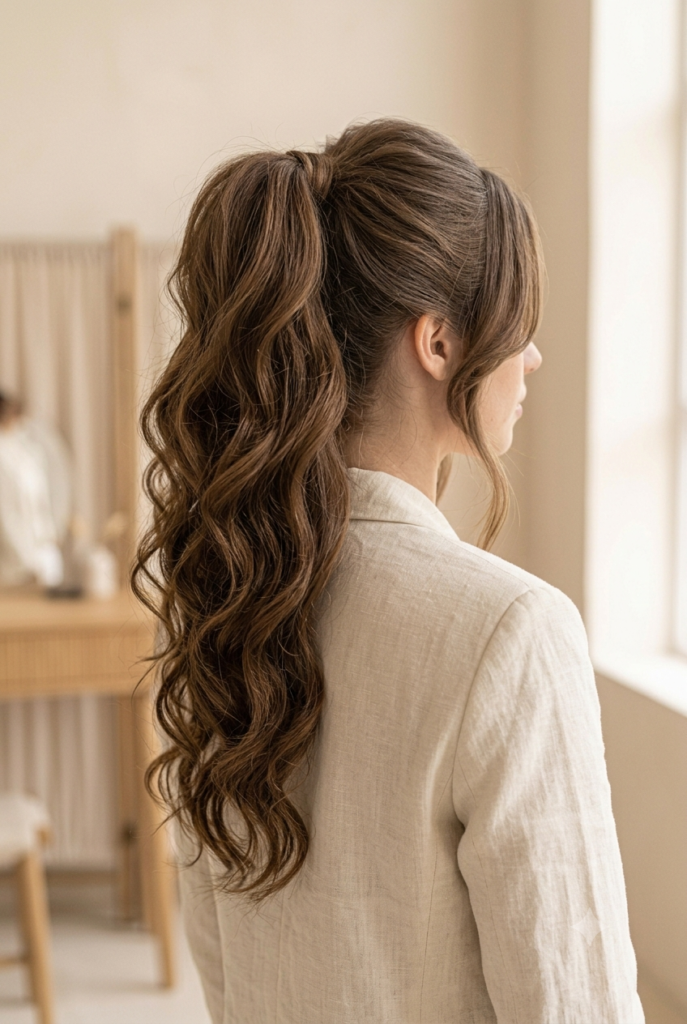
13. Turn a High Ponytail Into a Long Cascading Style
A high ponytail can make waist-length hair look even more dramatic because the ends fall from a higher starting point.
Position the ponytail around the crown rather than directly on top of the head. Once it is secure, split the ponytail into several large sections and add loose bends or curls through the lengths.
Do not curl every section in exactly the same direction. Alternating some of the bends keeps the ponytail from merging into one solid curl.
Finish by separating the lengths gently with your fingers. The goal is a long cascade with visible movement, while the base stays secure enough to support the weight of all that hair.
14. Weave a Loose Fishtail Braid Through Extra-Long Hair
A fishtail braid creates more visible detail than a basic three-strand braid, and waist-length hair gives the woven pattern plenty of room to develop.
Bring the hair into a low ponytail first if you find very long lengths difficult to control. Divide it into two main sections, then move a small piece from the outside of one section across to the other. Repeat from alternating sides.
Keep the pieces similar in size so the pattern stays balanced.
Once you reach the bottom, secure the braid before adjusting it. Then gently widen the outer edges, starting near the top and working downward. Leave the narrowest part near the ends a little tighter.
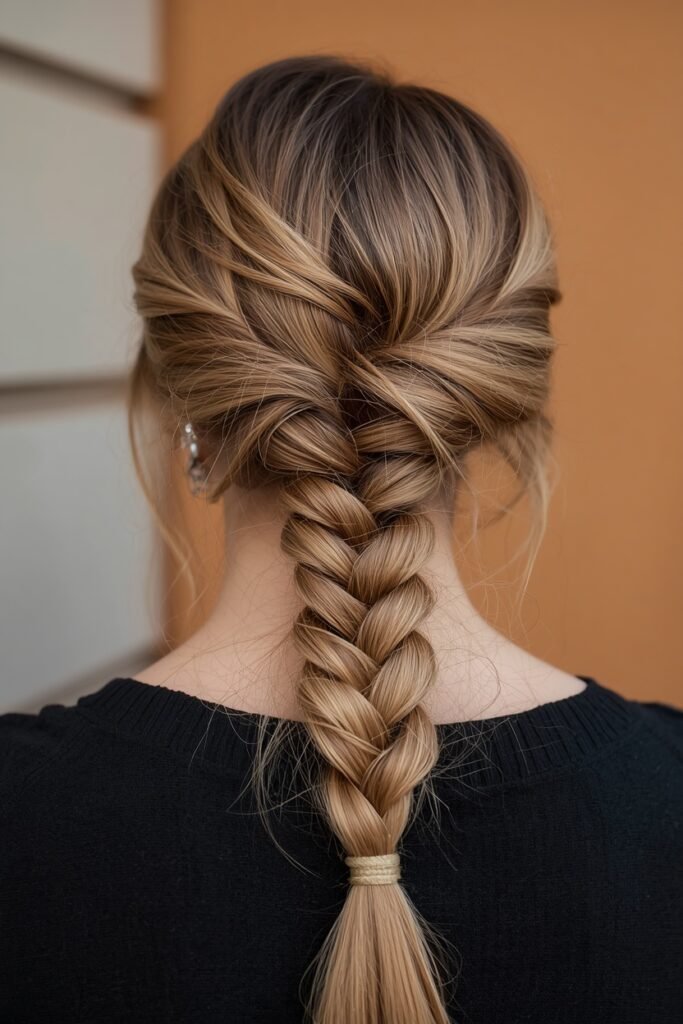
Divide the hair into two main sections and keep both lengths separated.
Cross a small outer piece from one side into the opposite section, then alternate sides.
Secure the end first, then gently loosen the outer edges to reveal the woven pattern.
15. Add Soft Layers That Keep the Full Waist-Length Effect
Layers can give extra-long hair movement, but they need to be placed carefully if keeping a full-looking hemline matters to you.
Instead of cutting lots of short layers throughout the entire head, keep most of the shaping through the front and lower sections. Longer layers can move when the hair is curled or blown out without removing too much density from the bottom.
This is especially useful when thick waist-length hair feels like one solid shape down the back.
The key is keeping enough hair at the longest point. You want visible movement through the haircut while still being able to see a strong, full line around the waist.
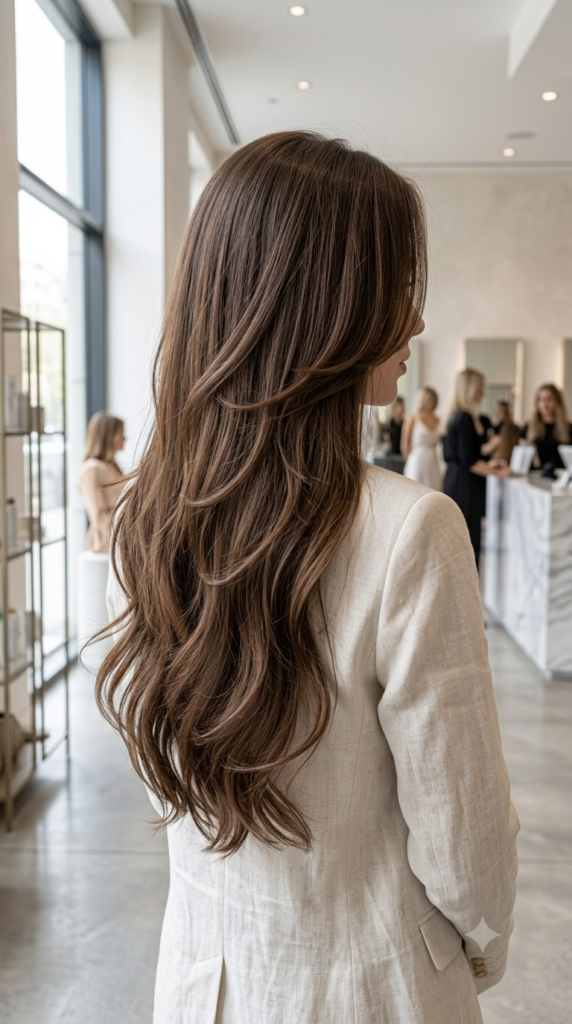
Longer layers that blend gradually into the bottom.
Enough density at the ends to keep the waist-length outline visible.
Too many short layers scattered throughout the full length.
Excessive thinning that leaves the longest ends looking sparse.
16. Pin Back Both Sides for a Simple Open-Face Hairstyle
Not every waist-length hairstyle needs braiding, curling, or a full updo. Pinning back the sides is enough to change the shape while leaving nearly all of the length visible.
Start with your usual part, then take a small section from each temple. Sweep both sections back and secure them separately just behind the ears or farther toward the back of the head.
Keep the sections narrow. Pulling back too much hair can flatten the top and remove fullness from the loose lengths.
Leave the rest straight for a clean look, or add a gentle bend through the bottom. A little softness around the roots keeps the pinned sections from looking overly tight.
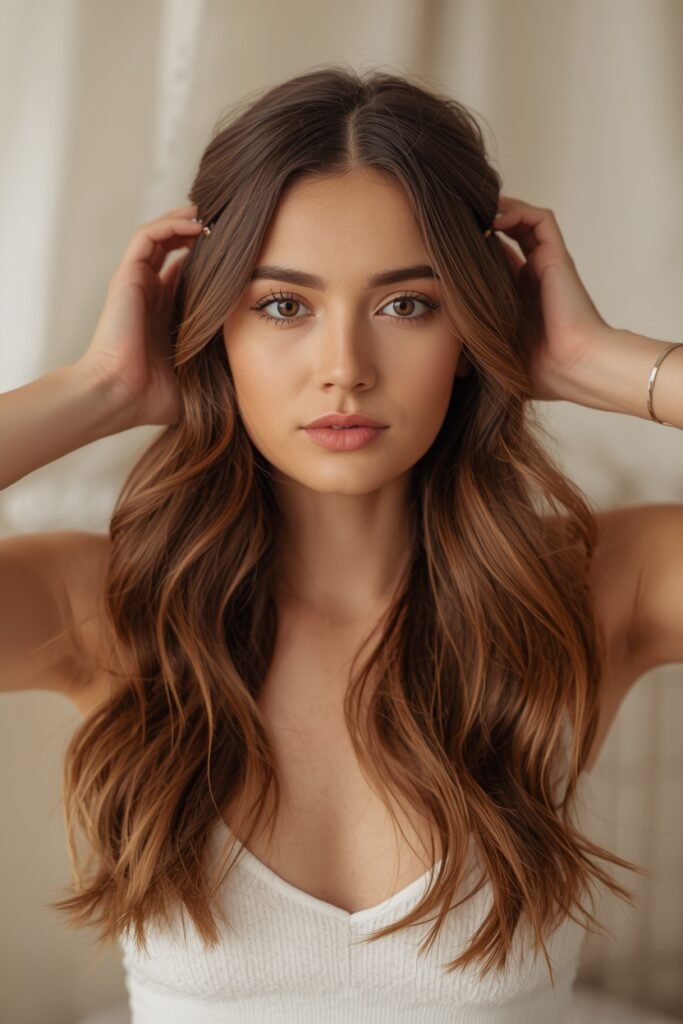
Quick styling checklist
17. Finish With Long Mermaid Waves for Maximum Movement
Mermaid waves are made for extra-long hair. The repeated bends travel all the way down the back, so the length becomes part of the pattern rather than disappearing inside tighter curls.
Keep the roots fairly natural and begin the strongest waves a little lower down. Work through the hair in manageable sections so the underneath does not get missed.
Once everything has cooled, separate the waves gently with your fingers. Avoid breaking them apart too much. The repeating shape should still be easy to see.
This style looks especially striking from the back, where the movement can run continuously from the upper lengths toward the waist. Keep the ends softly waved so they blend with the rest rather than hanging straight underneath.
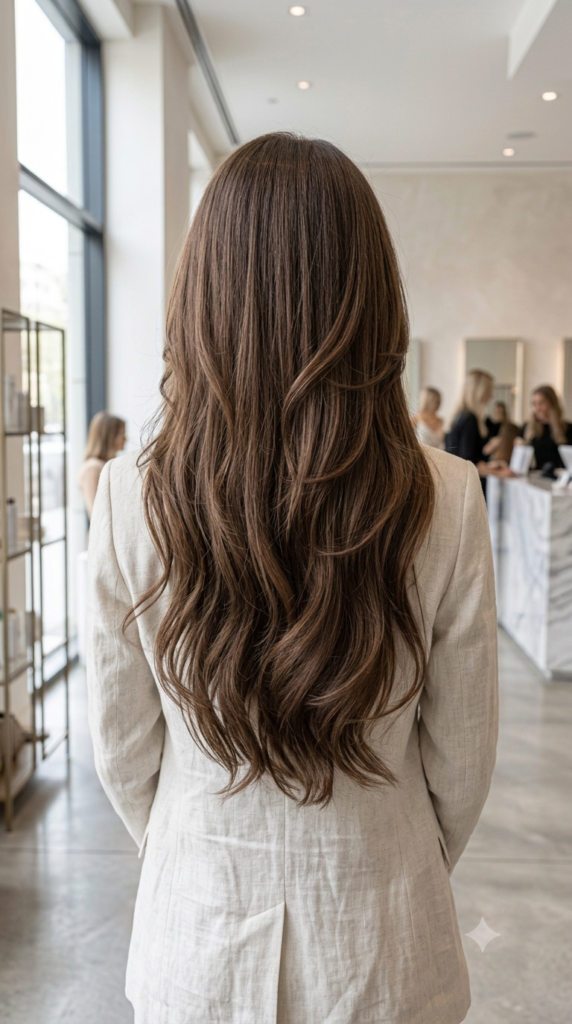
Very long hair can fall into one heavy shape when the lengths have little texture or separation.
Soft repeating waves create visible movement from the upper lengths through the ends while keeping the waist-length effect clear.
Finding the Right Style for Waist-Length Hair
Having extra-long hair gives you plenty of room to change the shape without giving up the length you worked to grow. Loose waves can bring movement to heavy lengths, braids can make long hair easier to manage, and ponytails or half-up styles can keep it away from your face while still showing it off.
The best waist-length hairstyles are often the ones that work with your natural thickness and texture rather than covering them up. Start with the styles that suit how you normally wear your hair, then change small details such as the part, texture, or placement.
Save these ideas on Pinterest so you have them ready the next time your extra-long hair needs a different look.