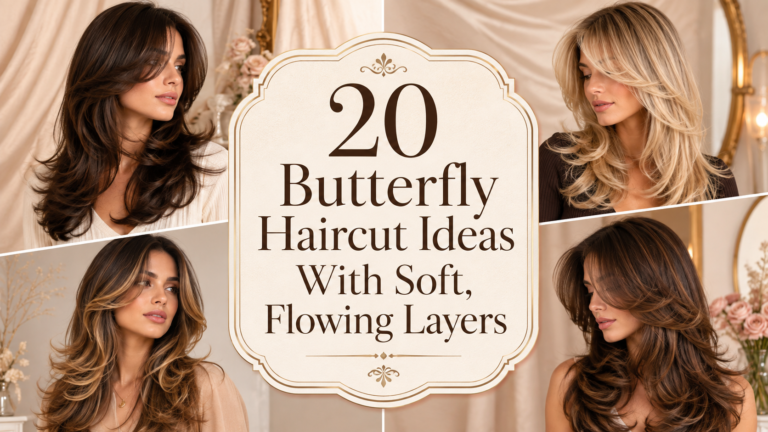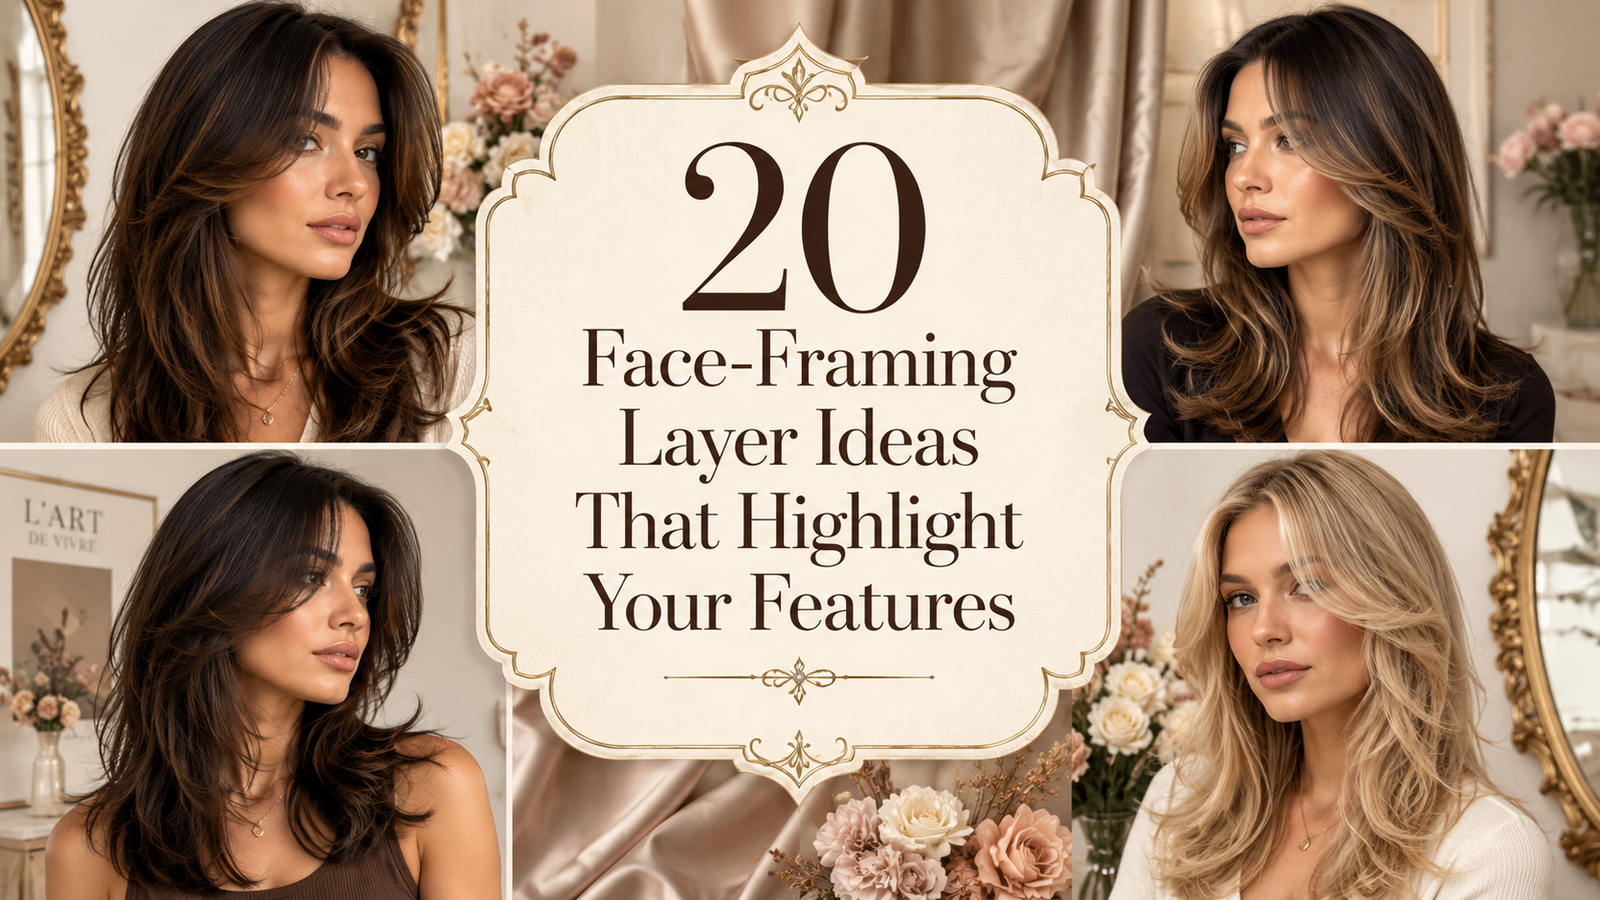
20 Face-Framing Layer Ideas That Highlight Your Features
A haircut can be the right length and still feel slightly flat around the face. Often, the issue is not the overall cut. It is where the shortest layers begin and how they sit around your cheekbones, jaw, and neckline.
Face-framing layers can be as subtle as a few longer pieces near the chin or as noticeable as sweeping layers that start around the cheeks. The placement matters more than simply asking for “layers.” A piece that hits at the cheekbone creates a very different effect from one that begins below the jaw.
These 20 Face-Framing Layer Ideas That Highlight Your Features cover different hair lengths, textures, and levels of maintenance, so you can see which approach fits the way you actually wear your hair.
Some are soft enough to grow out almost unnoticed. Others create visible shape around the face even when the rest of the hair stays long. The best choice is usually the one that works with your natural texture instead of requiring a full blowout every morning.
1. Long Face-Framing Layers That Start Below the Chin
Long layers that begin below the chin are one of the easiest ways to add shape without making the front of your hair feel noticeably shorter.
The first pieces usually fall somewhere between the chin and collarbone, then blend gradually into the rest of the length. This works especially well if you like wearing your hair straight, softly waved, or pulled into a loose ponytail.
Why it works: the layers break up a heavy front section while keeping plenty of length around the face.
Ask for a soft transition rather than a sharp step between the shortest piece and the rest of your hair. The blend is what keeps this style looking relaxed as it grows.
Long hair can fall in one solid line around the face, especially when the front sections are the same length as the back.
Layers starting below the chin create movement around the jaw and neckline while keeping the overall length almost unchanged.
2. Cheekbone-Length Layers for a Sculpted Look
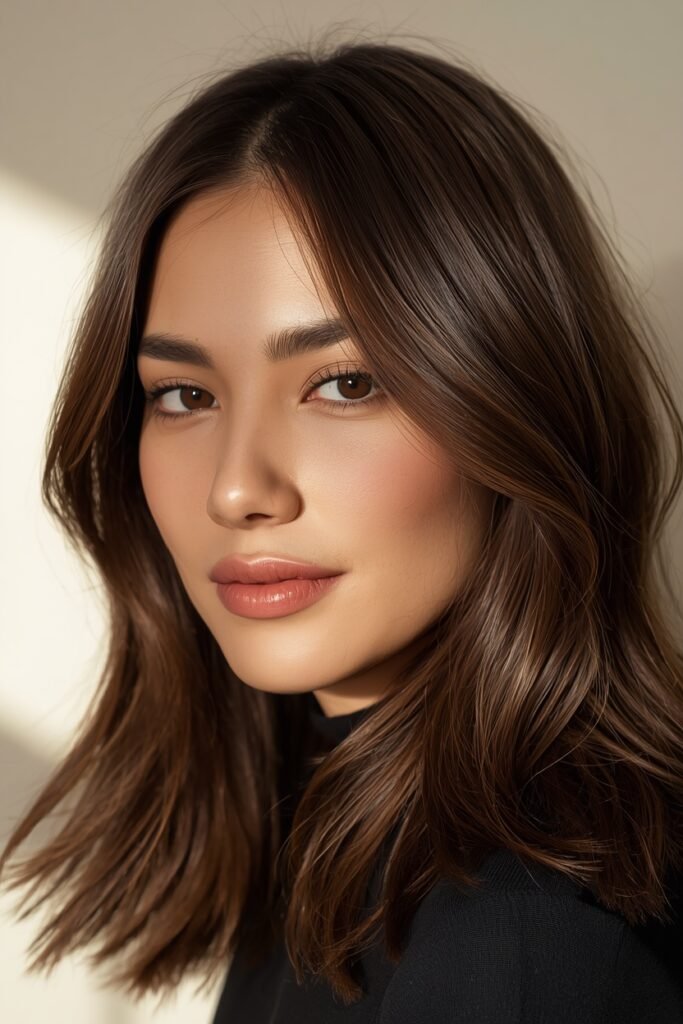
A shorter layer near the cheekbone can change the shape of a haircut without removing much length elsewhere.
These pieces work best when they are cut to move away from the face rather than dropping straight down beside it. With a round brush, blowout brush, or even a slight bend from a flat iron, the layer can sweep outward and make the cheek area more noticeable.
Keep the rest of the front layers gradually longer so the shortest section does not look disconnected.
For an everyday version, tuck the longer pieces behind your ears and leave the cheekbone section loose. That small section becomes the detail people notice first.
💡 Quick Tip
Bring a photo showing where you want the shortest piece to land. “Cheekbone length” can mean different things depending on face shape and how the hair dries.
3. Soft Curtain Layers That Sweep Away From the Face
Curtain-style layers give you the open, sweeping shape of curtain bangs without committing to a short fringe.
The shortest pieces usually begin somewhere around the cheek or jaw, then become longer as they move toward the sides. A center part makes the shape easiest to see, especially after the hair is styled away from the face.
They are useful if your front sections tend to fall forward and hide your face.
Keep the cut soft. Too much separation between the front layers and the rest of the hair can make them look like overgrown bangs instead of part of the haircut.

4. Face-Framing Layers Blended Into a Long Bob
A long bob can sometimes feel heavy around the front because much of the hair finishes near the same point.
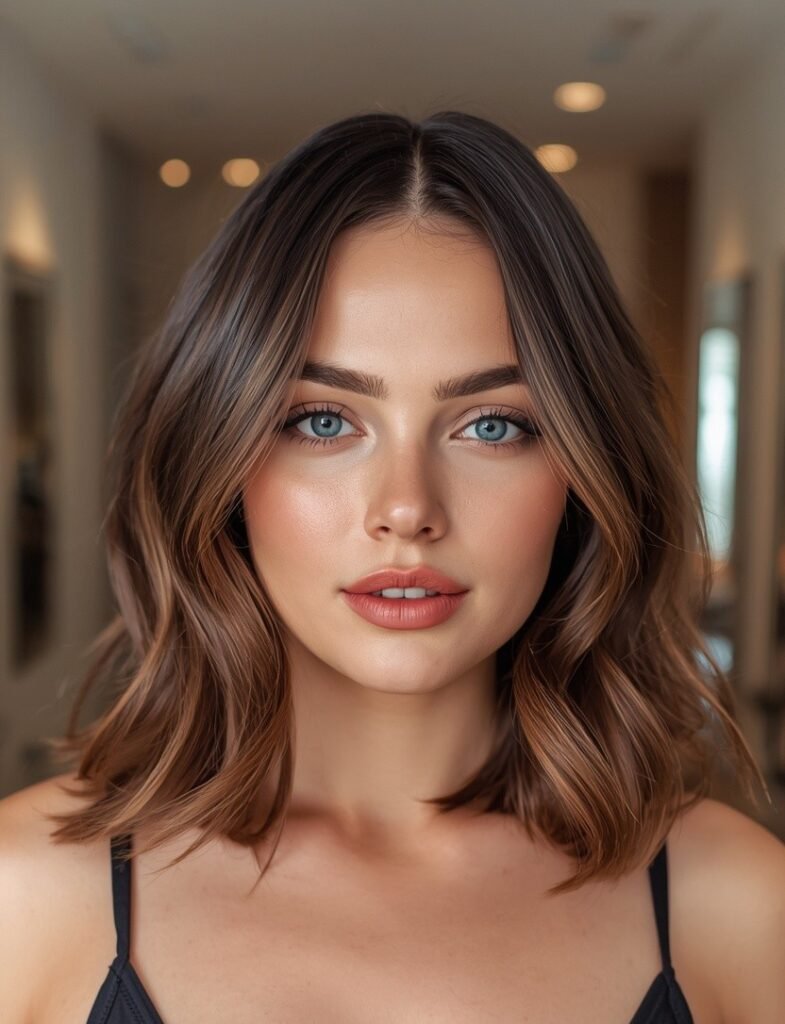
A few shorter pieces around the face change that without taking away the clean shape of the lob. The front layers can begin around the jaw, then blend into the main length near the collarbone.
This is especially useful if your lob tends to fold inward and create a blocky shape beside the cheeks.
Keep the layering mostly around the front rather than thinning the entire haircut. You still want the bottom of the lob to look full when it falls naturally.
| Mostly Blunt Lob | Face-Framed Lob |
|---|---|
| Creates a stronger, straighter outline near the front. | Creates more movement around the jaw and cheeks. |
| Keeps nearly all strands at a similar length. | Uses shorter front sections while keeping the perimeter full. |
| Best if you like a sharper haircut shape. | Best if you want the lob to feel softer around the face. |
5. Wispy Face-Framing Pieces for Fine Hair
Fine hair does not need heavy layering to gain movement. In fact, cutting too many short sections can make the ends look thinner than you wanted.
A better approach is to keep most of the density through the main length and add a small amount of soft shaping around the face. The front pieces should feel light rather than heavily feathered.
Think fewer layers, placed carefully.
A gentle bend around the cheek or jaw is often enough to make the haircut feel less flat. If your hair separates easily, avoid taking too much weight from the very front hairline where the strands are already finer.

6. Jawline-Grazing Layers With a Center Part
Jawline layers give the front of the haircut a clear stopping point without making the whole cut feel short.
With a center part, the pieces fall evenly on both sides and create a balanced frame around the lower half of the face. The most flattering version usually has a little movement through the ends instead of sitting flat against the jaw.
For styling:
- Dry the roots in the direction they naturally fall.
- Bend the jawline pieces slightly away from the face.
- Let the longer sections blend into the rest of the hair.
Avoid curling the shortest layers too tightly. A soft curve usually looks more natural and keeps the framing effect from feeling too obvious.
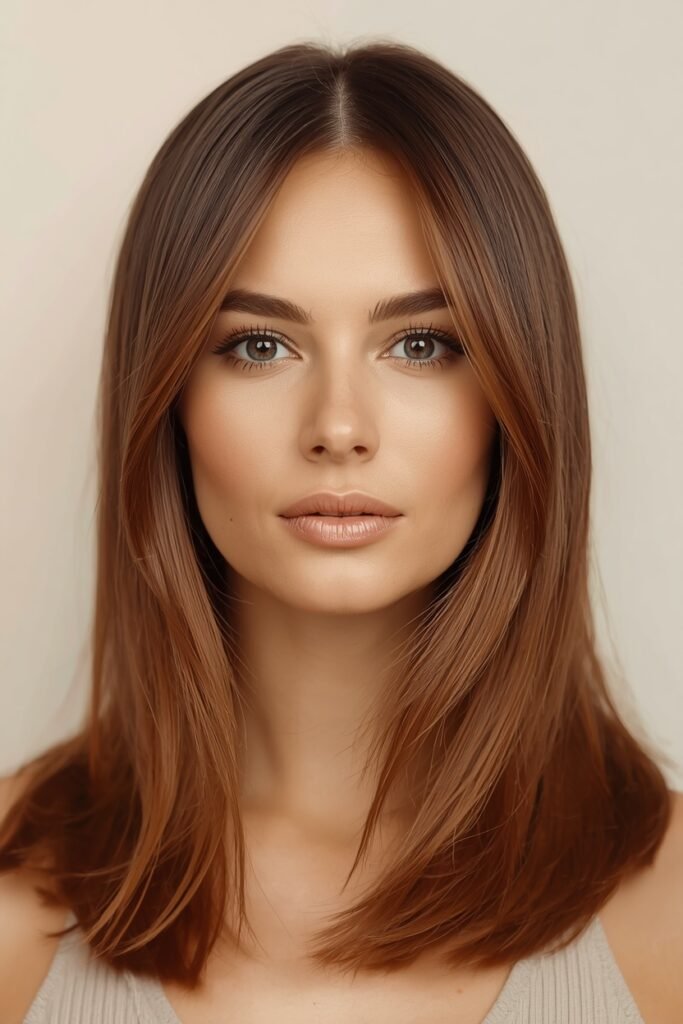
Part the hair through the center and dry the roots so both sides sit evenly.
Use a round brush or styling tool to give the jawline pieces a gentle outward bend.
Brush through lightly so the shorter pieces blend into the longer layers instead of looking separated.
7. Butterfly-Style Layers With Shorter Front Pieces
Butterfly layers work because the haircut has two clear movements happening at once. Shorter sections create lift and shape near the face, while the longer layers keep the overall length flowing.
The front pieces often begin near the cheekbones or jaw, then sweep outward into longer sections around the shoulders and chest.
The key is connection. The shortest layers should lead naturally into the next length rather than looking like a separate fringe.
This style has more visible movement than subtle face framing, so it suits someone who actually wants the layers to be part of the look. A round brush or large roller can help show the shape, but the cut should still have movement when left softer.
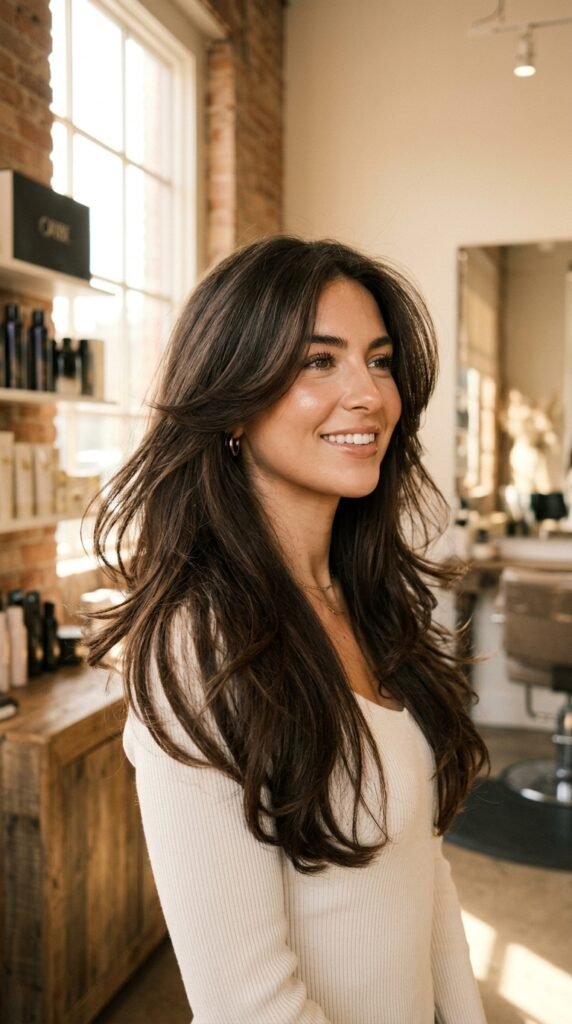
Butterfly layers look strongest when the short front pieces flow into longer layers instead of ending as one separate shelf around the face.
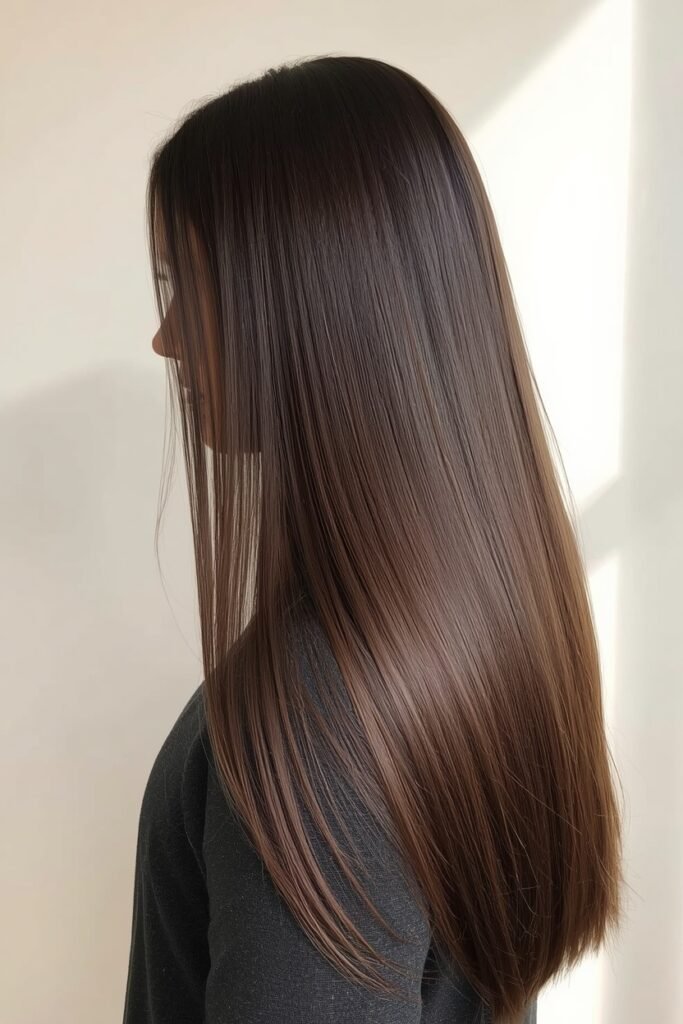
8. Subtle Face-Framing Layers for Nearly One-Length Hair
You do not need a heavily layered haircut to soften the front.
If you like the weight and clean outline of nearly one-length hair, ask for only a few longer pieces around the face. They can start below the chin and blend into the main length with very little change through the back.
This keeps the bottom looking full while giving the front a little more movement.
A subtle version is also useful if you are unsure about layers and want an easier grow-out. Before the cut, decide how much front length you are comfortable losing. Starting longer gives you room to go shorter later if you want more definition.
Ask for these details
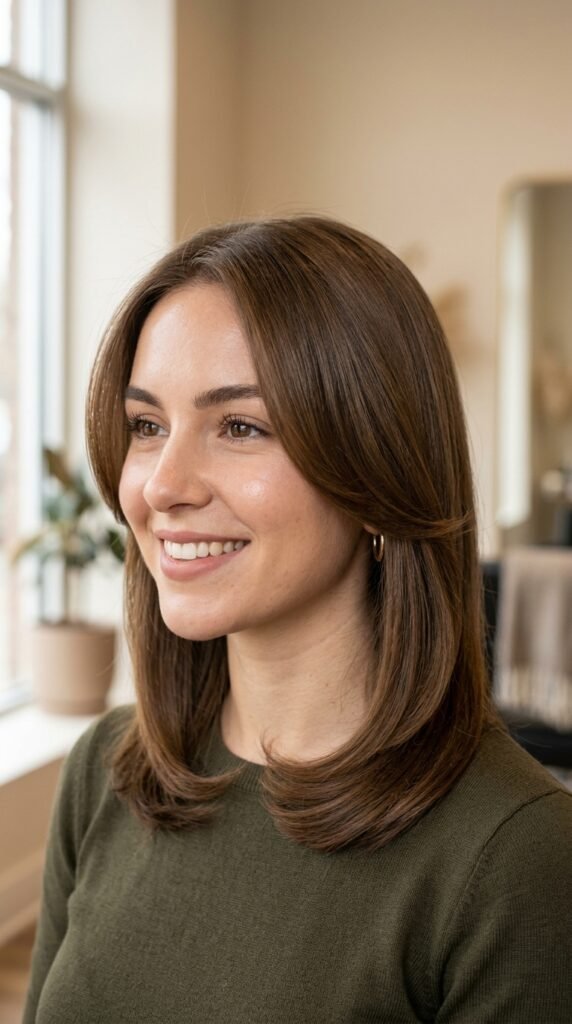
9. Rounded Layers That Curve Under the Chin
Not every face-framing layer needs to flip outward. An inward curve can create a softer, more polished shape around the chin and neckline.
The effect works well on straight or softly textured hair because the front pieces can follow the natural line of the face instead of pushing away from it.
The mistake is making the curve too round. That can leave the front looking stiff or overly styled.
Keep the bend gentle and let the ends move naturally. A round brush directed inward for only the last few inches is usually enough. The result should feel like the hair naturally follows the jaw rather than forming a hard C shape around it.
Keep the inward bend soft and focused through the ends.
Let the longer pieces continue the curve naturally below the jaw.
Avoid rolling the entire front section into a tight rounded shape.
Do not cut every front piece at the same chin length.
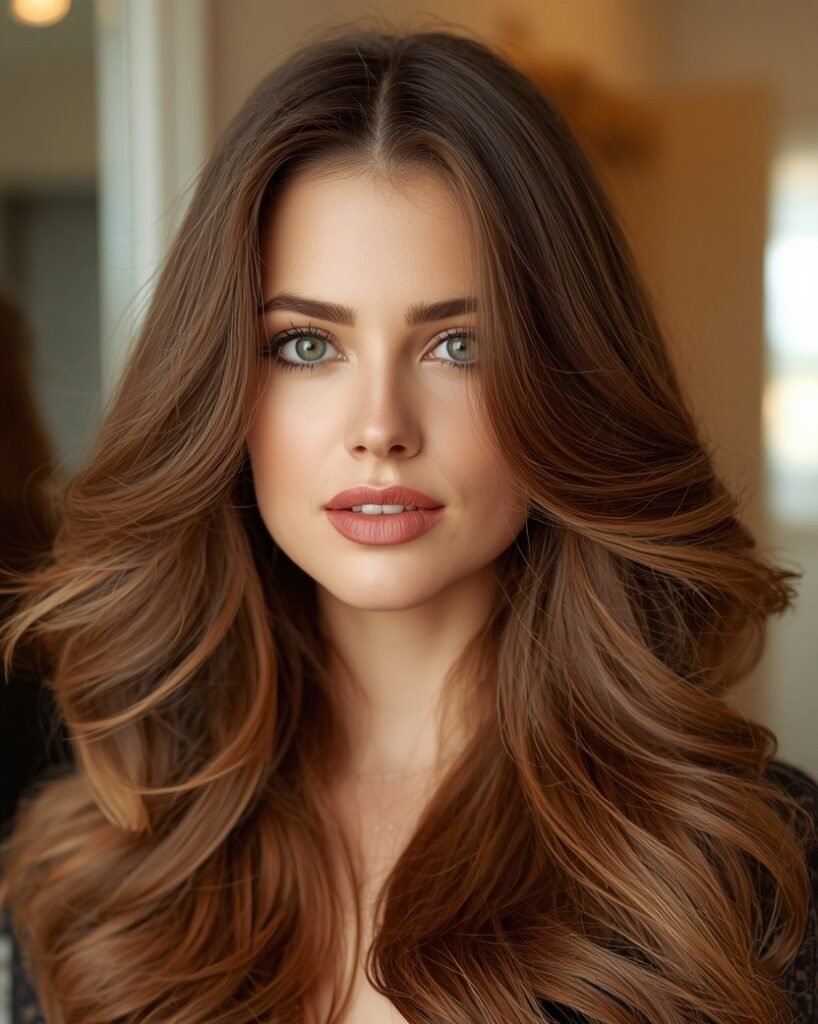
10. Feathered Face-Framing Layers With a 90s Blowout
A 90s-inspired blowout relies on layers that can lift, separate, and sweep away from the face.
The front pieces are usually more noticeable here, often starting around the cheekbones before flowing into shoulder-length or longer layers. Once styled, they create that airy, flipped shape around the forehead and sides.
For the best result, keep some length between each layer. Too many short pieces can make thick hair feel bulky and fine hair look wispy.
A large round brush works well, but big rollers can give a softer finish. Let the hair cool in its lifted shape before brushing it out. That small step helps the front layers hold their movement without looking stiff.
📌 Good To Know
For a softer blowout, style the front sections away from the face and let them cool before separating them with your fingers. Brushing too early can flatten the lift you just created.
11. Face-Framing Layers With Bottleneck Bangs
Bottleneck bangs give the front of the haircut a narrower shape through the center, then gradually open out around the cheekbones.
The effect works best when the bangs do not stop abruptly. Longer side pieces should connect them into the rest of the face-framing layers, so the whole front section reads as one shape.
This is a stronger commitment than long curtain layers because some hair will sit noticeably shorter around the forehead.
Best for: someone who wants visible framing even when the rest of the hair is tied back.
If you wear your hair up often, ask your stylist to leave enough length at the sides for a few soft pieces to fall naturally around the face.

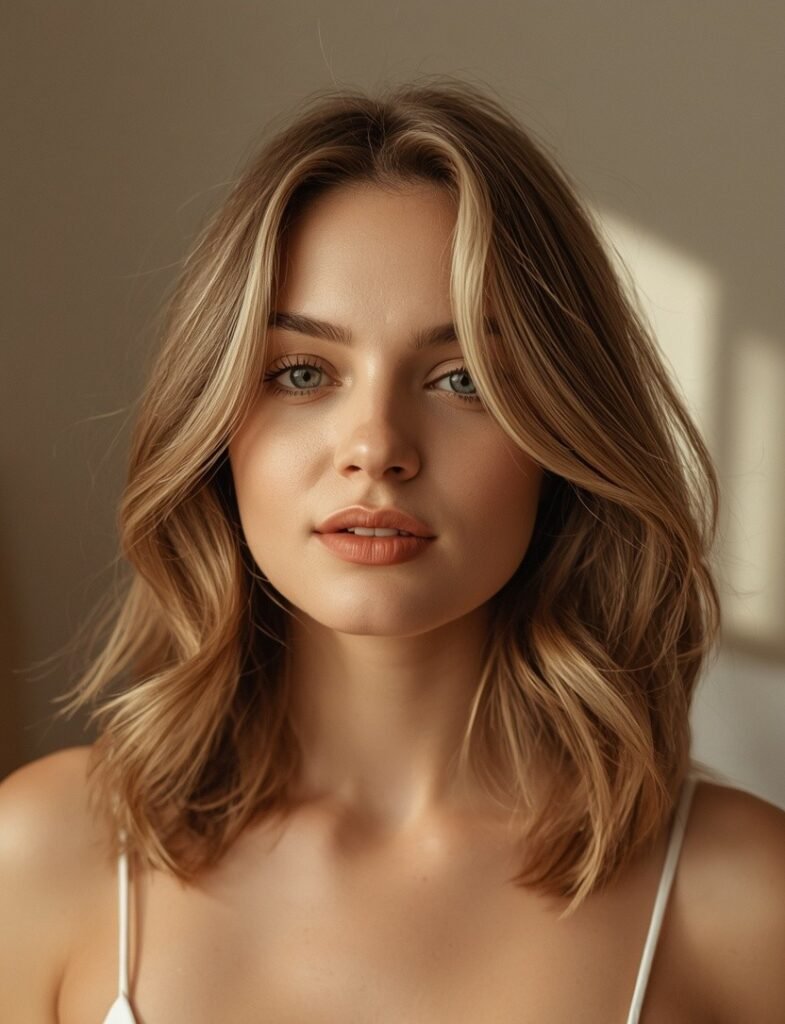
12. Collarbone-Length Layers That Open Up the Face
Collarbone-length layers sit in a useful middle ground. They are long enough to feel low commitment, but short enough to create visible movement near the front.
This placement works especially well on medium and long hair that tends to hang straight down beside the face.
Instead of removing a large section, keep the shortest front pieces around the collarbone and let them blend into longer layers below.
A slight outward bend can help the shape feel lighter, especially around the shoulders. If your hair naturally flips at this length, work with that movement rather than forcing every section to sit completely smooth.
- ▸Keep the shortest pieces near the collarbone for a softer change.
- ▸Let the front sections become gradually longer toward the sides.
- ▸Use a loose bend instead of a tight curl if you want the layers to look relaxed.
13. Choppy Face-Framing Layers for a Textured Cut
Clean, blended layers are not the only option. A choppier finish can make the front of the haircut feel more relaxed and piecey.
These layers usually have more separation between the ends, which helps natural bends, waves, and textured styling show through.
The important part is control. Choppy does not mean randomly cutting short pieces around the face.
Keep the shortest sections placed with purpose, then let the texture create the rougher finish. A small amount of styling cream or lightweight texture product can help individual pieces stay visible without making the front look stiff.
This approach works especially well if you prefer hair that looks a little undone instead of freshly blown out.

Keep the pieces uneven enough to show movement.
Use lightweight product so the ends stay separated.
Avoid cutting lots of short pieces with no clear blend.
Skip heavy creams that make the front collapse together.
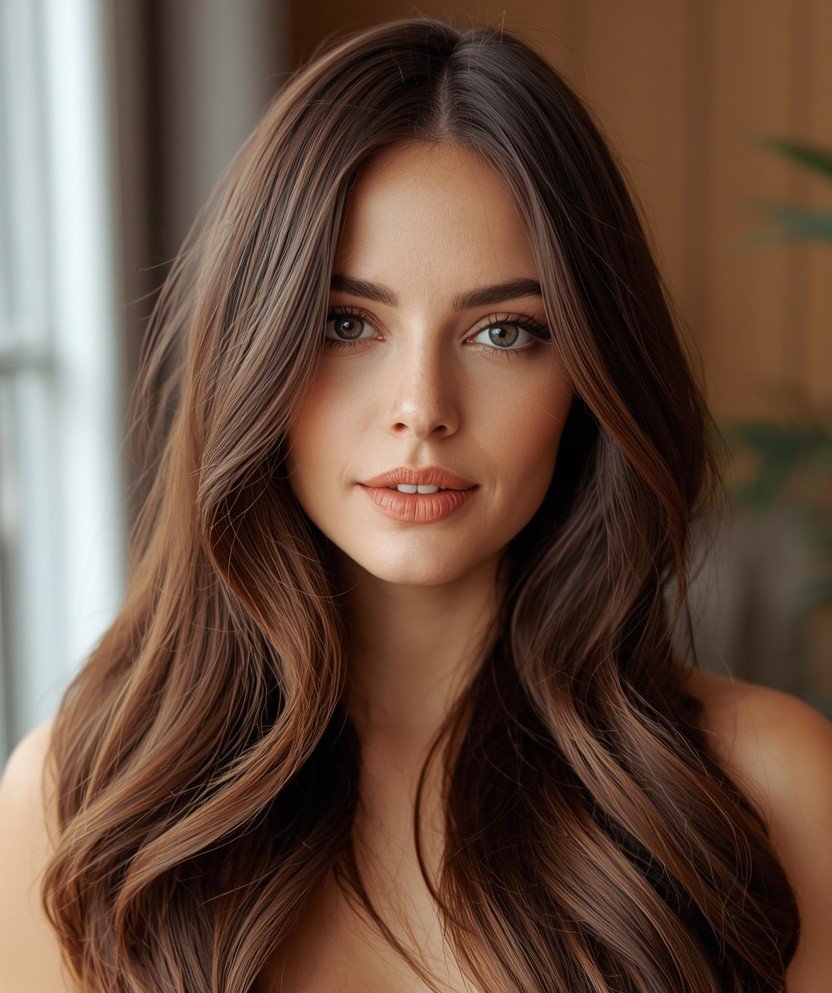
14. Face-Framing Layers With a Deep Side Part
A side part changes where the weight of the front layers sits, so the same haircut can look noticeably different depending on where you part it.
With a center part, the framing feels balanced. With a deeper side part, one side carries more volume while the opposite side usually sits closer to the face.
That makes this style useful if you like a little asymmetry or prefer extra lift through the front.
Before getting the layers cut, tell your stylist where you actually wear your part most days. Cutting everything around a center part and then flipping it deeply to one side can change where the shortest pieces land.
| Center Part | Deep Side Part |
|---|---|
| Creates a more even frame on both sides. | Creates more lift and weight on one side. |
| Makes matching front lengths easier to see. | Makes the layers feel softer and less symmetrical. |
| Works well for curtain-style shaping. | Works well when you want extra movement at the front. |
15. Long Curved Layers for Thick Hair
Thick hair can hold a lot of weight around the front, especially when the shortest pieces begin far below the shoulders.
Long curved layers remove some of that visual heaviness without making the haircut feel thin.
The front sections can start near the jaw or collarbone, then flow into longer pieces through the chest. Keeping the transition gradual helps the hair move while preserving density through the ends.
The goal is shaping, not aggressive thinning.
If your hair expands easily, ask for enough weight to remain through the lower lengths. Removing too much can create extra puffiness instead of reducing it.

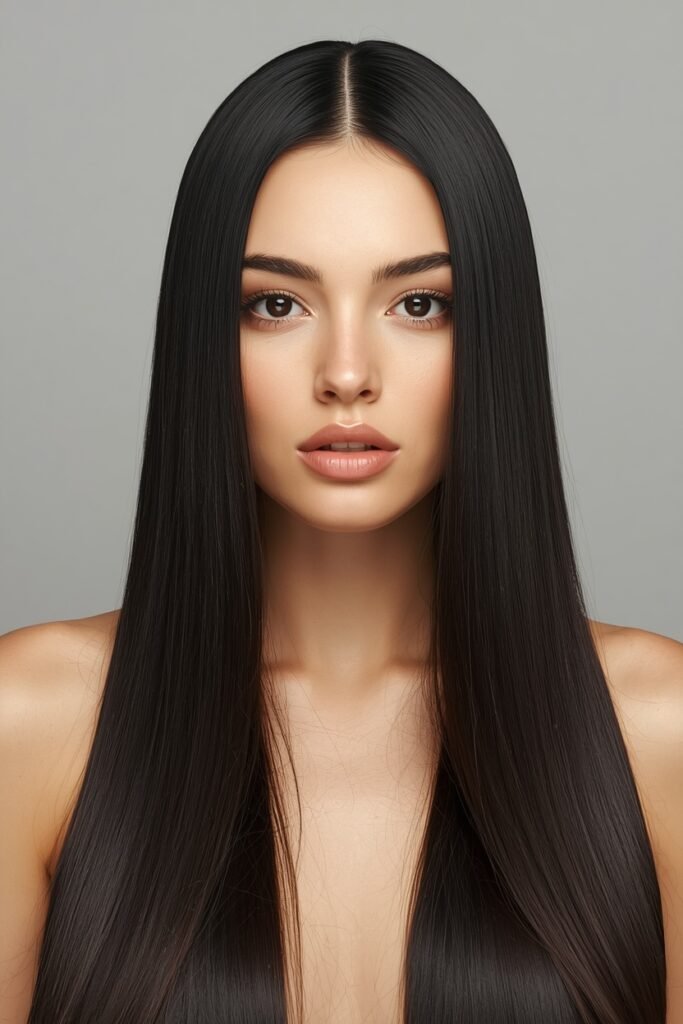
16. Short Face-Framing Pieces With Long Straight Hair
Long straight hair can sometimes look very uniform through the front, especially when every strand falls to nearly the same point.
Shorter face-framing pieces create contrast without changing the main length. They can begin around the cheekbones or jaw, then taper into the longer hair below.
The cleaner the overall haircut, the more visible these front pieces become.
For a softer result, keep the shortest section slightly longer and avoid cutting a thick chunk near the hairline. A few carefully placed pieces usually look more natural than removing too much hair at once.
Keep these details in mind
17. Face-Framing Layers Designed for Naturally Wavy Hair
Wavy hair already creates movement, so the best layers usually work with the bends that are there instead of forcing a completely different shape.
A front piece that looks chin length when wet may spring higher once dry. That makes the final placement especially important.
Cut for the texture you actually wear.
If your waves begin around the cheeks, keeping the first layer near that bend can help the hair fall into a natural frame. Longer pieces can then connect through the shoulders.
Ask your stylist to check how the front behaves when dry. The little section that always flips outward on its own may be exactly where the shape should begin.

Front sections can feel heavy or fall into awkward bends when they are cut without considering the natural wave pattern.
Layers placed around the natural bends help the waves frame the face with less daily reshaping.
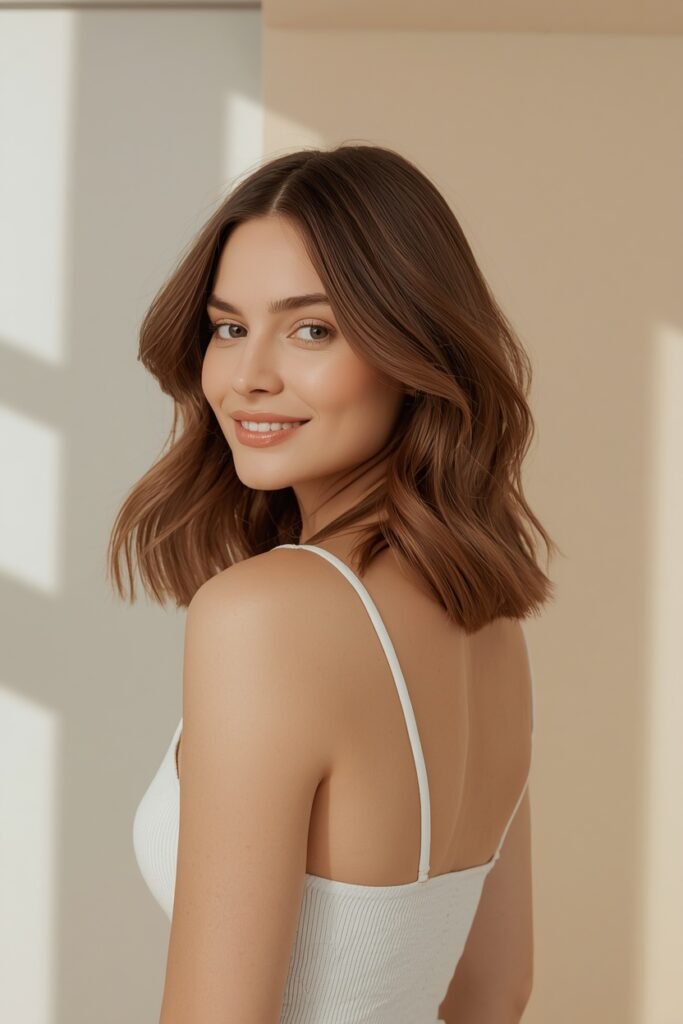
18. Shoulder-Skimming Layers With Flipped Ends
Shoulder-length hair naturally wants to move when it hits the collarbone, so you can use that bend instead of fighting it.
Front layers that skim the shoulders can be styled slightly outward to create a light, lifted finish. The result feels softer than a blunt medium cut but still keeps enough length for ponytails and simple updos.
You do not need a dramatic flip.
A small turn through the last few inches is enough to show the layers. If every section is curled heavily outward, the cut can start to feel overly styled. Keep the movement loose and let a few pieces fall differently.
Dry the front sections downward first so the roots stay smooth.
Turn only the ends outward with a round brush or styling tool.
Separate the layers gently with your fingers so the flip does not look too uniform.
19. Face-Framing Layers With Soft Side-Swept Bangs
Side-swept bangs work best when they continue into the rest of the haircut instead of ending as one isolated short section.
The fringe can start around the brow or cheek, depending on how much commitment you want, then stretch gradually into longer layers near the jaw.
That connection is what keeps the front from looking divided into “bangs” and “everything else.”
This shape can also work well if you naturally part your hair off center. Let the fringe move in the direction it already wants to fall rather than forcing it across the forehead every morning.

The fringe should flow into the face-framing layers. A smooth transition makes the whole front section look intentional as the bangs grow out.
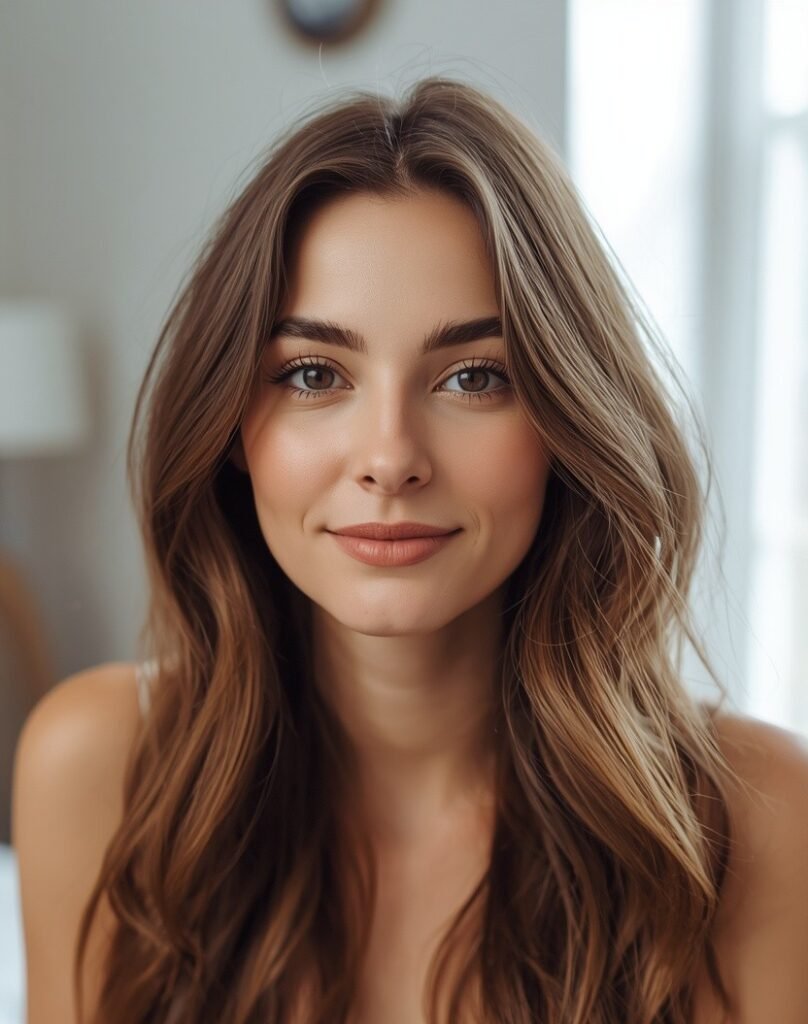
20. Barely-There Face-Framing Layers for a Low-Maintenance Cut
Some of the easiest face-framing layers are the ones you barely notice at first.
The shortest pieces can begin below the chin or even near the collarbone, with only a slight difference between them and the rest of the haircut. You still get movement around the front, but there is less to style and fewer awkward stages as the layers grow.
This is a good choice if you usually air-dry your hair or wear it pulled back during the week.
Keep the shaping long and gradual. You can always shorten the front later, but starting conservatively gives you a much easier way to test how layers fit your routine.
💡 Quick Tip
If you are trying face framing for the first time, start longer than you think. It is easy to take another inch off, but much harder to undo a front section that feels too short.
Final Thoughts
The best face-framing layers are not always the shortest or most dramatic ones. A small change around the cheekbones, jaw, or collarbone can completely change how a haircut sits without sacrificing the length you already like.
These face-framing layer ideas give you plenty of options, from barely-there shaping to butterfly layers, bottleneck bangs, textured cuts, and soft 90s-inspired blowouts. Use the ideas that match your natural texture, styling routine, and how much maintenance you actually want.
Save your favorite looks to Pinterest before your next salon appointment so you have clear references to show your stylist.