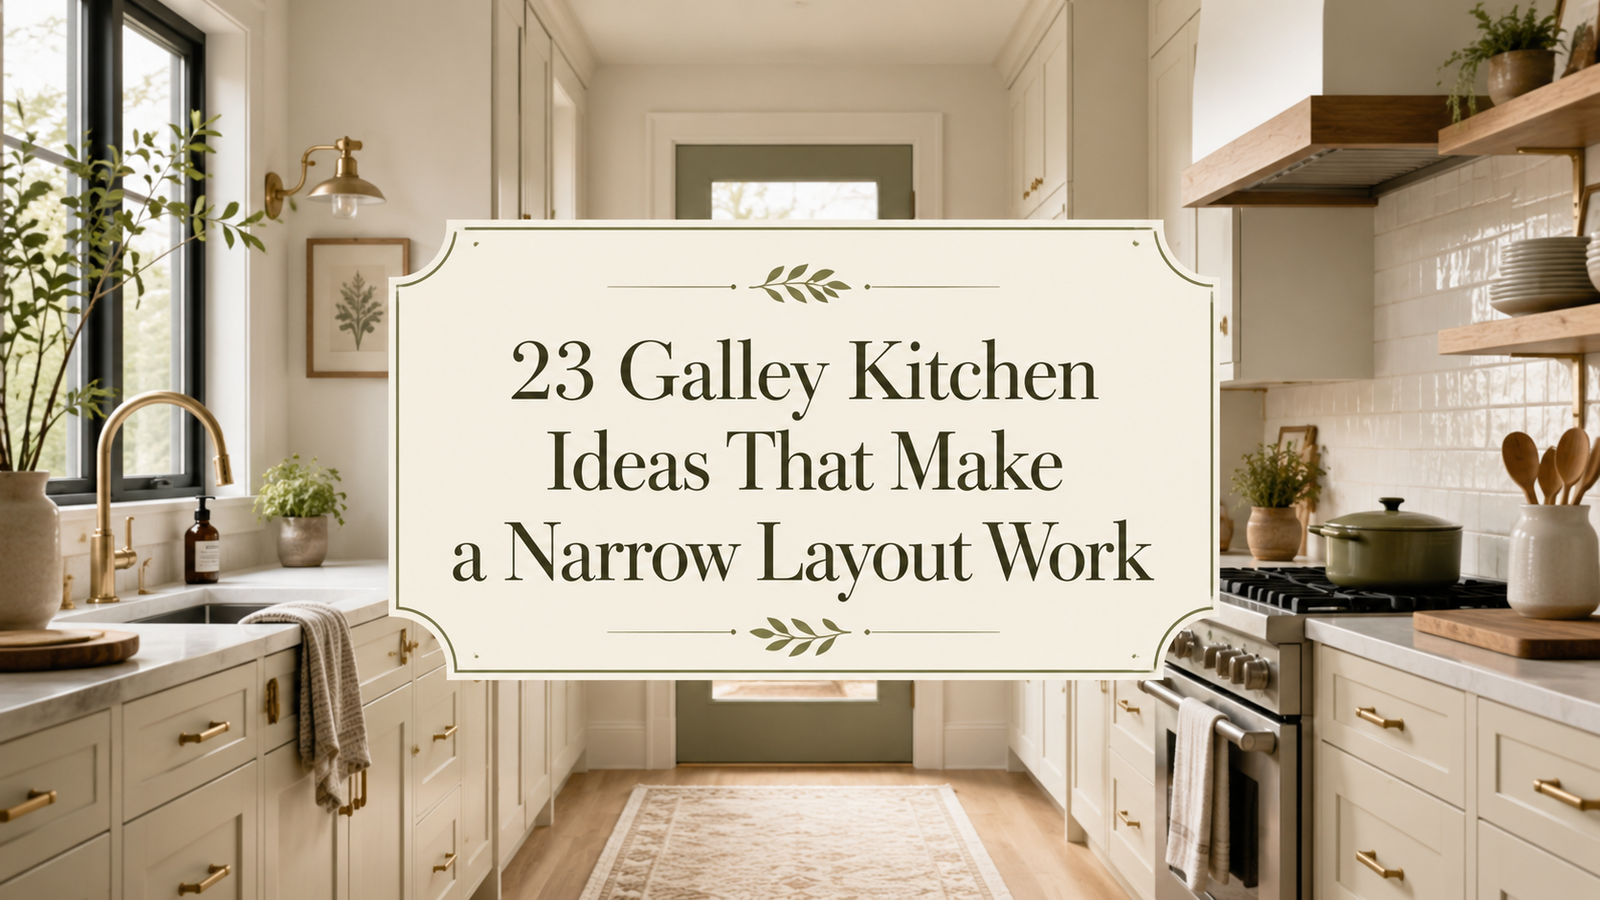
23 Galley Kitchen Ideas That Make a Narrow Layout Work
A galley kitchen can work beautifully, but narrow rooms are not very forgiving. One bulky cabinet, a dark corner, or too many things sitting on the counter can make the whole kitchen feel tighter than it really is.
The good news is that improving a galley layout is often less about adding more and more about making smarter use of what is already there. The right cabinet colors can open up the sightline. Better lighting can make the center feel less boxed in. Even small details, like hardware size or where you keep your chopping board, can change how smoothly the room works every day.
These 23 galley kitchen ideas that make a narrow layout work focus on both sides of the problem: how the kitchen feels and how it functions. Some are easy weekend updates. Others are useful if you are planning cabinets, counters, or a larger refresh.
Start with the ideas that fix the part of your kitchen that annoys you most.
1. Keep Upper Cabinets Light to Stop the Walls Closing In
Dark cabinets can look rich in a larger room, but using them on both upper walls of a narrow galley can make eye level feel heavy.
A lighter finish above the counters keeps that part of the room quieter. You do not need a stark white kitchen either.
Good options include:
- warm white
- pale beige
- light greige
- soft mushroom
- muted cream
You can still use deeper color on the lower cabinets if you want more contrast. That keeps the practical lower half grounded without making the upper walls feel like they are leaning inward.
If your kitchen gets limited daylight, this small color decision matters even more.
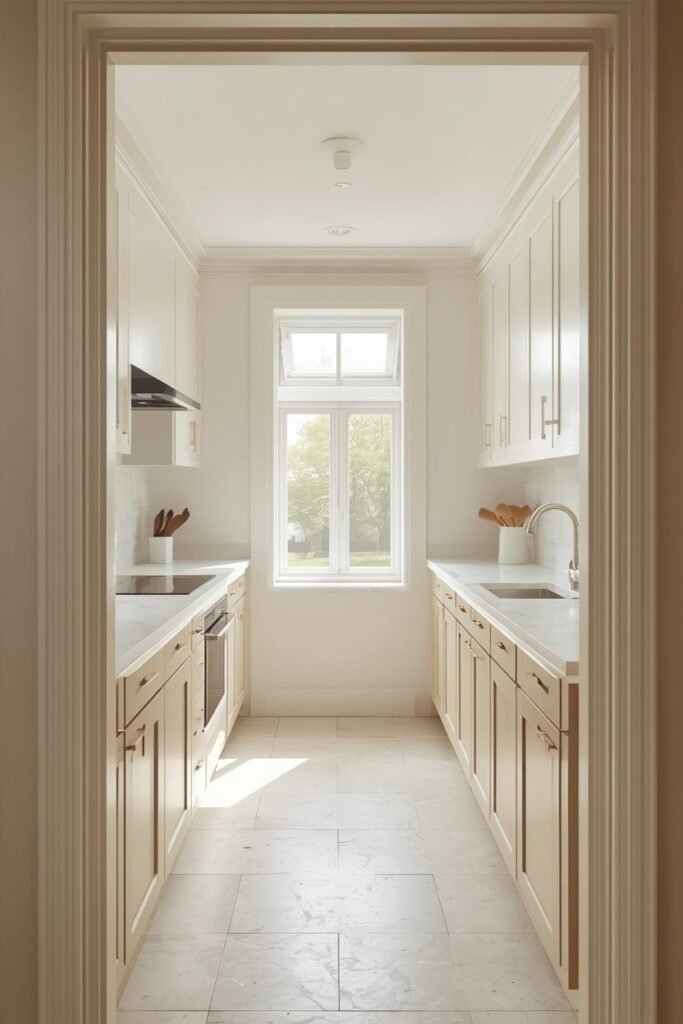
Deep upper cabinets on both sides can make eye level feel crowded, especially when the kitchen has little natural light.
Light upper cabinetry softens the walls while deeper lower cabinets can still provide contrast and character.
2. Run Cabinets All the Way to the Ceiling
That empty strip above kitchen cabinets often becomes a shelf for dust, old serving dishes, and things nobody remembers putting there.
Taking cabinetry to the ceiling gives the wall one clean vertical line and creates useful storage for items you rarely need.
Keep the storage hierarchy simple:
- Everyday plates and glasses stay at easy reach.
- Less-used appliances can sit higher.
- Holiday dishes and oversized serving pieces belong at the very top.
For an existing kitchen, you may be able to add matching upper boxes or enclosed storage rather than replacing every cabinet.
Avoid filling the highest shelves with anything you need every week. A step stool should not become part of your morning coffee routine.
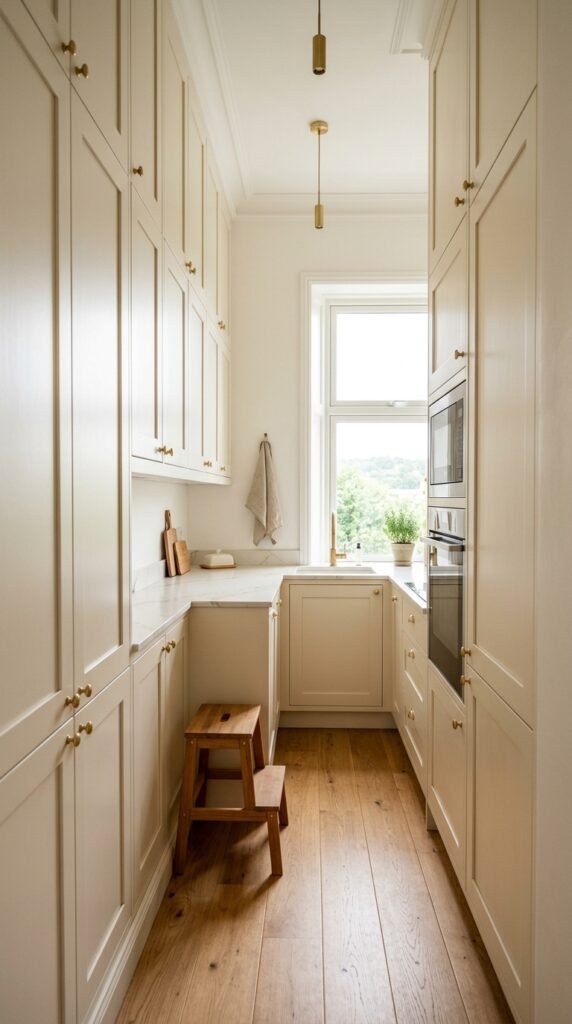
What goes where
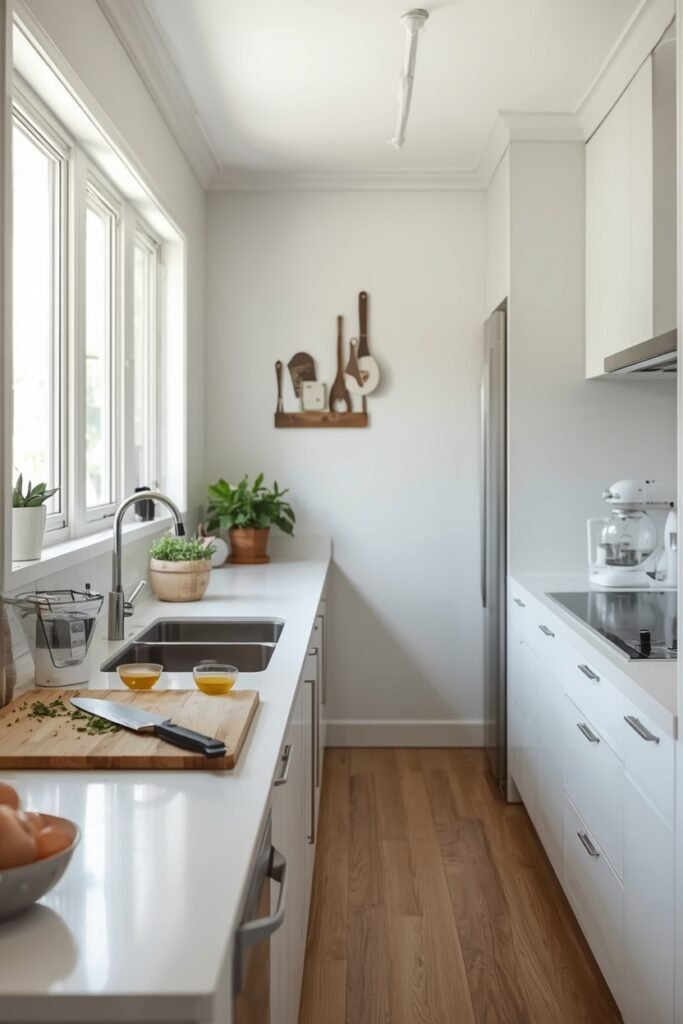
3. Use One Long Counter Run as the Main Prep Zone
A galley kitchen feels more frustrating when chopping, washing, seasoning, and plating happen in four different places.
Pick one stretch of counter and treat it as the main prep zone.
Ideally, keep it near the sink and within easy reach of the cooktop. Store the chopping boards, knives, mixing bowls, oils, and everyday seasonings close to that same area.
Then keep that section mostly clear.
The toaster that gets used once every few days does not need the best piece of counter in the room. Neither does the stack of unopened mail that somehow always lands beside the fruit bowl.
A clear prep run gives even a small kitchen some breathing space while making cooking noticeably less fiddly.
4. Replace Bulky Hardware With Slimmer Cabinet Pulls
In a wide kitchen, a chunky handle is mostly a style choice. In a narrow galley, it can catch your hip, snag an apron, or make drawers opposite each other feel closer than they are.
Look for hardware with a lower profile.
Slim bar pulls work well if you still want a visible handle. Edge pulls sit closer to the cabinet face, while recessed pulls remove most of the projection altogether.
Before ordering a full set, test one handle on the cabinet beside your busiest walkway.
Open the dishwasher. Open the opposite drawer. Walk through while carrying a laundry basket or grocery bag.
That quick test tells you more than looking at a hardware sample on a showroom board.
| Higher Profile Hardware | Slimmer Hardware |
|---|---|
| Projects farther into a tight walkway | Keeps cabinet fronts closer to flush |
| Can catch clothing or bags | Creates fewer snag points |
| Adds more visual detail to cabinet fronts | Gives narrow cabinetry a cleaner line |
5. Bring More Light Into the Middle of the Galley
The center of a long galley often stays dim even when there is a window at one end.
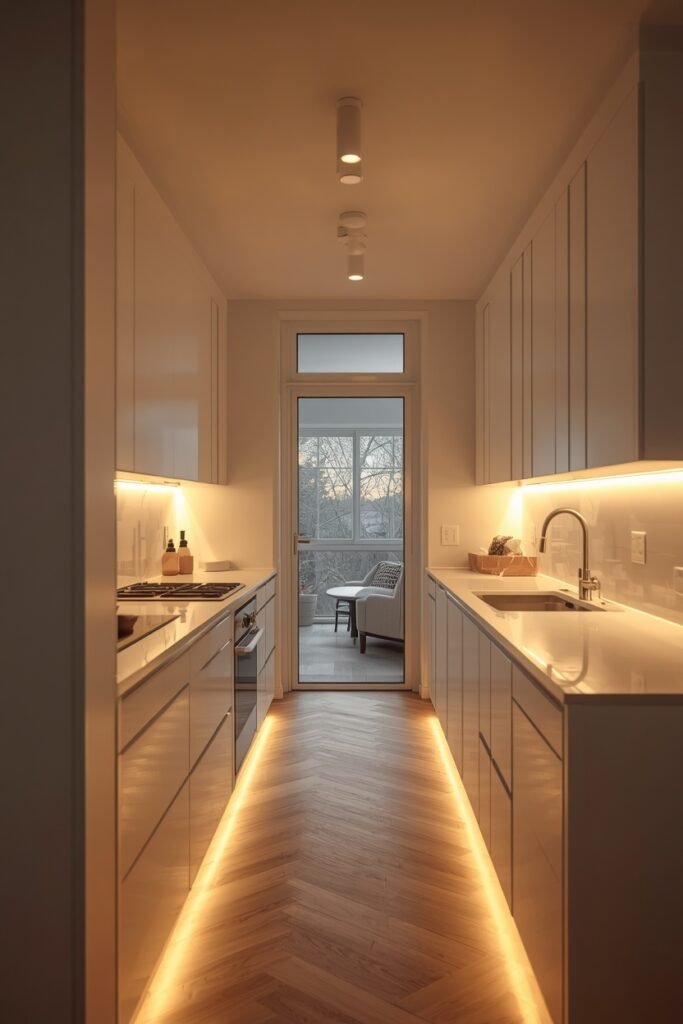
Instead of asking one ceiling fixture to light the whole room, build the lighting in layers.
Start with general overhead light. Add under cabinet lighting where upper cabinets cast shadows onto the worktop. Then give important work spots, such as the sink or chopping zone, their own task light if needed.
A warm, even glow usually feels calmer than one harsh bright fixture in the middle.
Also check what is physically blocking existing light. A tall pile on the counter, a dark blind, or a bulky fitting near the window can steal more daylight than you might expect.
6. Choose a Narrow Runner That Leads the Eye Forward
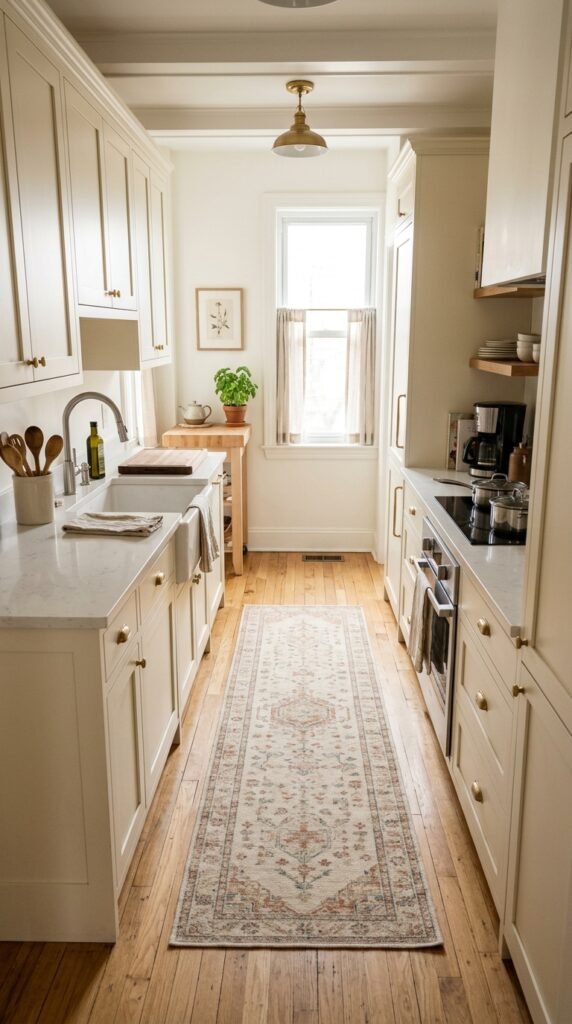
A runner can soften a galley kitchen, but the wrong size makes the floor feel busier.
Look for one that follows the length of the room without filling the whole walkway. Leaving some flooring visible on both sides helps the kitchen feel less boxed in.
A few practical details matter:
- Pick a low pile so doors and drawers clear it easily.
- Choose a washable material if spills are common.
- Avoid very thick fringe near cabinet bases.
- Keep the pattern fairly calm if the cabinets and backsplash already have a lot going on.
The runner should guide the eye down the kitchen, not become another obstacle underfoot.
💡 Quick Tip
Leave a visible strip of flooring along both sides of the runner. That small border keeps the walkway looking wider and makes cleaning around cabinet edges easier.
7. Keep the Backsplash Simple and Visually Continuous
A galley kitchen already has a lot of straight lines from cabinets, appliances, drawers, and counters. A backsplash with several strong colors, tiny tiles, and heavy grout lines can add more visual noise than the room needs.
A calmer surface usually works better.
Think larger tile, fewer grout breaks, or a backsplash color that sits close to the countertop or cabinet tone. You can still use texture or handmade tile if you like character. The point is to avoid making every surface compete.
If you love a patterned tile, keeping it to one smaller area can work better than running it down both sides of a long galley.
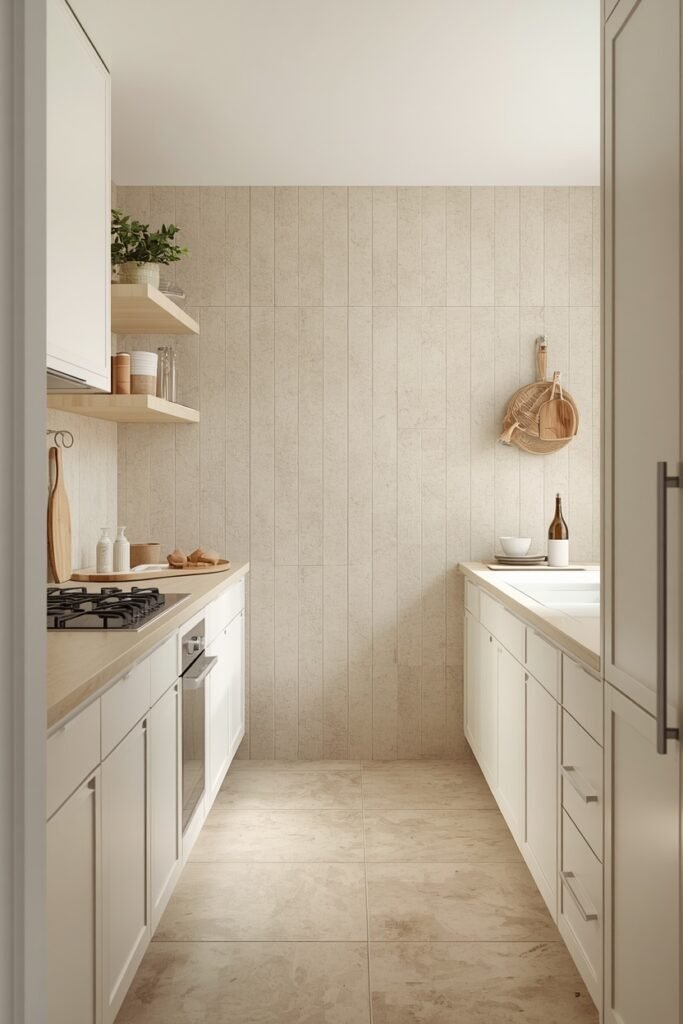
The narrower the kitchen, the more useful visual continuity becomes. Let one or two surfaces stay quiet instead of asking every finish to stand out.
8. Turn an Empty End Wall Into Useful Vertical Storage
The wall at the end of a galley often gets ignored because it is too shallow for standard cabinetry.
That does not mean it has to stay empty.
A slim shelf, peg rail, magnetic knife strip, narrow spice rack, or shallow wall cabinet can hold useful items without stealing much floor space.
Use this simple order:
- Measure the wall and the clear path in front of it.
- Decide what actually needs a home there.
- Choose the shallowest storage that solves that problem.
Keep deep shelves away from the main exit or doorway. An end wall should add storage without turning the last few steps of the kitchen into a squeeze.
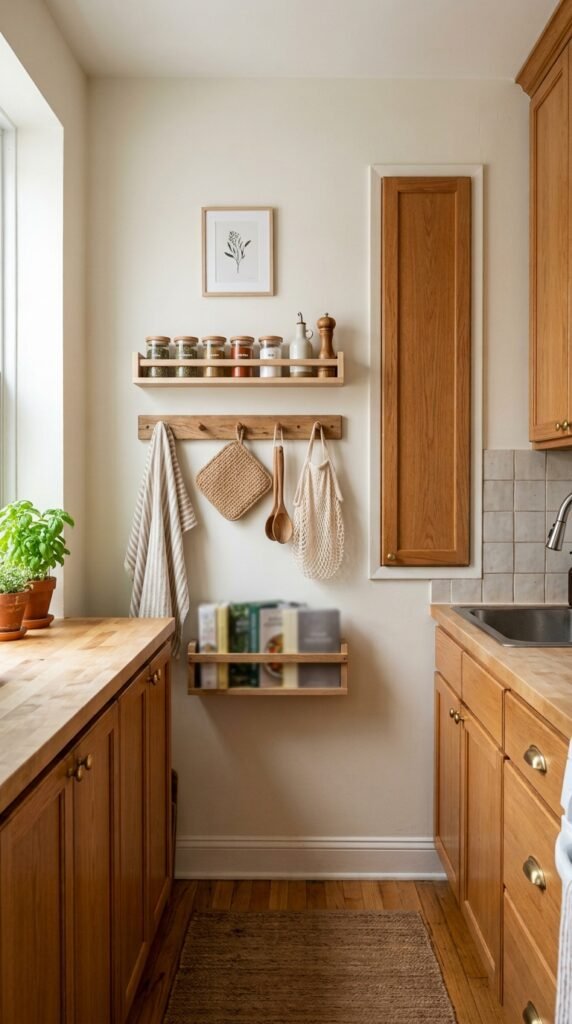
Measure the wall plus the walking space in front of it before choosing any storage.
Choose one job for the wall, such as spices, mugs, utensils, or cookbooks.
Use a shallow rail, shelf, or rack so the extra storage never crowds the walkway.
9. Use Open Shelving Only Where It Creates Breathing Room
Open shelving is often suggested for small kitchens, but covering both walls with it can make a narrow room feel busier, not lighter.
A small section works better.
It might replace one upper cabinet near a window, fill an awkward corner, or sit above a coffee station where you already use the same few mugs every day.
Keep the shelf contents practical and edited. Five things used often look intentional. Fifteen mismatched things usually become visual clutter.
Open shelving works best when it breaks up a heavy cabinet run. It should give your eye a place to rest, not turn the wall into another storage display.
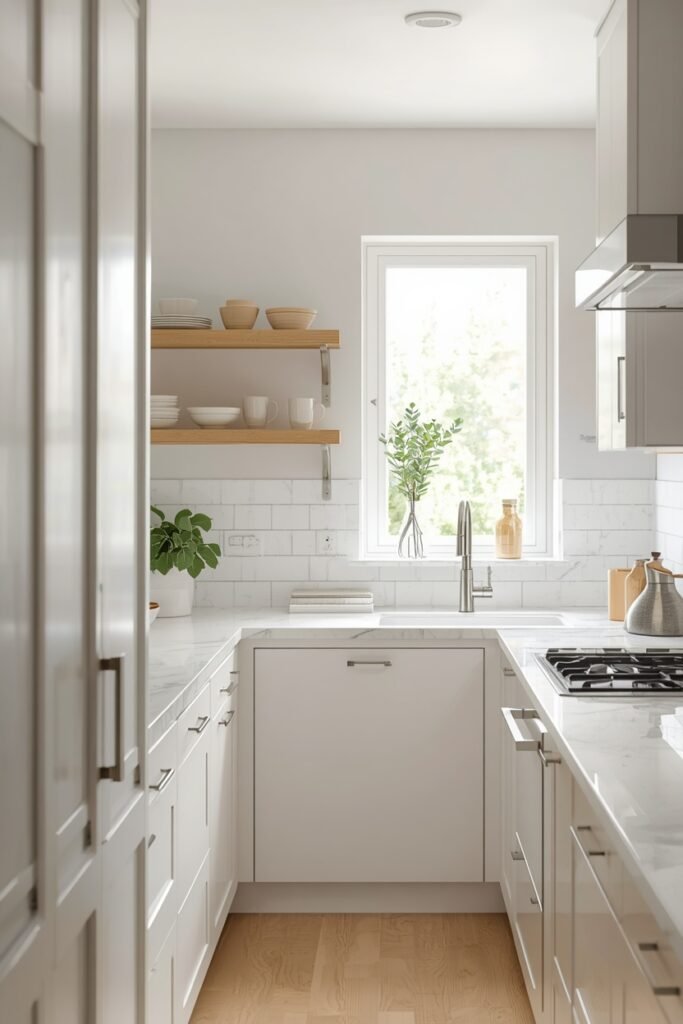
Use one small shelf section to interrupt a long run of upper cabinets.
Keep only useful, good looking items you reach for regularly.
Do not replace every upper cabinet just because open shelves look lighter in photos.
Avoid using the shelf as overflow storage for random jars and unused dishes.
10. Match the Backsplash and Countertop for a Calmer Look
A strong contrast between the counter and backsplash can be striking, but in a very narrow kitchen it also creates another horizontal break on both sides of the room.
Using similar tones can make the surfaces read more like one continuous plane.
You do not have to match them exactly. A warm white counter with creamy tile, pale stone with soft greige, or darker stone with a backsplash in a related shade can all work.
The easiest rule is simple: let the texture change before the color does.
That gives the kitchen depth without chopping the walls into too many separate bands.
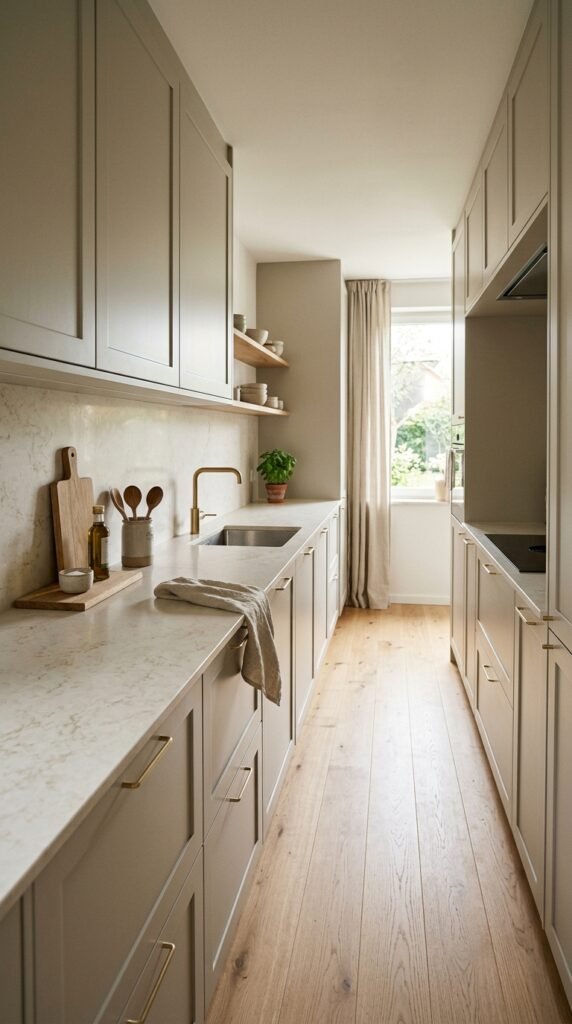
- ▸Warm white counter with soft cream or ivory tile
- ▸Pale stone counter with a muted greige backsplash
- ▸Dark stone counter with a backsplash in a close charcoal or brown tone
- ▸Keep grout close to the tile color if you want fewer visible lines
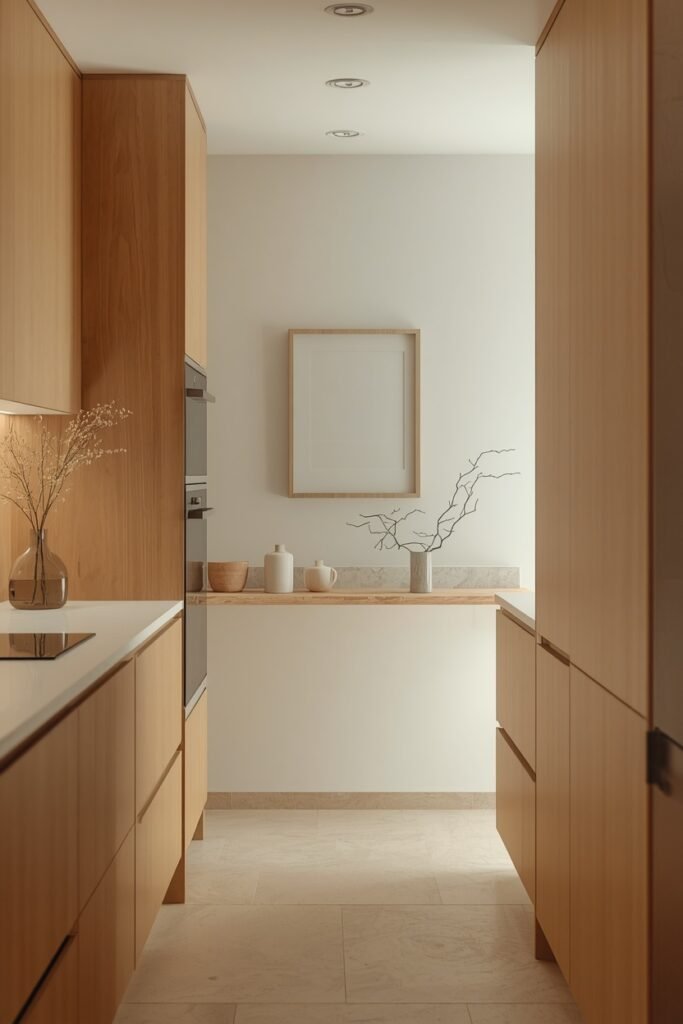
11. Make the End of the Galley a Visual Focal Point
The far wall is one of the first things your eye lands on in a galley kitchen, so give it a clear purpose.
That does not mean filling it with decor.
A single framed print, a narrow shelf with two or three useful pieces, or a slightly deeper wall color can give the room a natural stopping point. If the end wall already has a window, keep the styling around it light so the view stays open.
Choose one focal idea and let it lead.
Too many small objects on that wall can make the kitchen feel shorter because the eye stops on clutter instead of moving through the space.
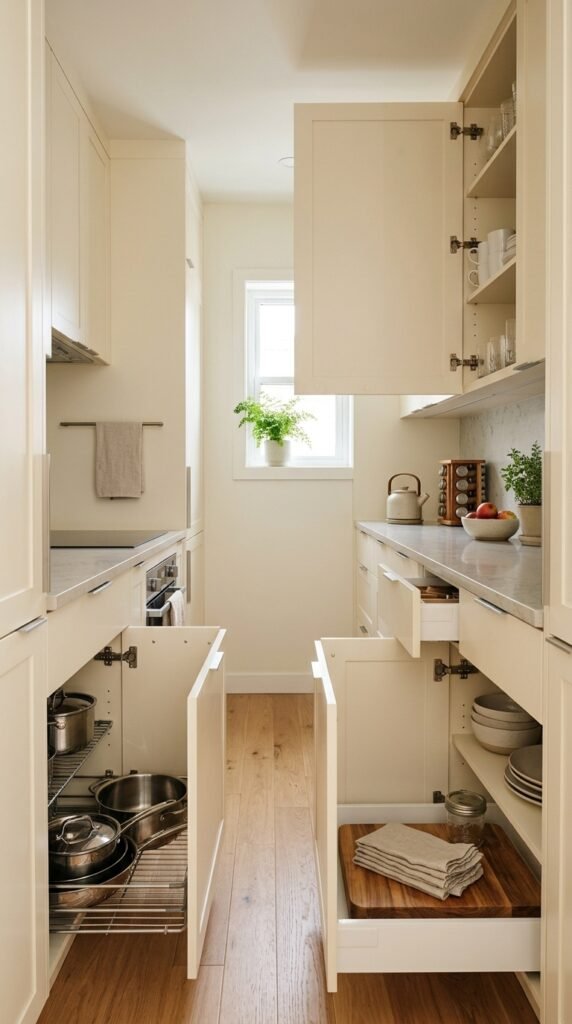
12. Use Drawers Instead of Deep Lower Cabinets Where Possible
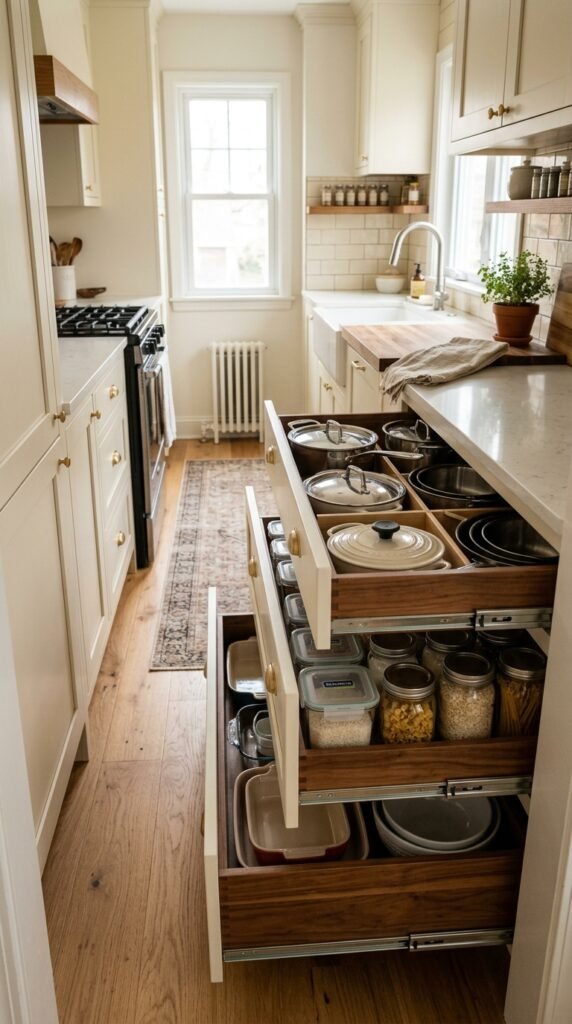
Deep base cabinets can hide a surprising amount of wasted space.
You open the door, crouch down, move two pans, then discover the lid you wanted right at the back.
Drawers make that storage easier to see and reach.
They work especially well for:
- pots and pans
- food containers
- plates and bowls
- baking dishes
- small appliances
Even one or two drawer bases can improve the daily rhythm of a narrow kitchen because you spend less time kneeling in the walkway with a cabinet door open.
If a full cabinet replacement is not realistic, pullout trays inside existing cupboards can create a similar effect.
| Deep Cabinet | Wide Drawer |
|---|---|
| Items disappear at the back | Contents are visible from above |
| Often requires bending and reaching | Brings stored items toward you |
| Can become a stack of mixed cookware | Easier to divide by category |
13. Add Under Cabinet Lighting Instead of Relying on One Ceiling Fixture
A ceiling light can make the middle of the kitchen bright while the counters stay in shadow.
Upper cabinets block light exactly where you chop, wash, and read labels.
Under cabinet lighting fixes that gap.
It is especially useful along the counter you use most often. A continuous strip gives a smoother result than several isolated bright spots, and keeping the light tone consistent prevents the kitchen from looking patchy.
Before buying anything, stand at the counter at night and notice where your hands cast shadows.
That tells you where extra light will actually help.
For renters, removable or plug-in options can be a practical way to improve task lighting without changing the cabinets.
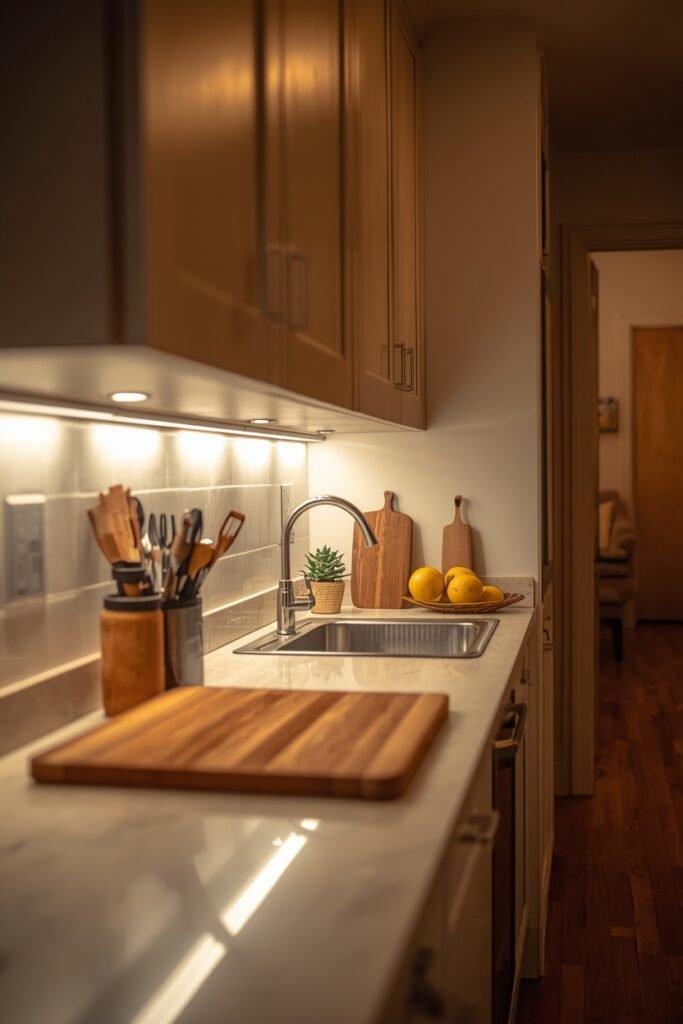
The ceiling fixture lights the aisle, but your body and upper cabinets leave the counter in shadow while you work.
A soft strip beneath the cabinets puts light directly on the worktop, making prep areas easier to use without over-brightening the room.
14. Build Storage Around the Fridge Instead of Leaving Awkward Gaps
The space around a refrigerator can easily turn into an odd collection of dust, grocery bags, and things that slide down the side.
If the layout allows it, frame the fridge with useful storage.
A cabinet above can hold serving pieces or appliances you do not need often. A narrow side cabinet may work for trays, cutting boards, or baking sheets.
Before adding anything, check the practical stuff first:
- fridge ventilation requirements
- door swing
- nearby drawer clearance
- access to plugs or shutoff points
- enough room to pull the appliance out when needed
Storage is only useful if the fridge still works properly and can be serviced without dismantling half the kitchen.
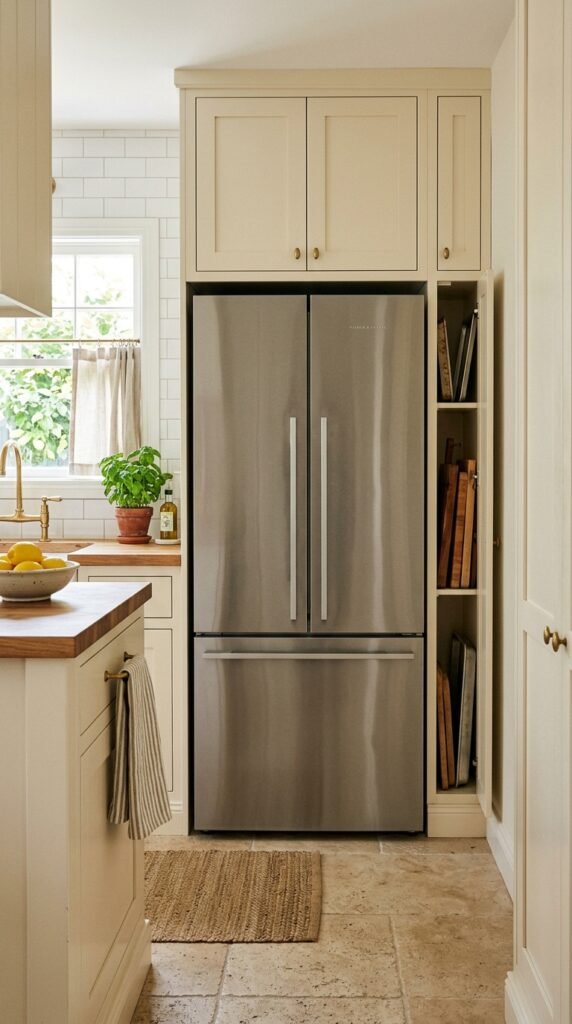
Check before filling the gaps
15. Keep One Side Visually Quieter Than the Other
Two equally busy walls can make a galley kitchen feel like a corridor lined with storage.
You do not need both sides to carry the same visual weight.
If one wall has tall cabinets, the refrigerator, open shelving, or a stronger backsplash, let the opposite side stay calmer. That might mean simpler cabinet fronts, fewer objects on the counter, or a quieter color.
The balance does not have to be symmetrical.
In fact, a little visual imbalance often helps a narrow room breathe because your eye has somewhere calmer to land.
Think of one wall as the working wall and the other as the resting wall.
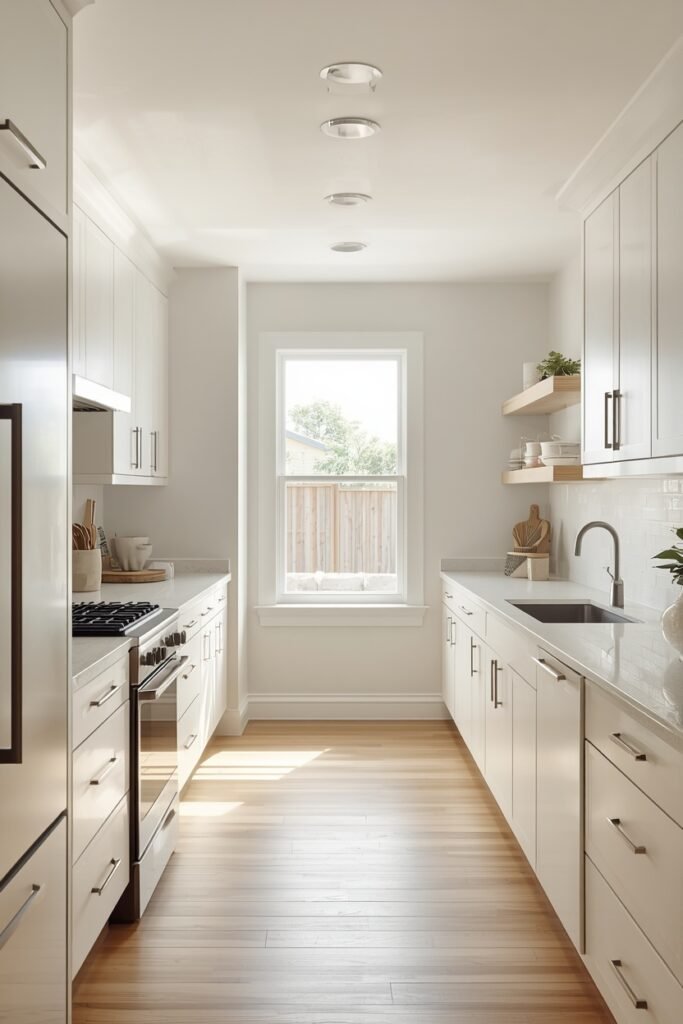
Let one wall carry the stronger storage, color, or appliance load.
Keep the opposite side simpler with clearer counters and quieter finishes.
Avoid matching every shelf, display, pattern, and accessory on both walls.
Do not fill a clear wall just because there is technically room for more storage.
16. Use a Peg Rail or Slim Rail System for Everyday Tools
Counter space disappears quickly when every spoon, board, towel, and utensil needs its own container.
A slim wall rail can move a few daily items upward without making the wall feel bulky.
The key is restraint.
Hang only what you reach for often, such as:
- one or two cooking utensils
- a hand towel
- a small brush
- lightweight measuring tools
- one frequently used pan if the rail is designed for it
Skip the urge to turn the rail into a display for every kitchen tool you own.
A narrow galley benefits more from a useful row of essentials than a crowded wall of hanging objects.
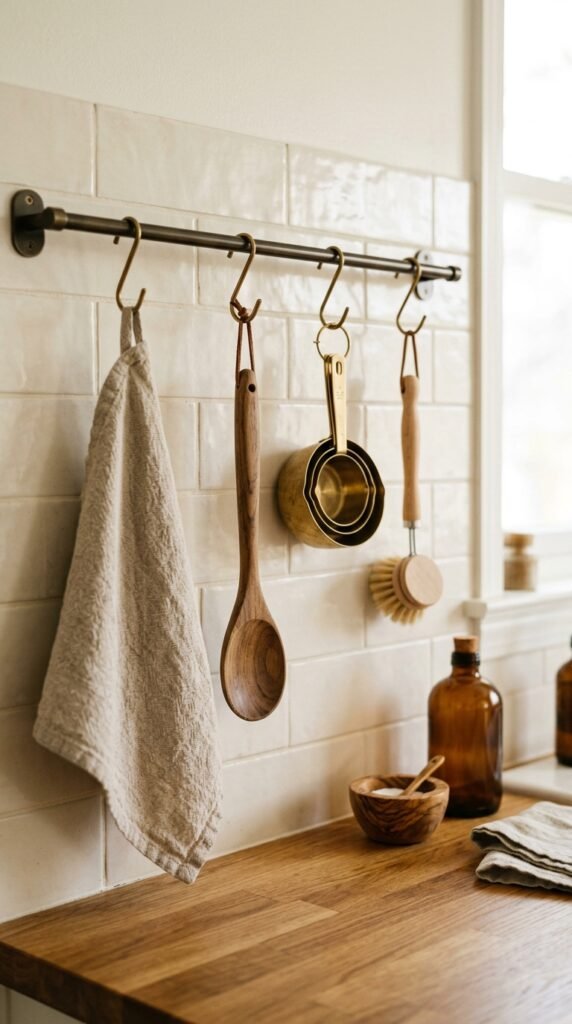
📌 Good To Know
A rail works best when it replaces countertop clutter. If it simply moves ten rarely used items from the counter to the wall, the kitchen can still look busy.
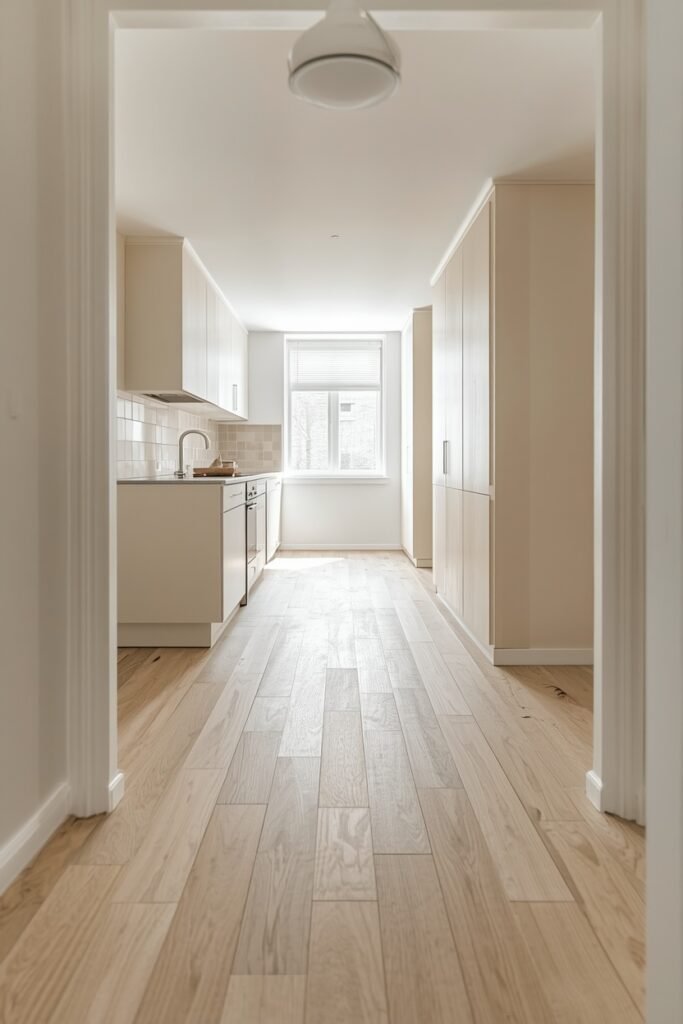
17. Choose Flooring That Runs With the Length of the Kitchen
Floor direction can quietly change how a narrow kitchen reads.
Long planks or rectangular tiles laid in the same direction as the galley tend to carry the eye toward the far end. That can reinforce the length of the room instead of chopping it into short sections.
Pattern matters too.
A very busy floor can compete with cabinets, hardware, appliances, and backsplash lines. If several other surfaces already have detail, a quieter floor often gives the room more balance.
For open plan homes, you may need to follow the flooring direction of the adjoining room instead. Continuity between spaces is usually more important than forcing a separate direction just for the kitchen.
18. Create a Small Coffee or Breakfast Station Outside the Main Work Zone
Morning traffic gets annoying when someone making coffee is standing exactly where another person needs to chop or wash dishes.
If possible, move breakfast basics to the quieter end of the kitchen.
You do not need a built-in coffee bar. A short stretch of counter can hold the machine, while mugs, tea, cereal bowls, and coffee supplies live directly above or below it.
Set it up in three steps:
- Pick a spot outside the main prep area.
- Group only the things used for breakfast or drinks.
- Keep refills and extras in nearby closed storage.
The goal is to create a small self-contained zone, not another counter covered in appliances.
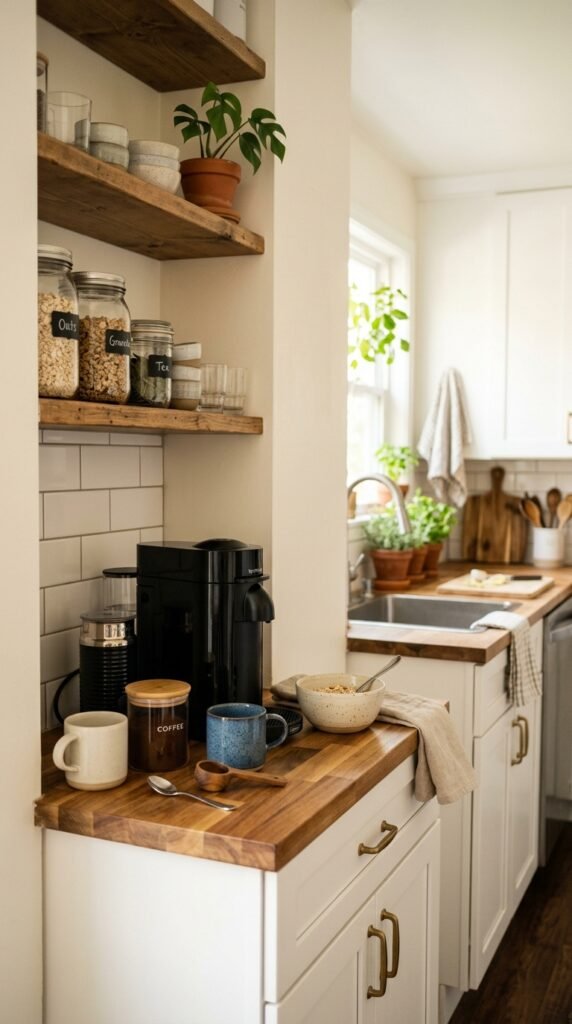
Choose a counter section away from the sink to cooktop prep path.
Keep the machine, mugs, tea, coffee, and everyday breakfast pieces together.
Move backup supplies into a cabinet so the station stays useful rather than crowded.
19. Use Glass Cabinet Doors in One Small Section, Not Everywhere
Glass fronts can break up a solid wall of cabinetry, but they also reveal everything behind them.
That tradeoff matters in a galley kitchen.
A pair of glass doors above a coffee station or near the end of a cabinet run can create a little depth and give special dishes a place to show. Using glass across every upper cabinet often means constantly seeing stacks of food packets, plastic cups, and mismatched containers.
If you like the lighter look but not the maintenance, fluted or reeded glass can soften what is inside.
Keep the idea contained to one intentional section. It works better as a visual pause than as the main cabinet treatment.
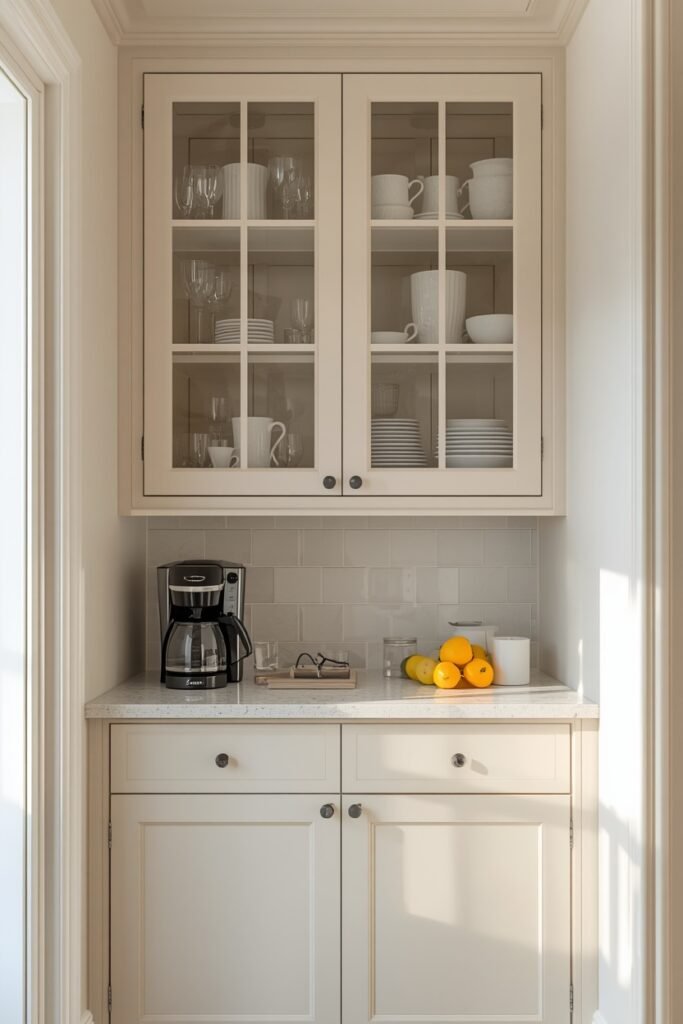
Use glass doors as a break in a heavy cabinet run, not as permission to put every shelf on display.
20. Hide Small Appliances That Make the Counters Feel Crowded
A narrow kitchen can have plenty of storage and still feel cramped if the countertop is lined with machines.
The kettle, blender, toaster, air fryer, coffee maker, mixer, and food processor may all be useful, but they do not all need permanent counter space.
Start by noticing what gets used every day.
Keep those pieces accessible. Move weekly or occasional appliances into a lower cabinet, pullout shelf, pantry, or appliance garage if you have one.
A good test is simple: if you regularly move an appliance just to make room for a chopping board, it probably has not earned that spot.
Clear counters make the kitchen feel wider, but more importantly, they give you actual room to work.
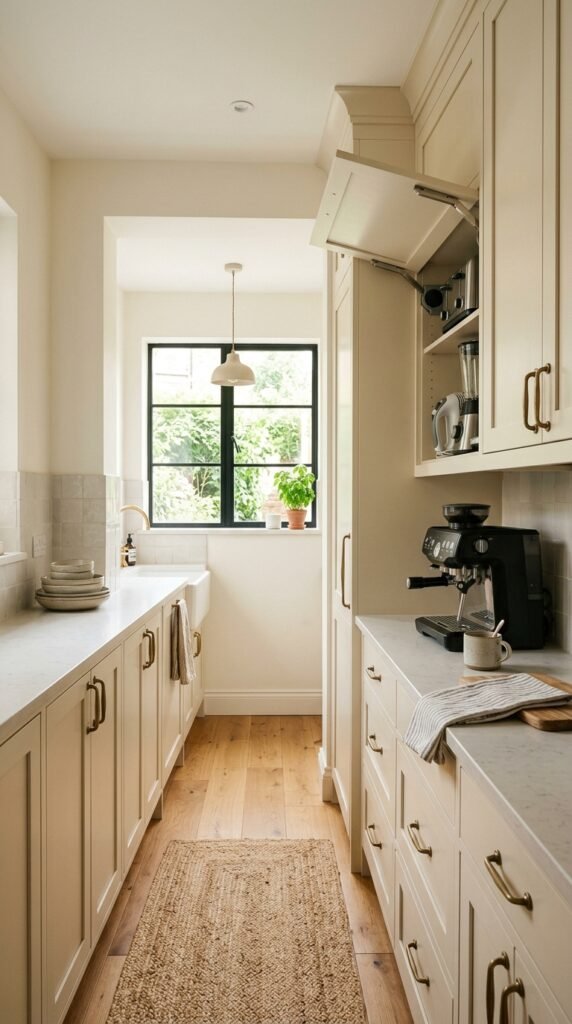
What stays out?
21. Repeat One Material or Finish Down the Length of the Kitchen
A narrow kitchen can start to feel patchy when every surface introduces a different finish.
Repeating one material helps tie the room together.
It could be the same wood tone on a shelf and stools, the same brass finish on the faucet and cabinet pulls, or one cabinet color that continues from one end to the other.
You do not need everything to match.
The repetition just gives the eye something familiar to follow through the space.
That works especially well in a galley with several appliances or mixed storage types, where small visual links can make the layout feel more intentional.
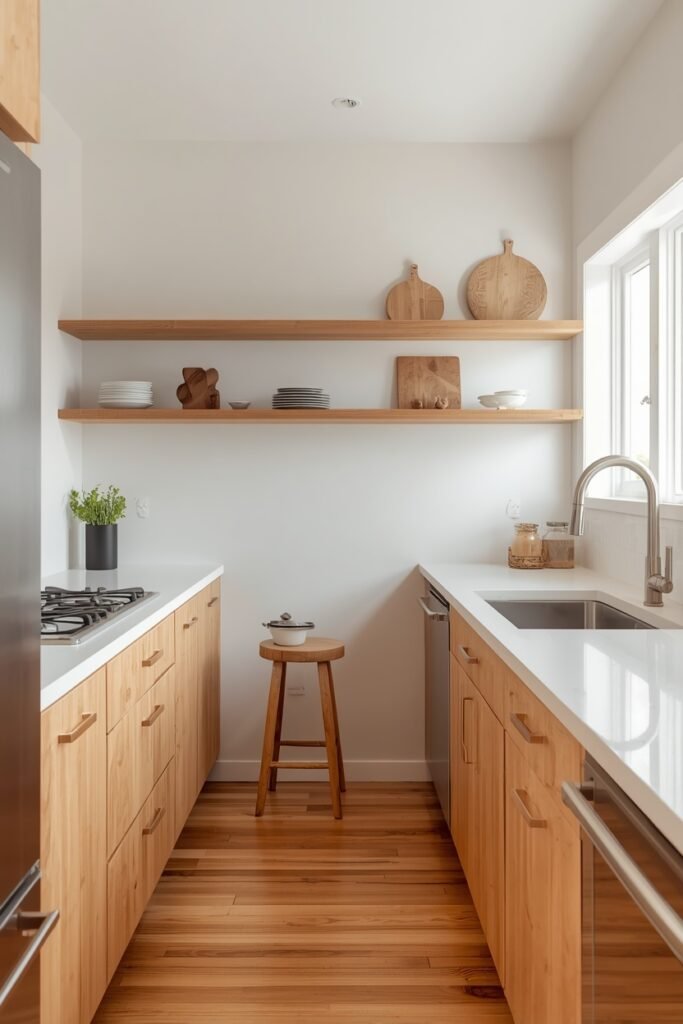
22. Use the End of a Cabinet Run for Shallow Extra Storage
The exposed side of a cabinet can do more than hold a decorative panel.
If that end faces an open area and does not block the walkway, a few inches of shallow storage can be surprisingly useful.
Good options include a slim spice shelf, cookbook ledge, towel rail, or narrow shelf for small bowls.
The trick is choosing storage that matches the depth of what you actually need.
Deep shelving on the end of a cabinet can look awkward and become another place for clutter. Shallow storage works because it uses a surface that was already there without making the kitchen feel wider in the wrong direction.
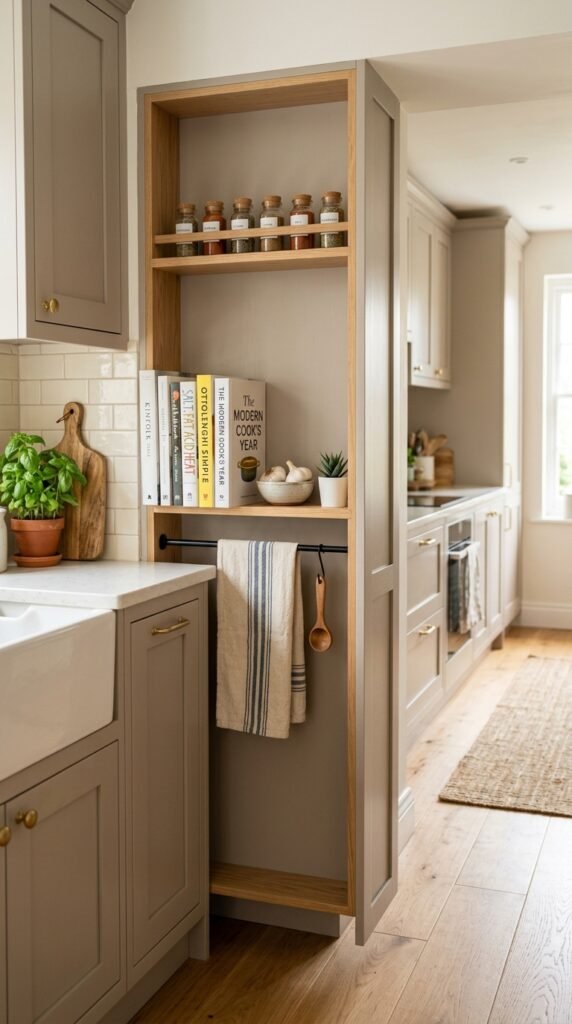
| End Panel Idea | Best Use |
|---|---|
| Slim spice shelf | Small jars you use often |
| Cookbook ledge | A few frequently used books |
| Towel rail | Tea towels without using drawer space |
| Narrow display shelf | One or two lightweight useful pieces |
23. Protect the Walkway Before Adding Any Extra Feature
The most useful galley kitchen idea is also the easiest one to forget: the central walkway has to stay easy to use.
A cart, stool, narrow table, extra shelf, or freestanding bin might look helpful in an empty corner. But if it forces you to turn sideways every time someone opens the oven, it is solving the wrong problem.
Before adding anything, test the space with cabinet doors and appliances open.
Keep the route through the kitchen clear enough for normal cooking, carrying groceries, and two people passing when needed.
In a narrow room, empty floor is not wasted space. It is part of the layout.
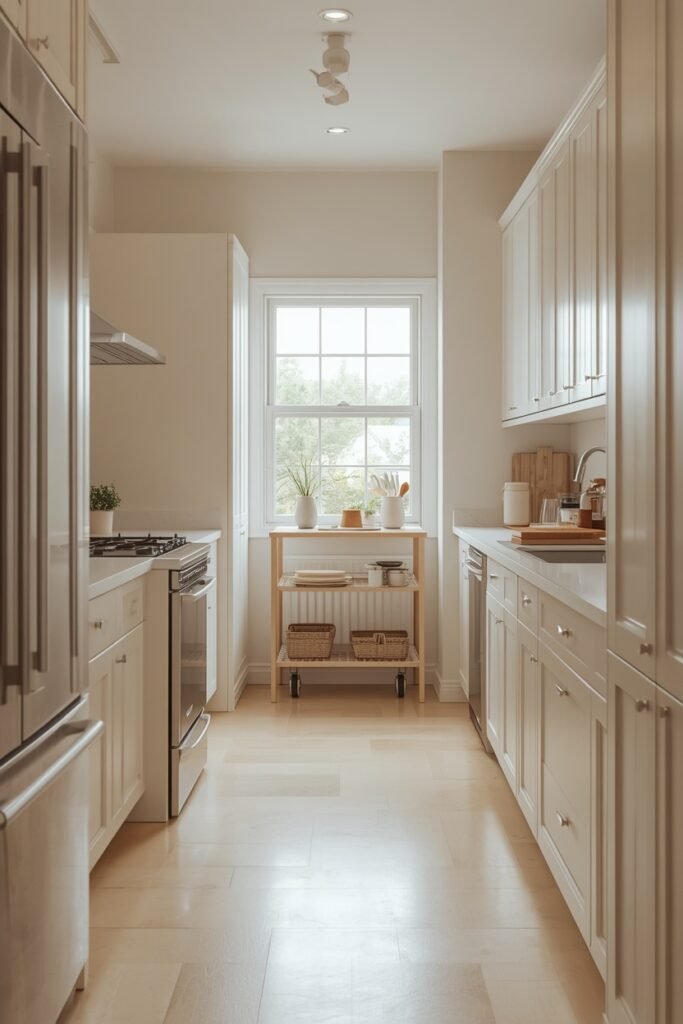
Open the oven, dishwasher, drawers, and opposite cabinets before deciding what fits.
Treat clear walking space as part of the kitchen design, not leftover space.
Do not squeeze in a cart, stool, or shelf just because there is technically an empty spot.
Avoid anything that makes normal movement awkward once appliance doors are open.
Conclusion
A galley kitchen does not need to feel cramped just because the layout is narrow. The biggest improvements usually come from keeping sightlines calm, protecting the walkway, using vertical storage wisely, and giving everyday tasks a clear place to happen.
You do not need to use all of these galley kitchen ideas at once. Start with the part of the room that causes the most frustration, whether that is dark counters, crowded worktops, awkward storage, or a busy-looking cabinet wall.
A few thoughtful changes can make the whole kitchen feel easier to live with. Save this list on Pinterest so you can come back to it when you are ready to update your kitchen.